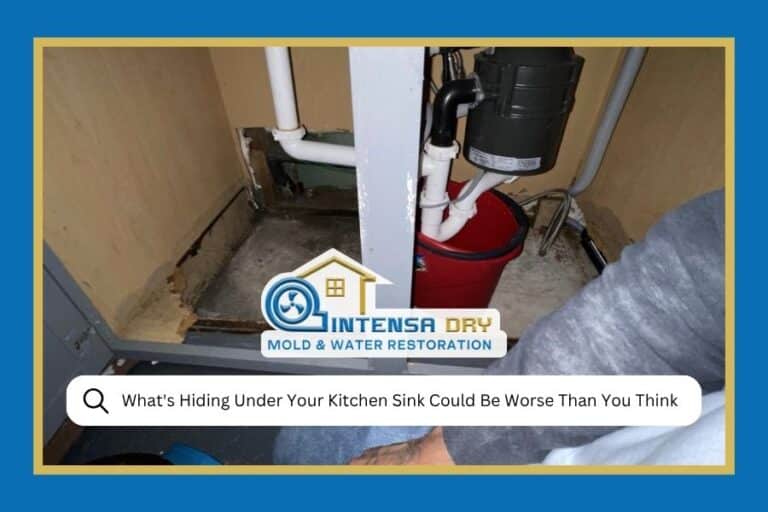
When a Quiet Sunday Turned Into an Emergency
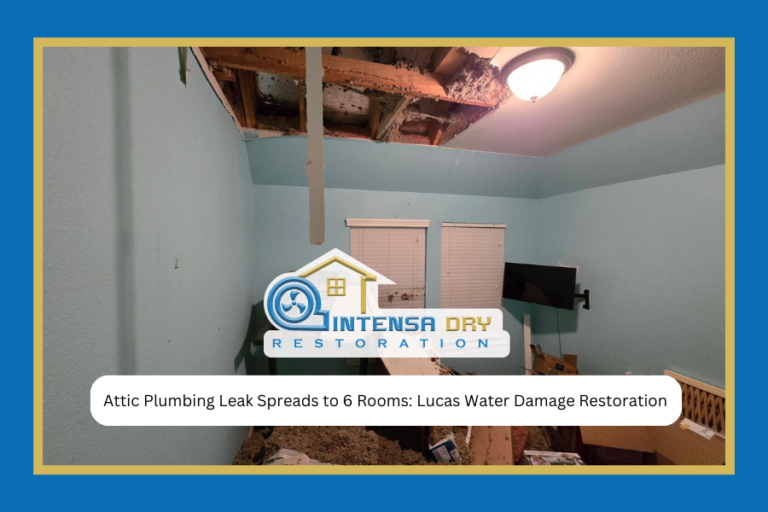
It started like any other weekend morning in Addison. Then the ceiling started dripping. What began as a small stain quickly became a full-blown crisis when a PEX pipe in the attic failed, sending water cascading through the ceiling and into the master bathroom below. By the time the homeowner shut off the main water line, damage had already spread into the master bedroom and closet. That’s when they called our team at Intensa Dry Mold & Water Restoration Restoration for emergency water damage restoration.
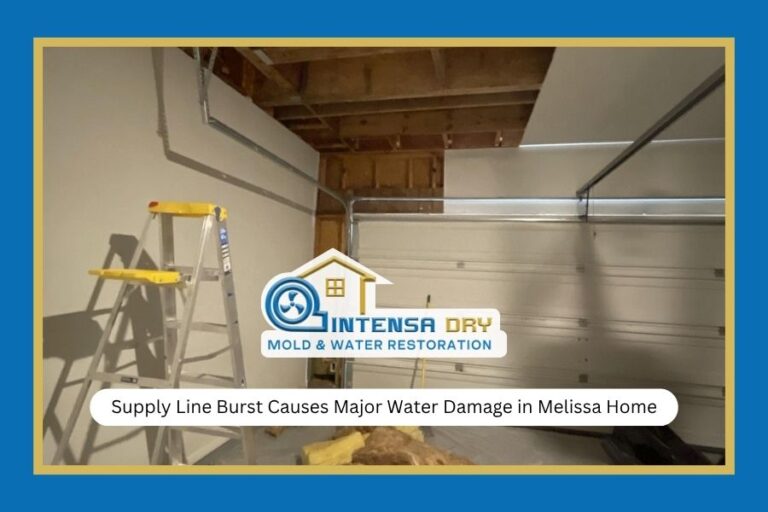
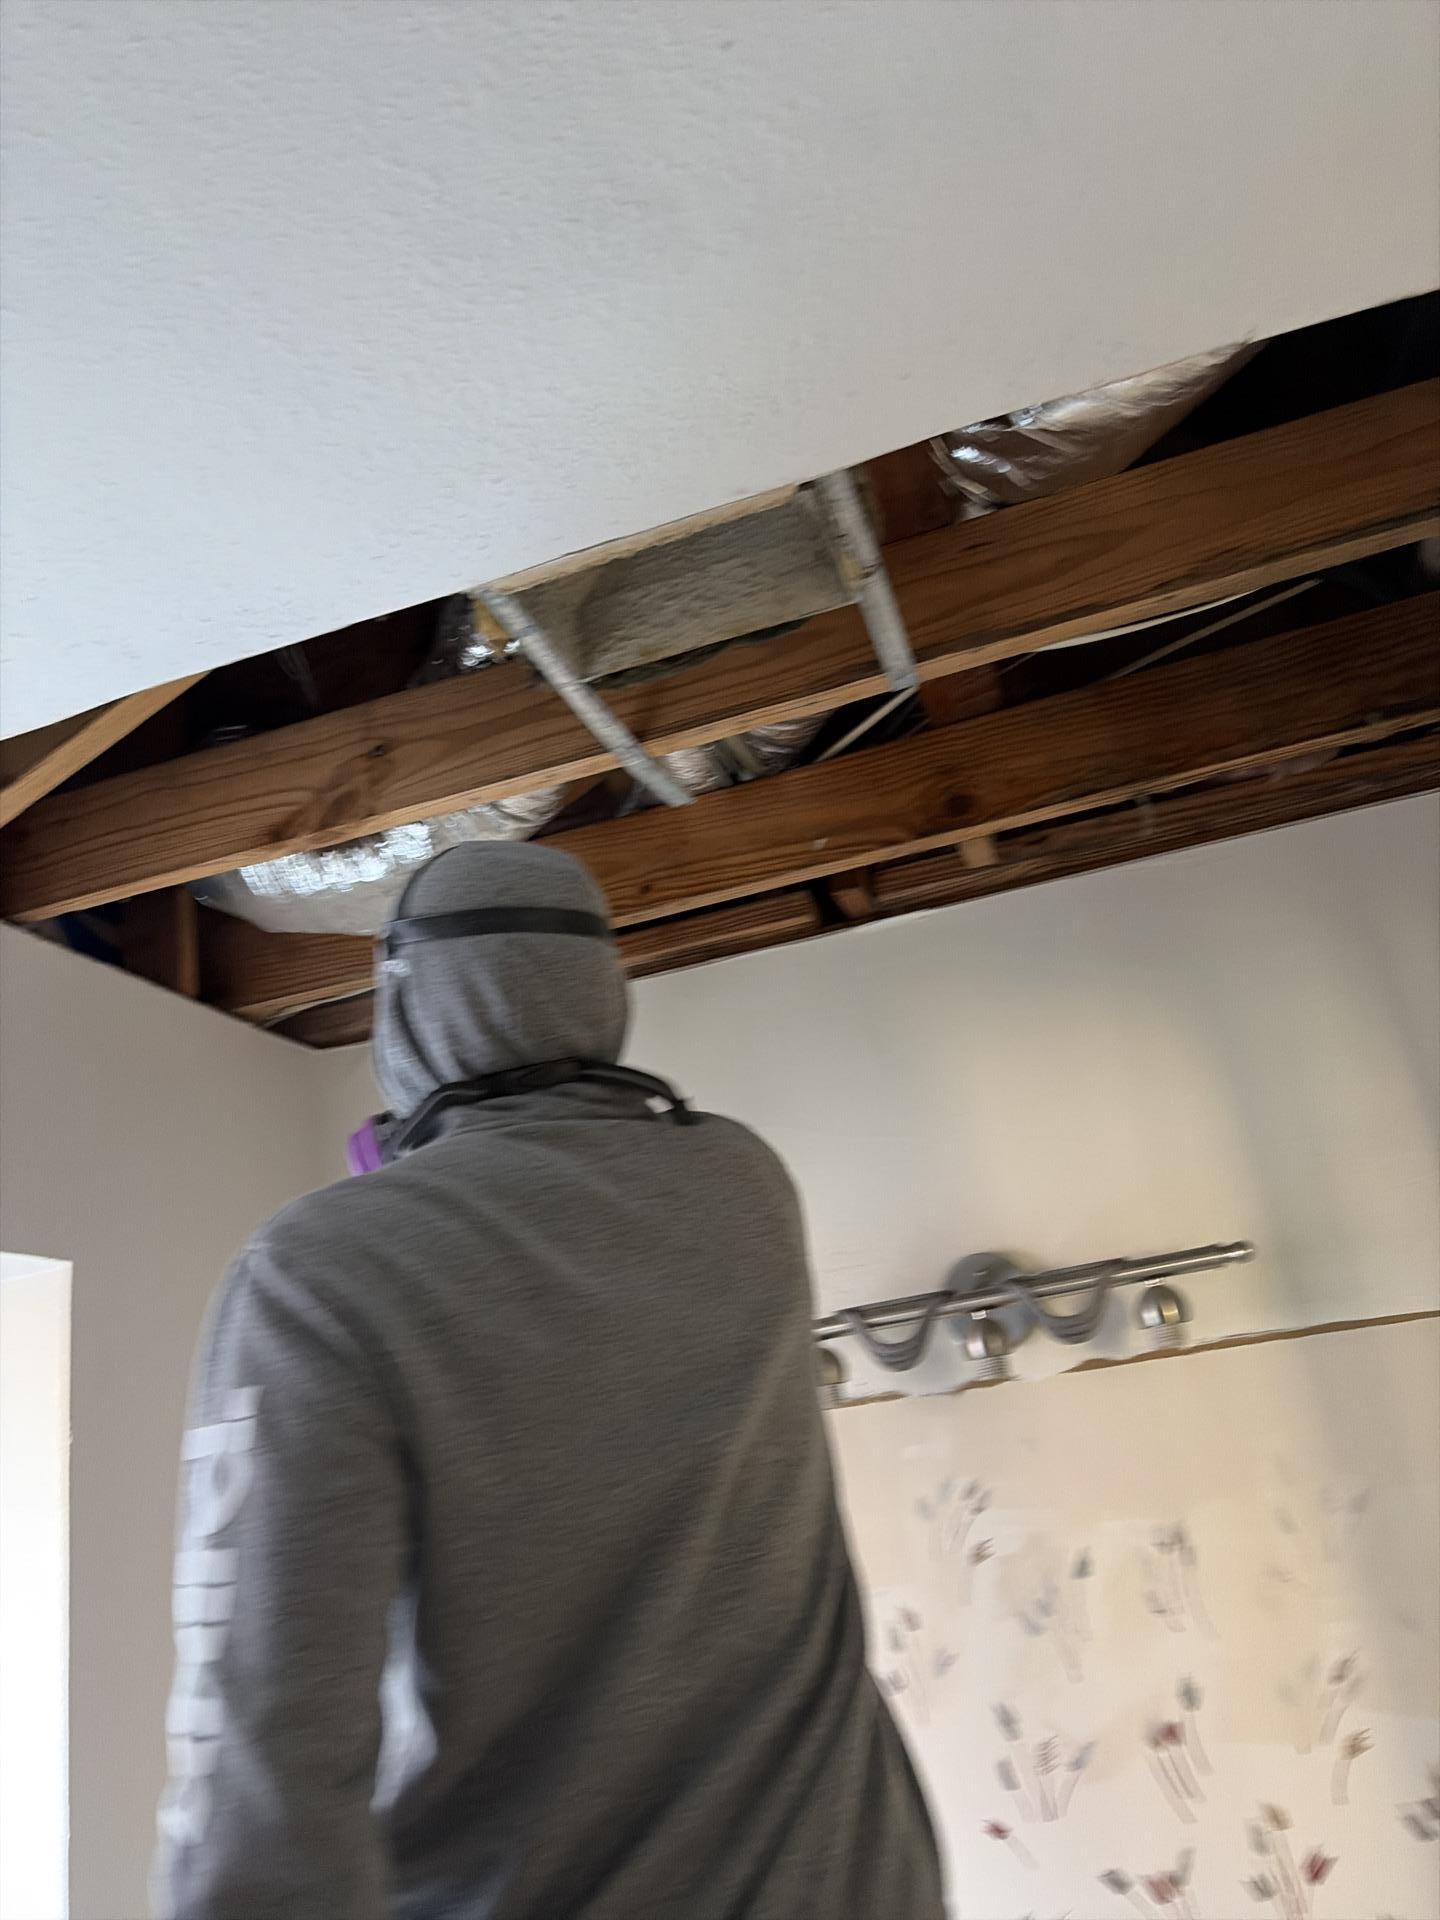
We arrived within 40 minutes. The bathroom ceiling had visible water stains, sagging drywall, and moisture readings well above safe levels. Water had traveled along the attic framing and down through the walls, affecting flooring, insulation, and even the master bedroom carpet. Time was critical, not just to prevent further structural damage, but to stop mold from taking hold.
Assessment and Inspection
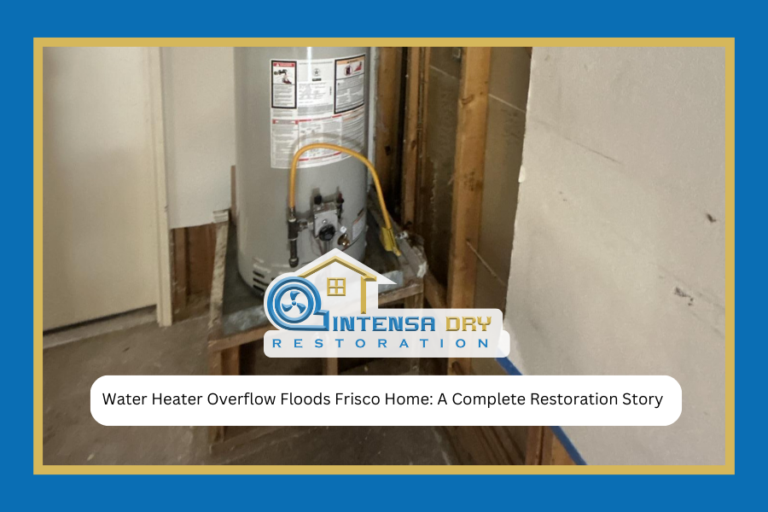
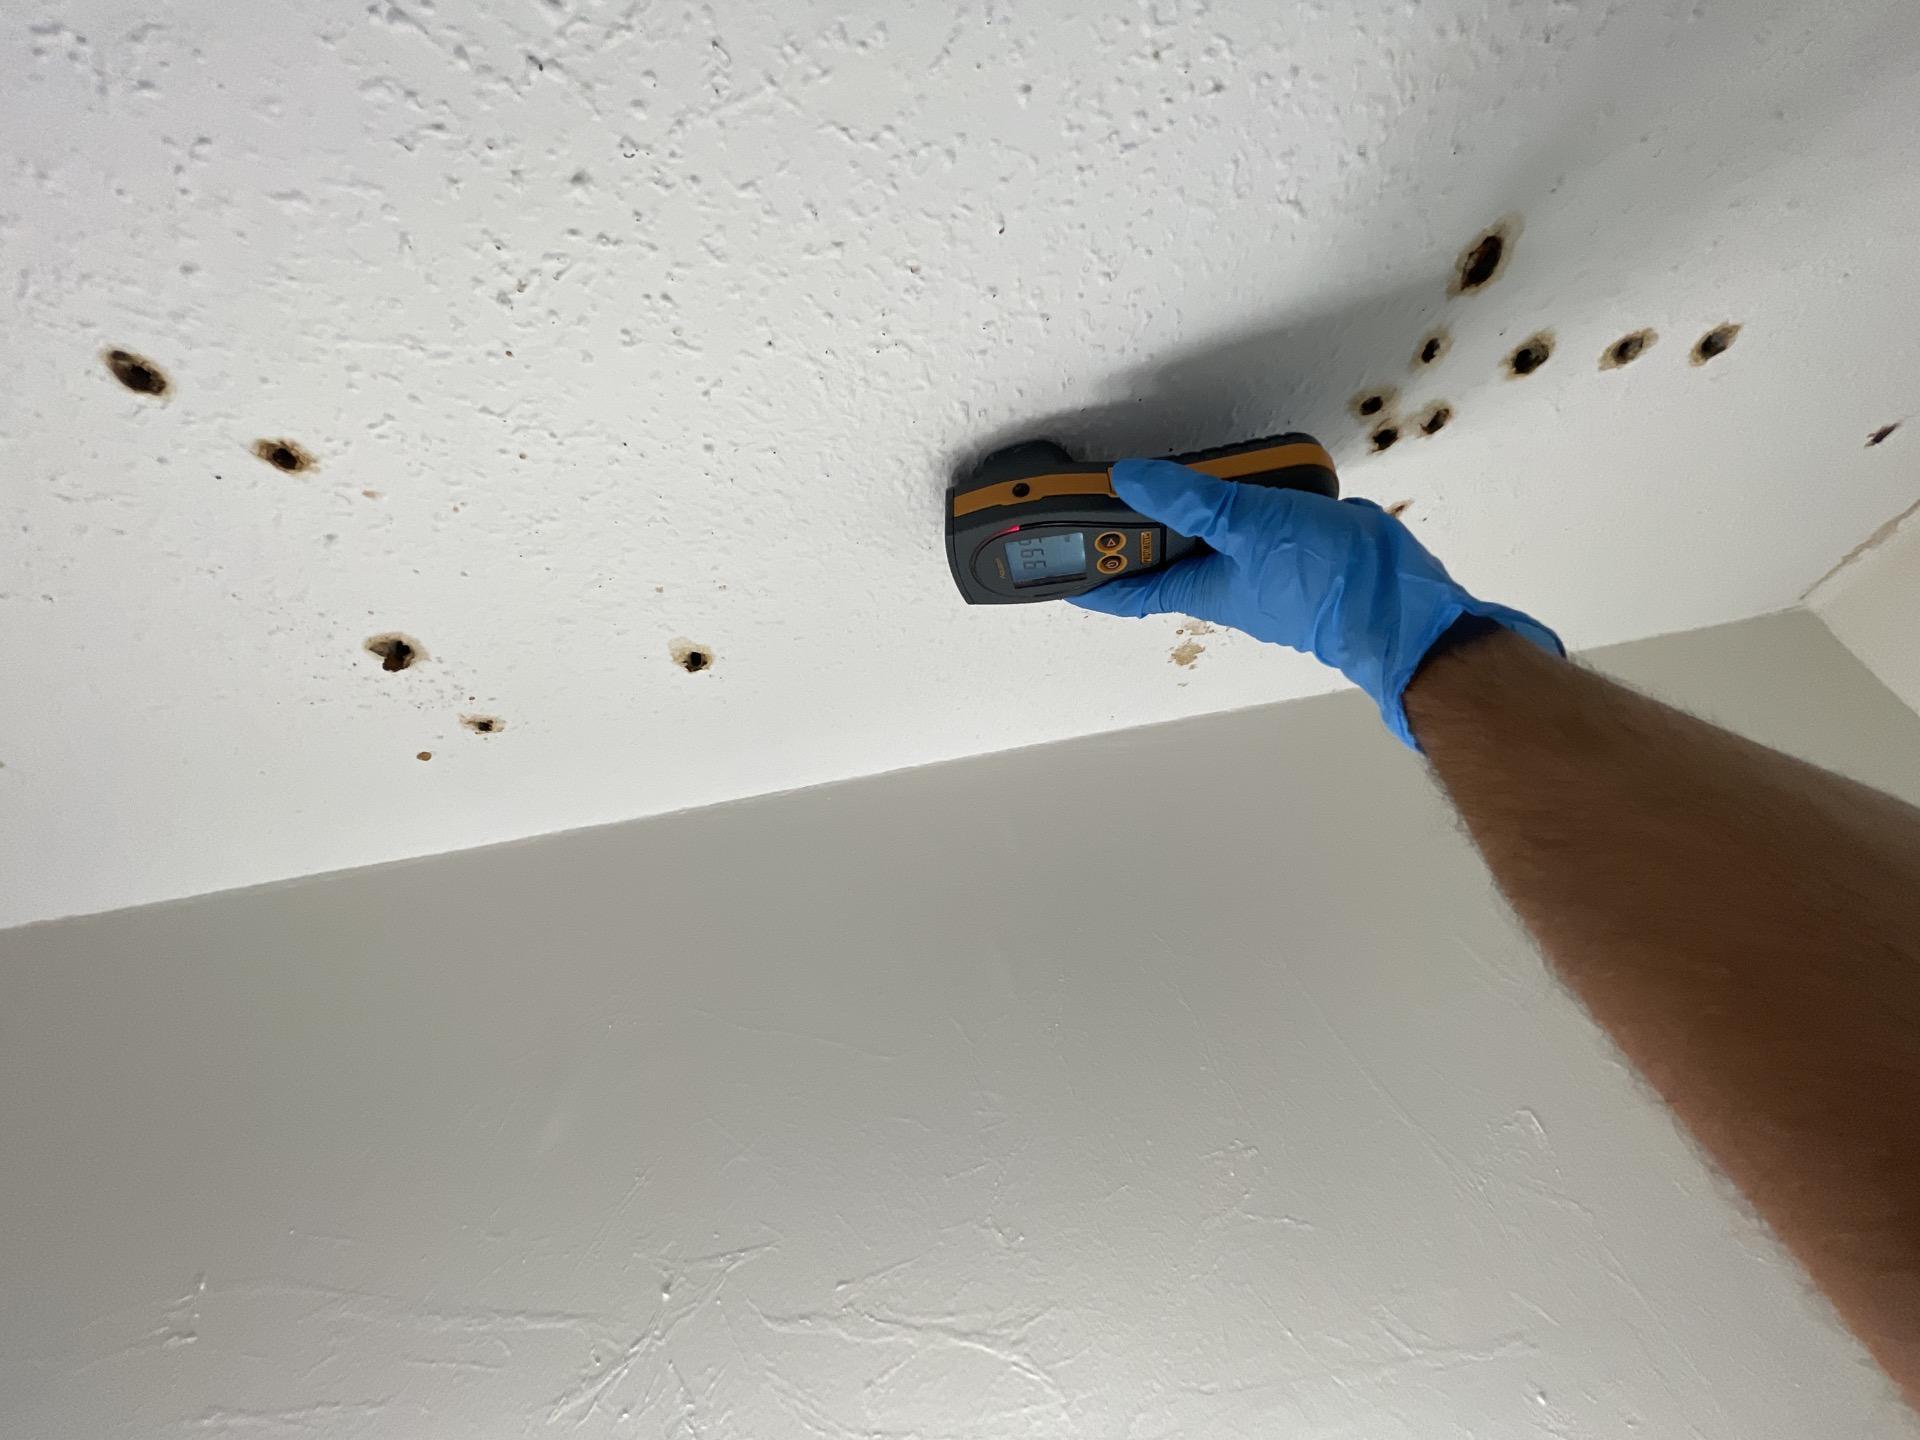
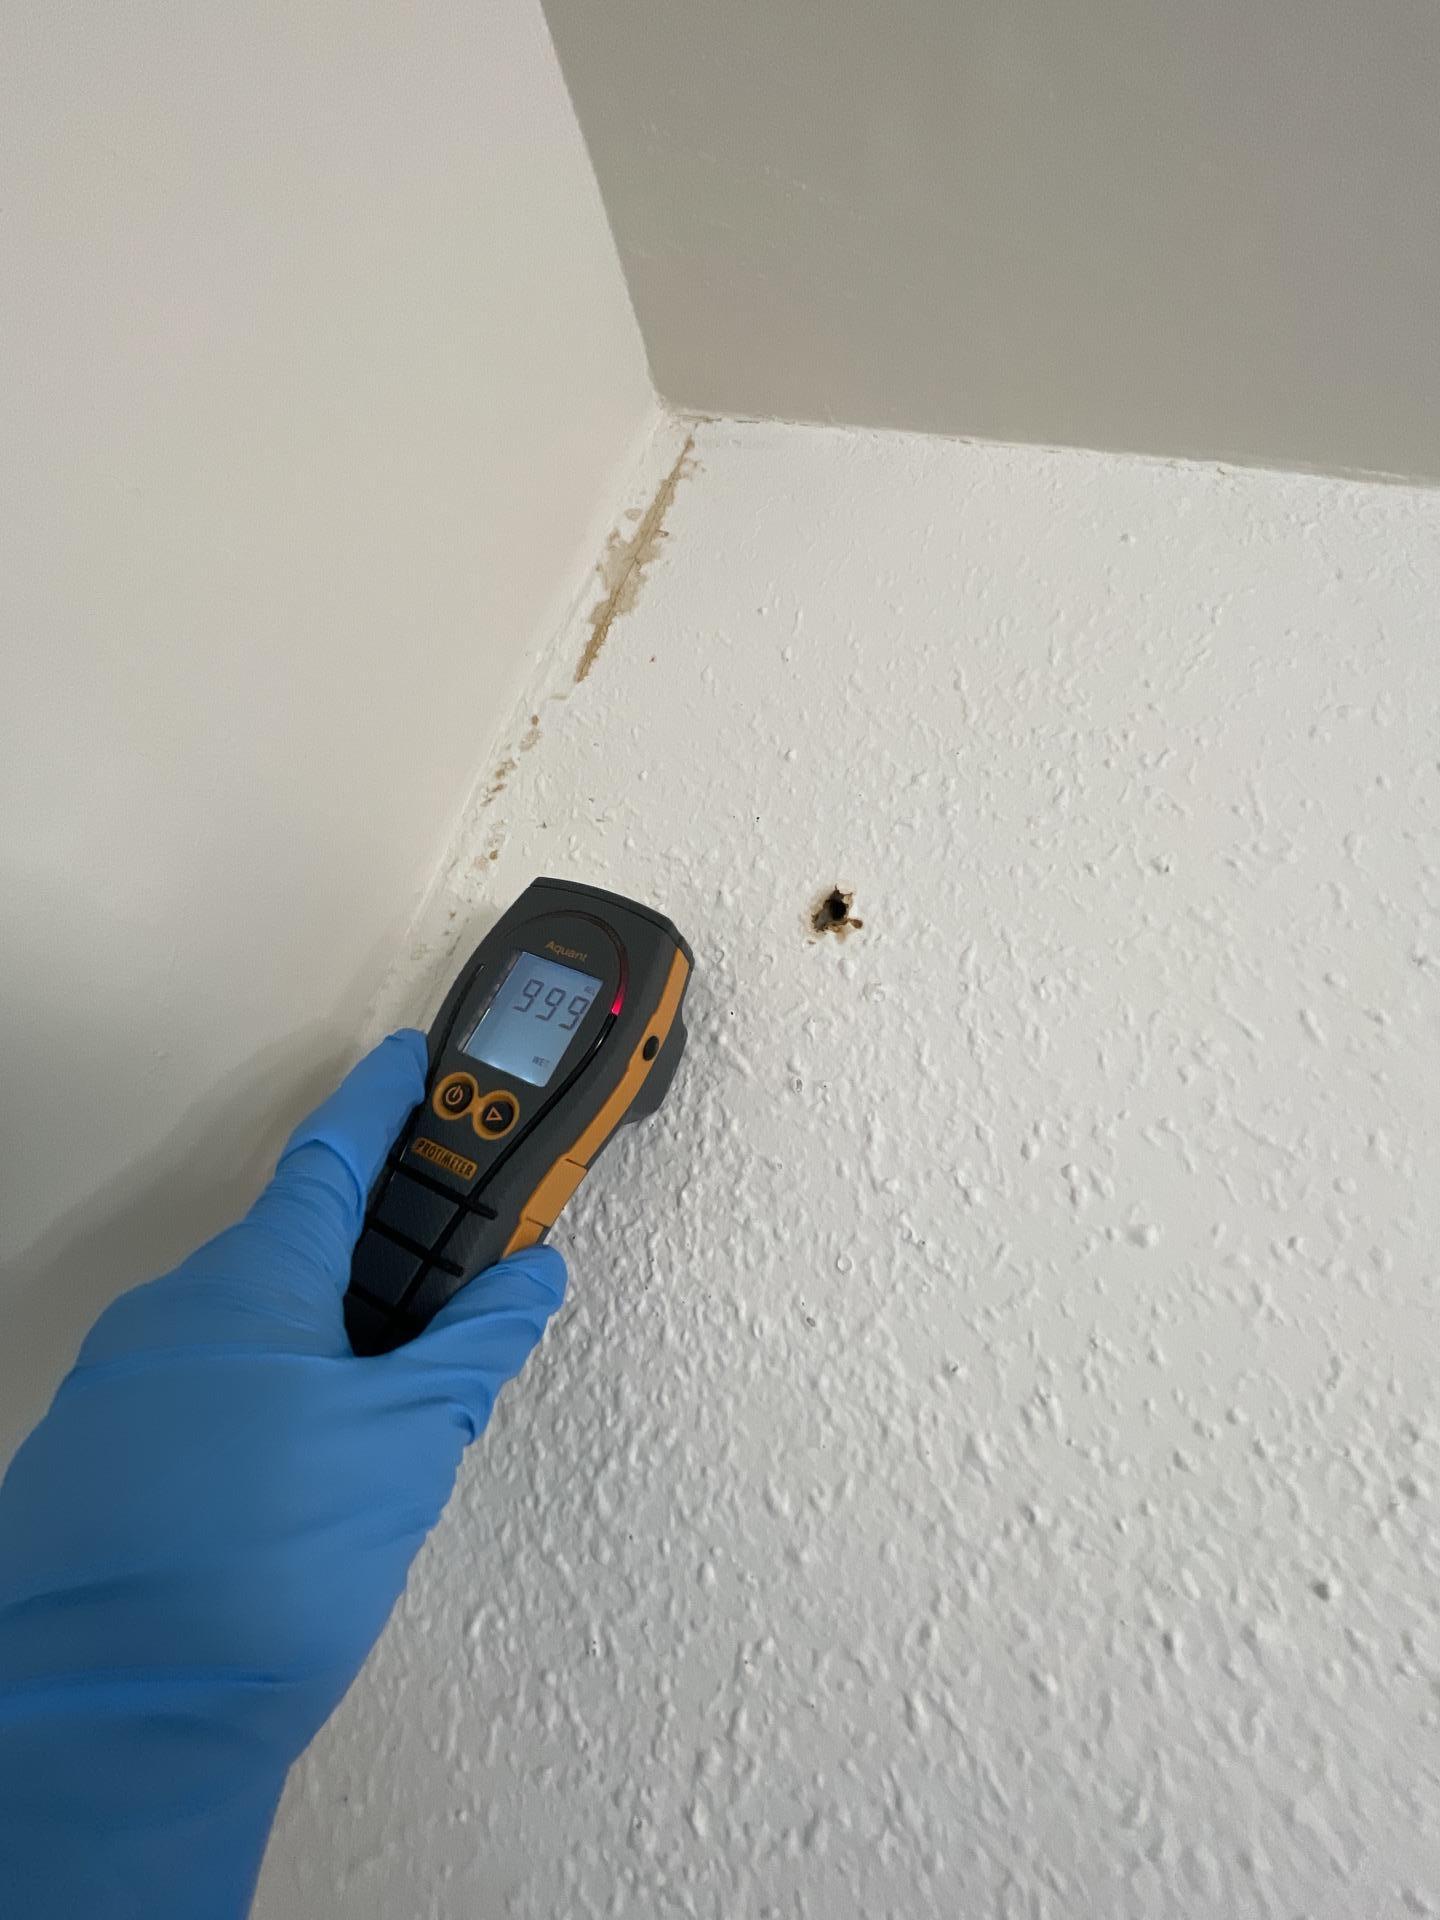
Our first step was a thorough moisture inspection using thermal imaging and hygrometers. We documented elevated readings in the bathroom ceiling, walls, and flooring. The bedroom closet showed saturation as well. We traced the leak back to the attic, where the PEX connection had failed, a common issue in North Texas homes with aging plumbing systems.
Pro Tip: Water damage from above is especially tricky because it can spread horizontally through ceiling cavities before you ever see it drip. That’s why professional moisture mapping is essential, even if the visible damage looks small.
Initial Damage Documentation
Ceiling water stains in master bathroom
Wall damage from water intrusion
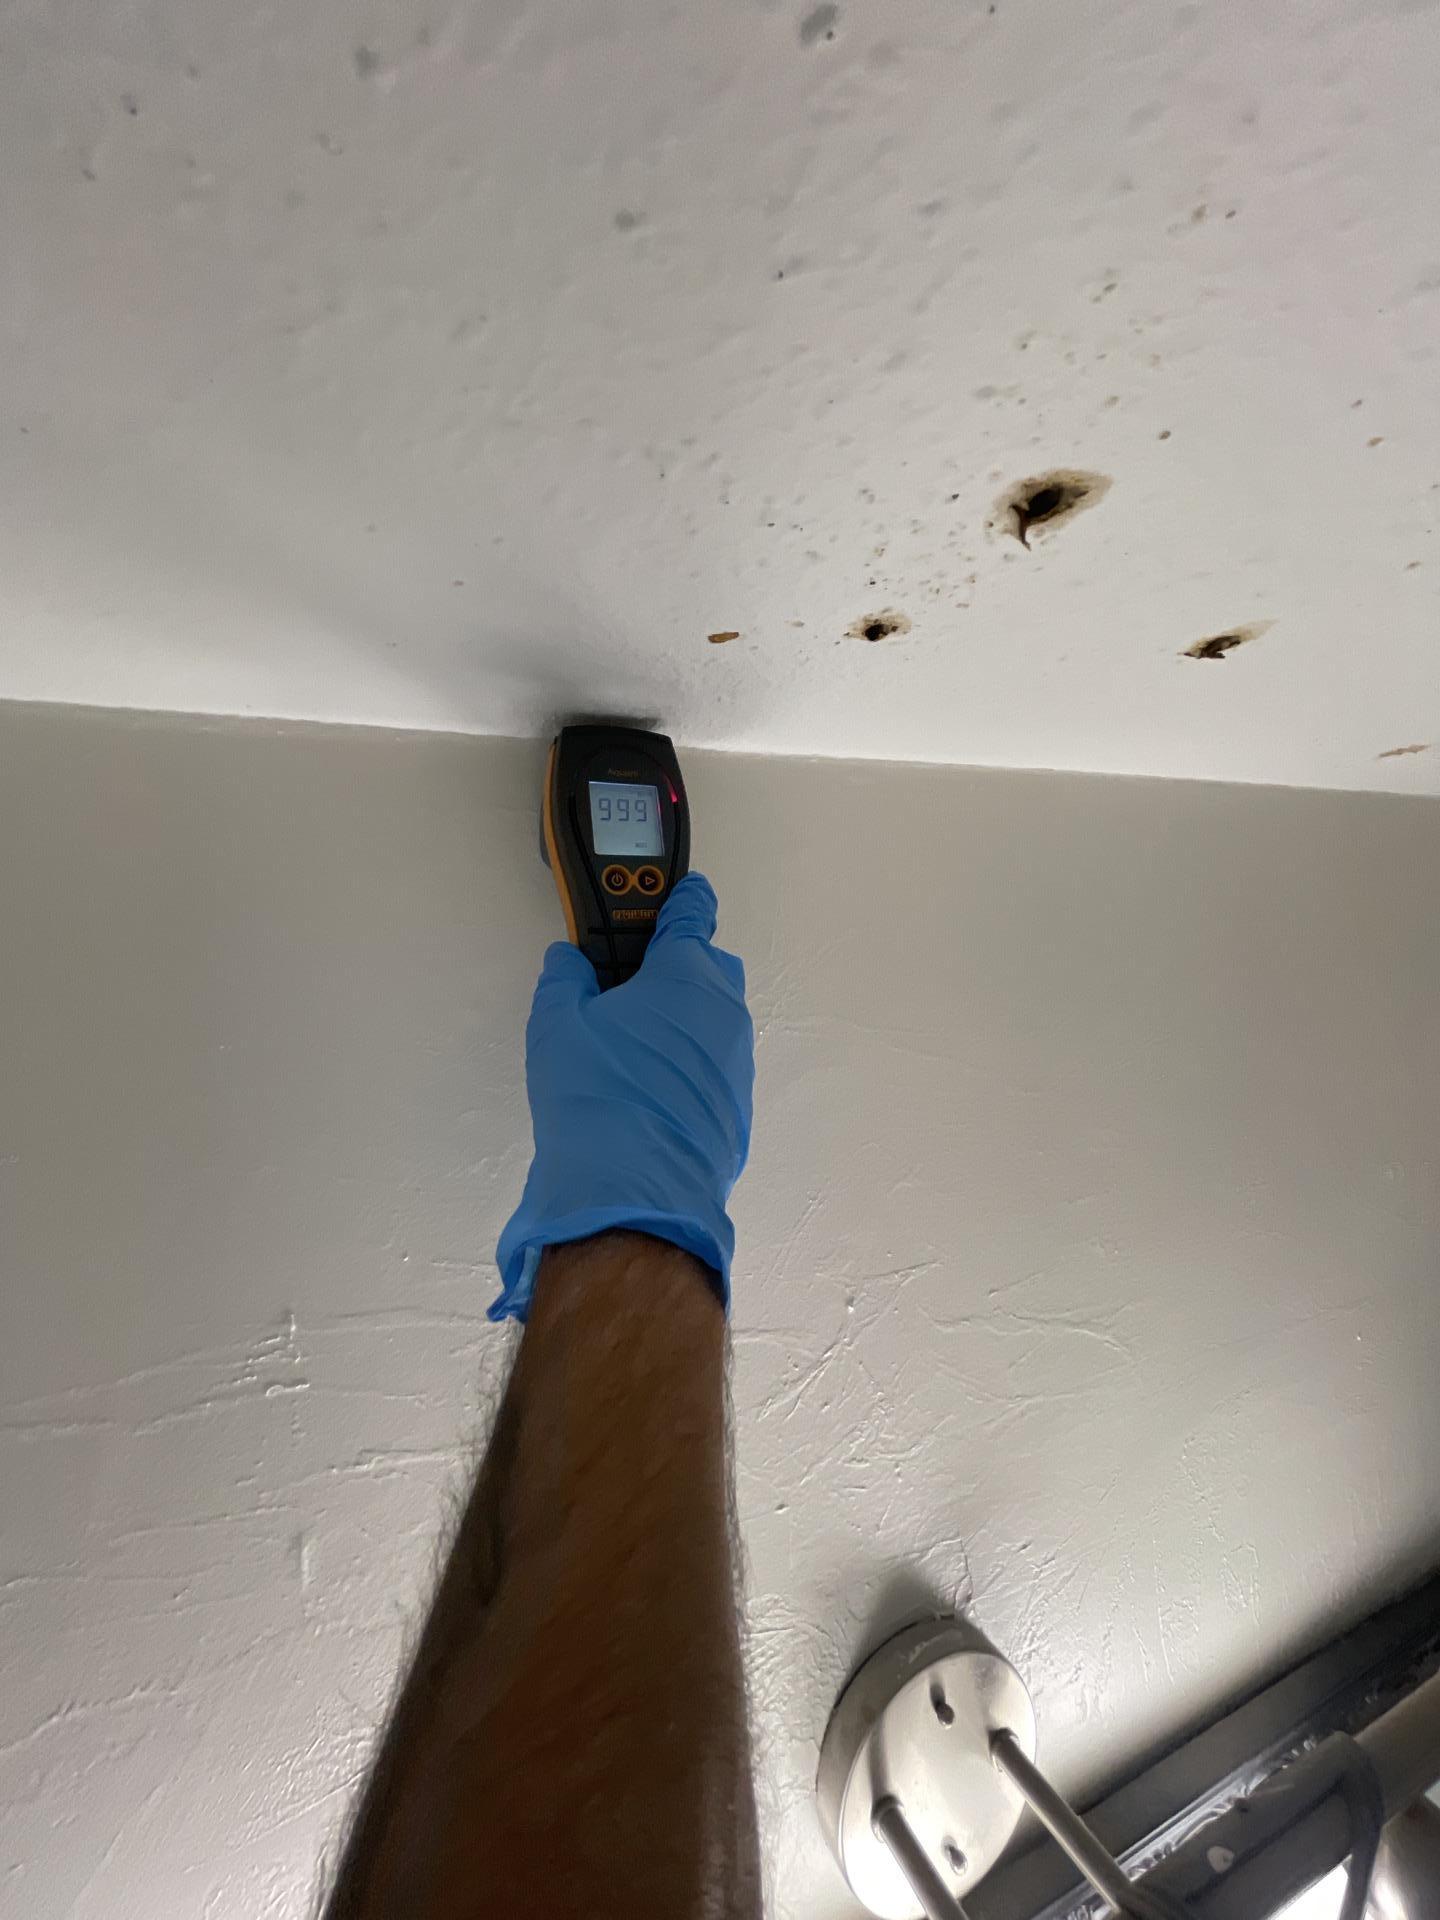
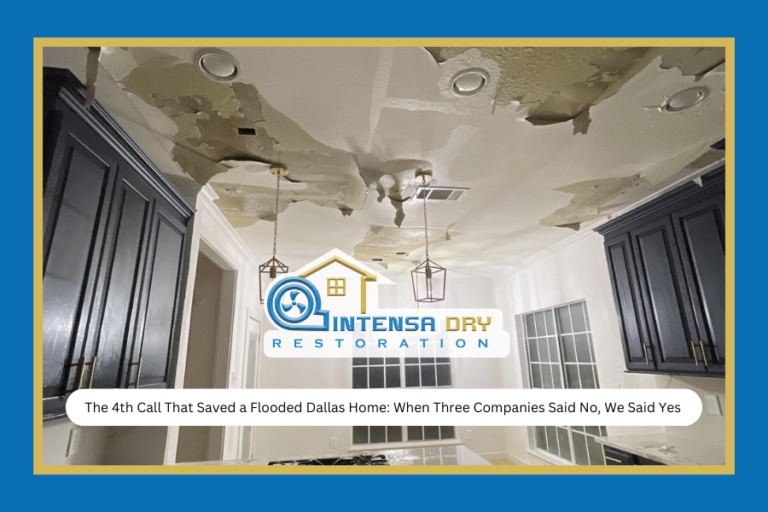
Extensive ceiling saturation
Initial bathroom moisture assessment
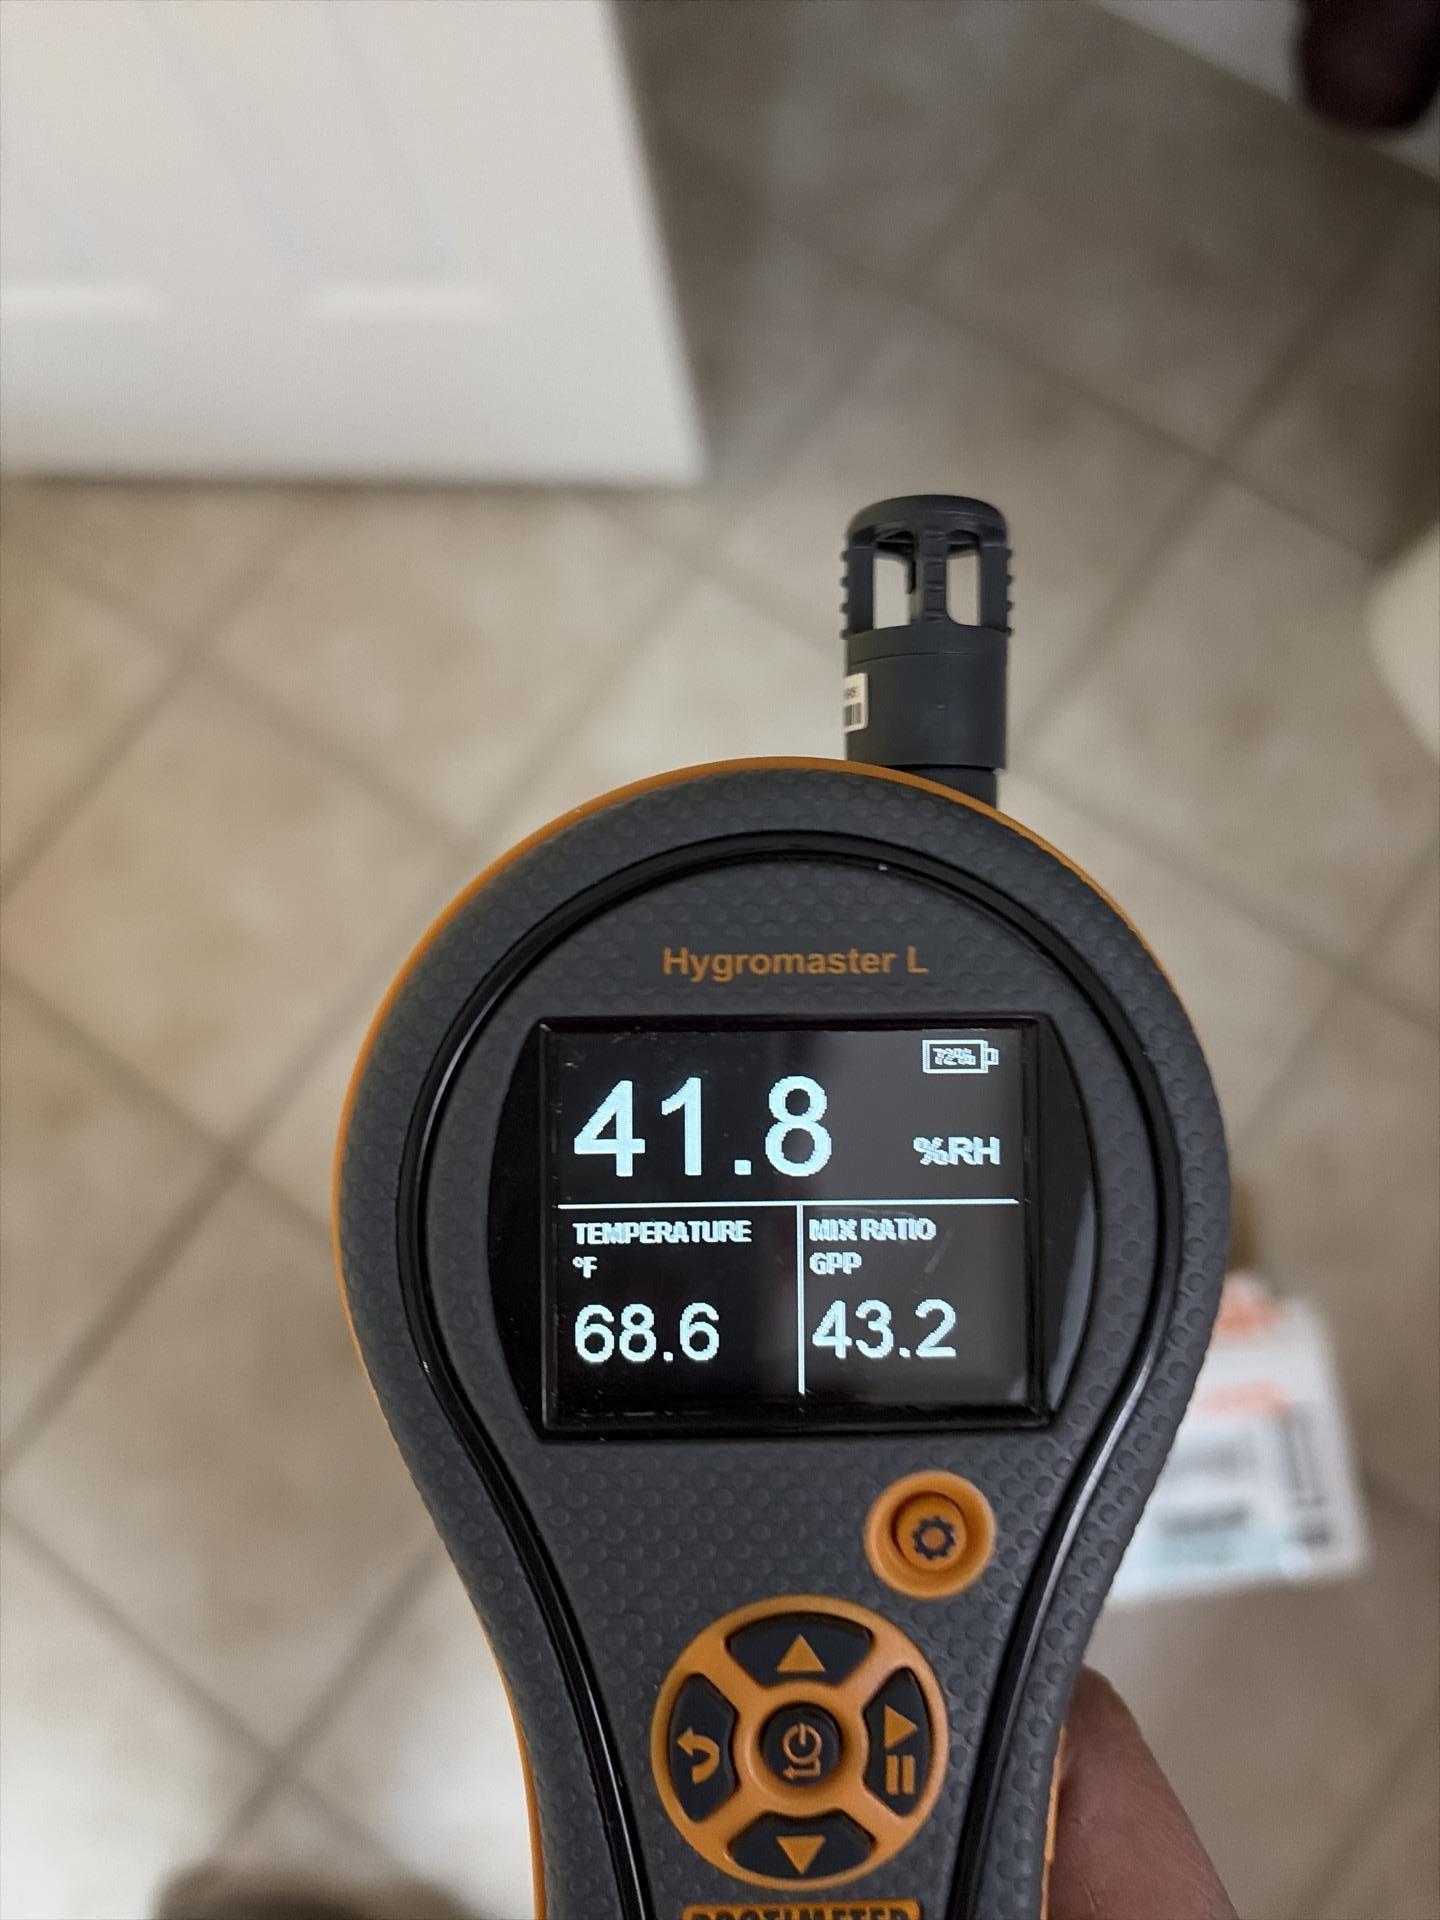
Documenting elevated readings
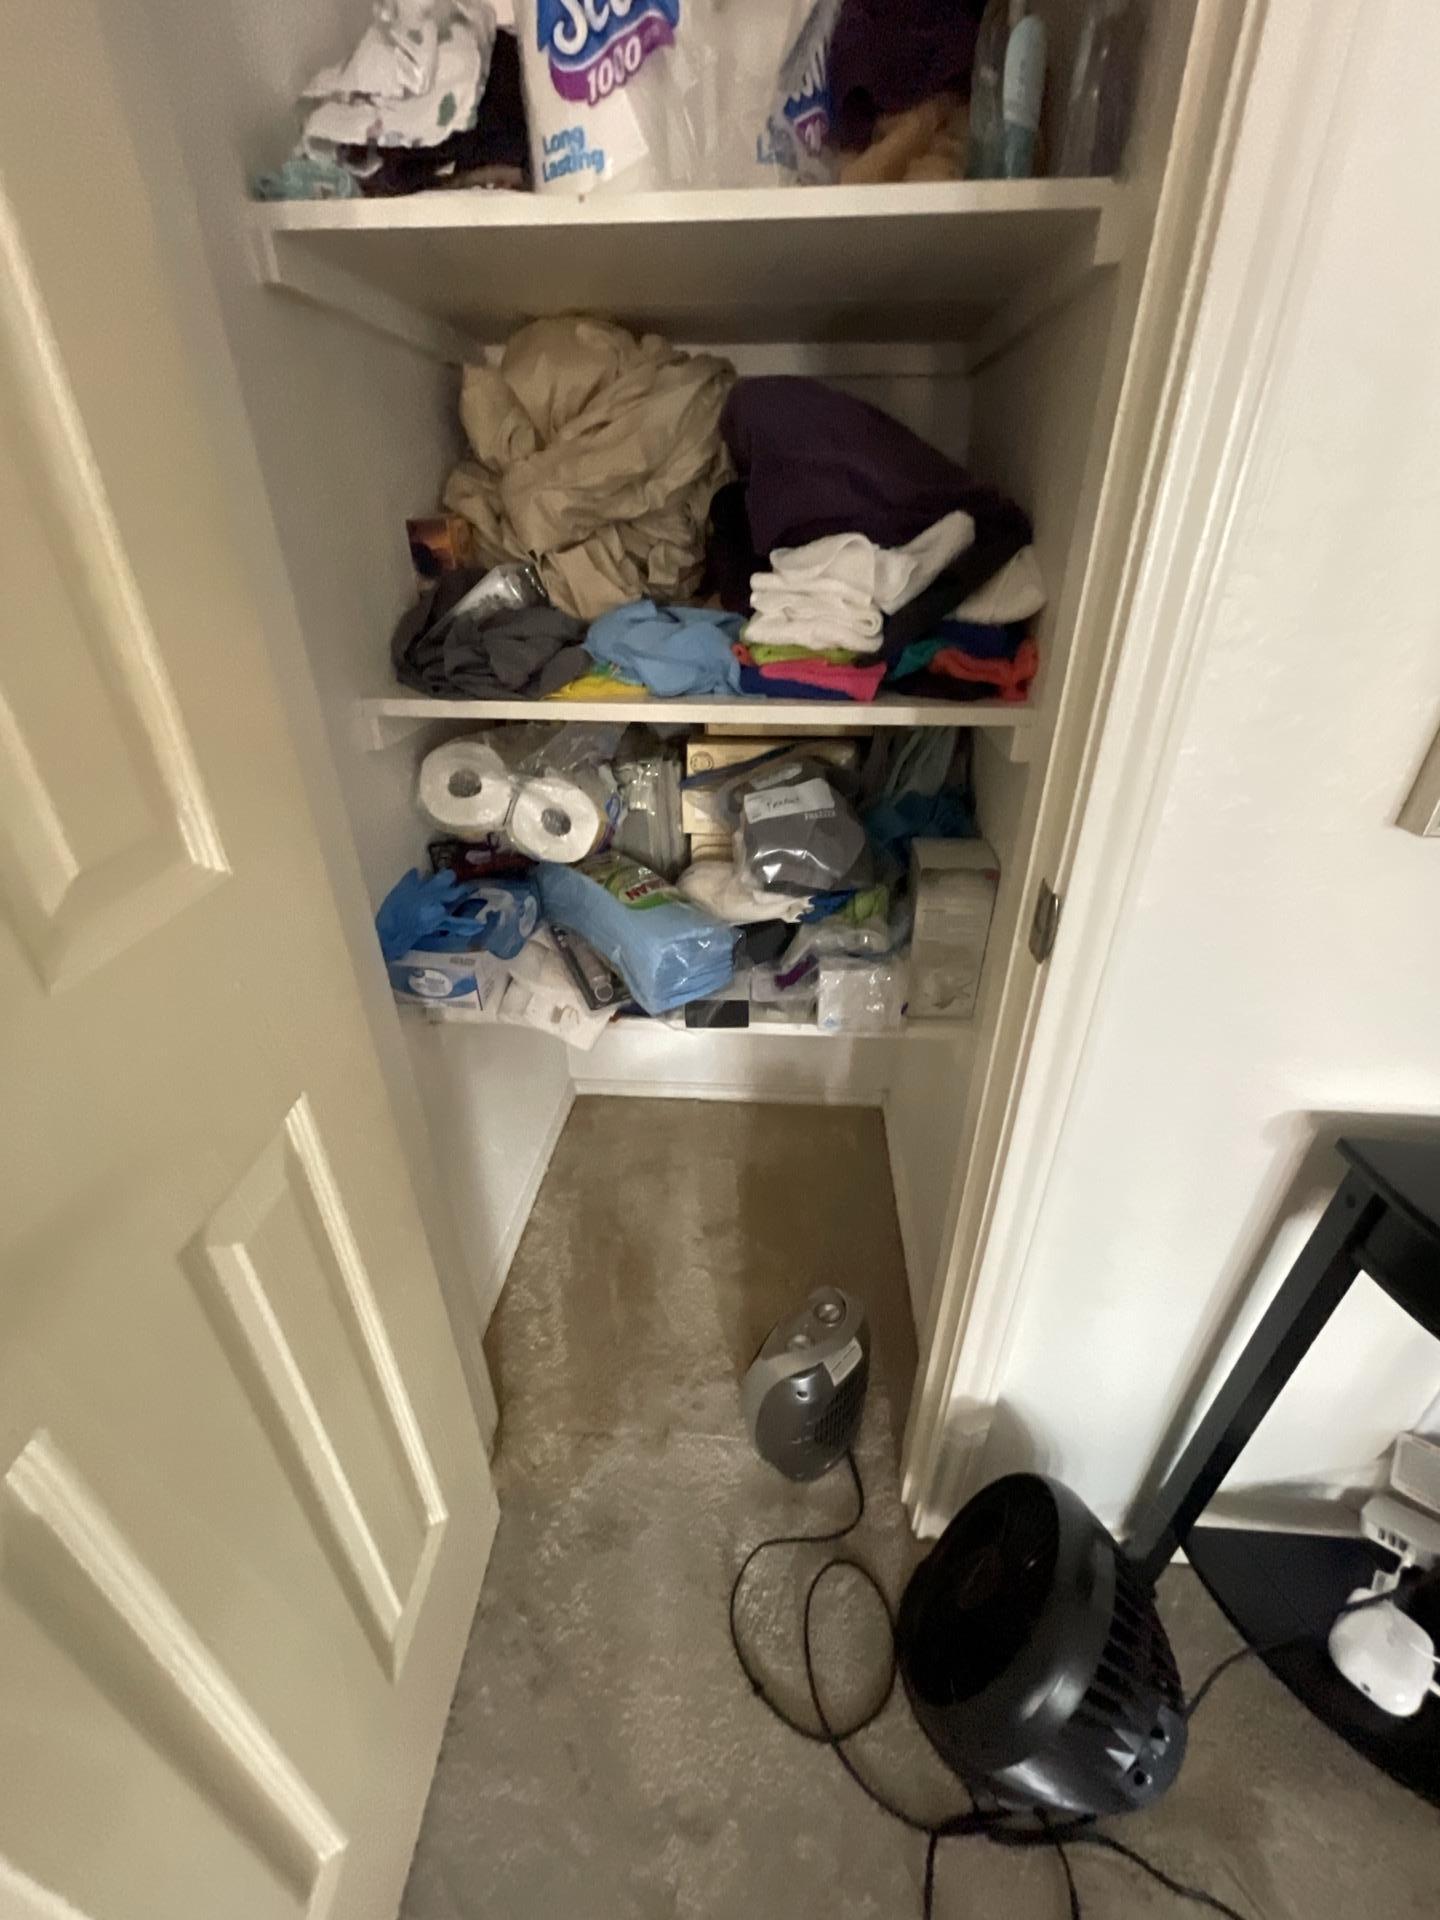
Closet affected by water spread
Mitigation: Stopping the Damage in Its Tracks
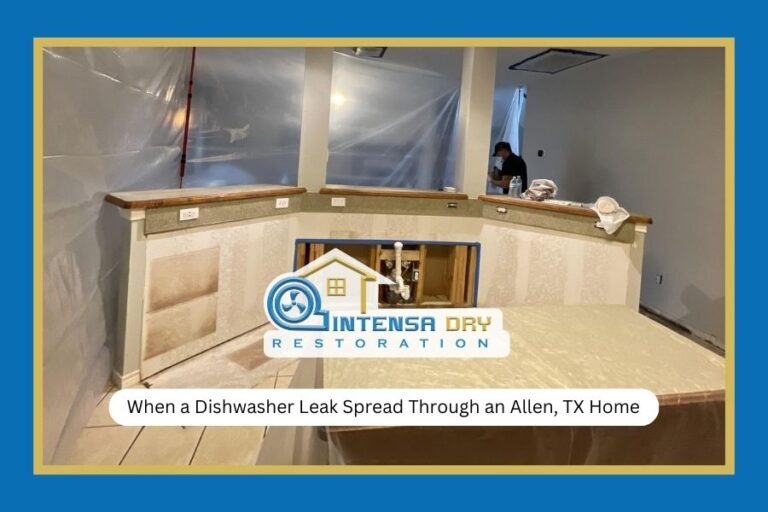
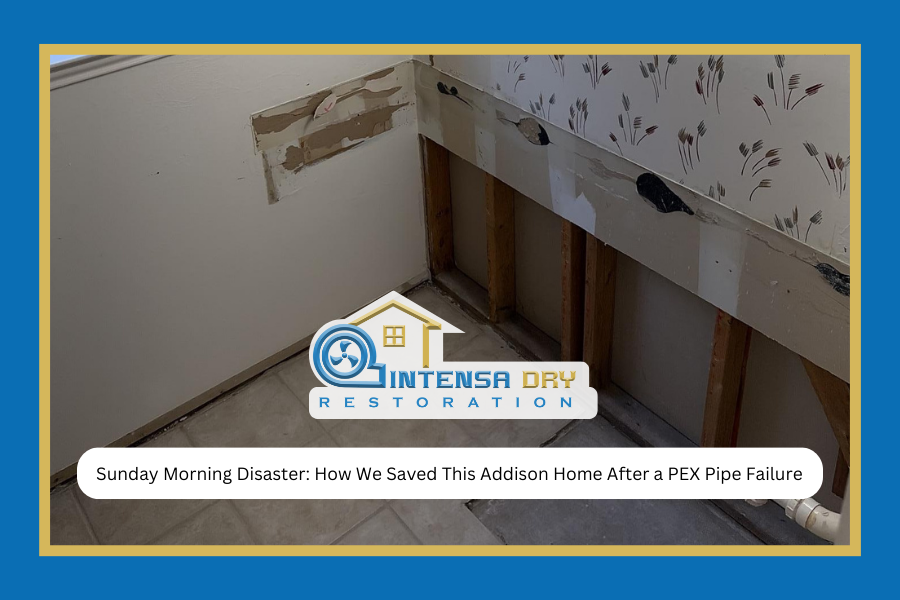
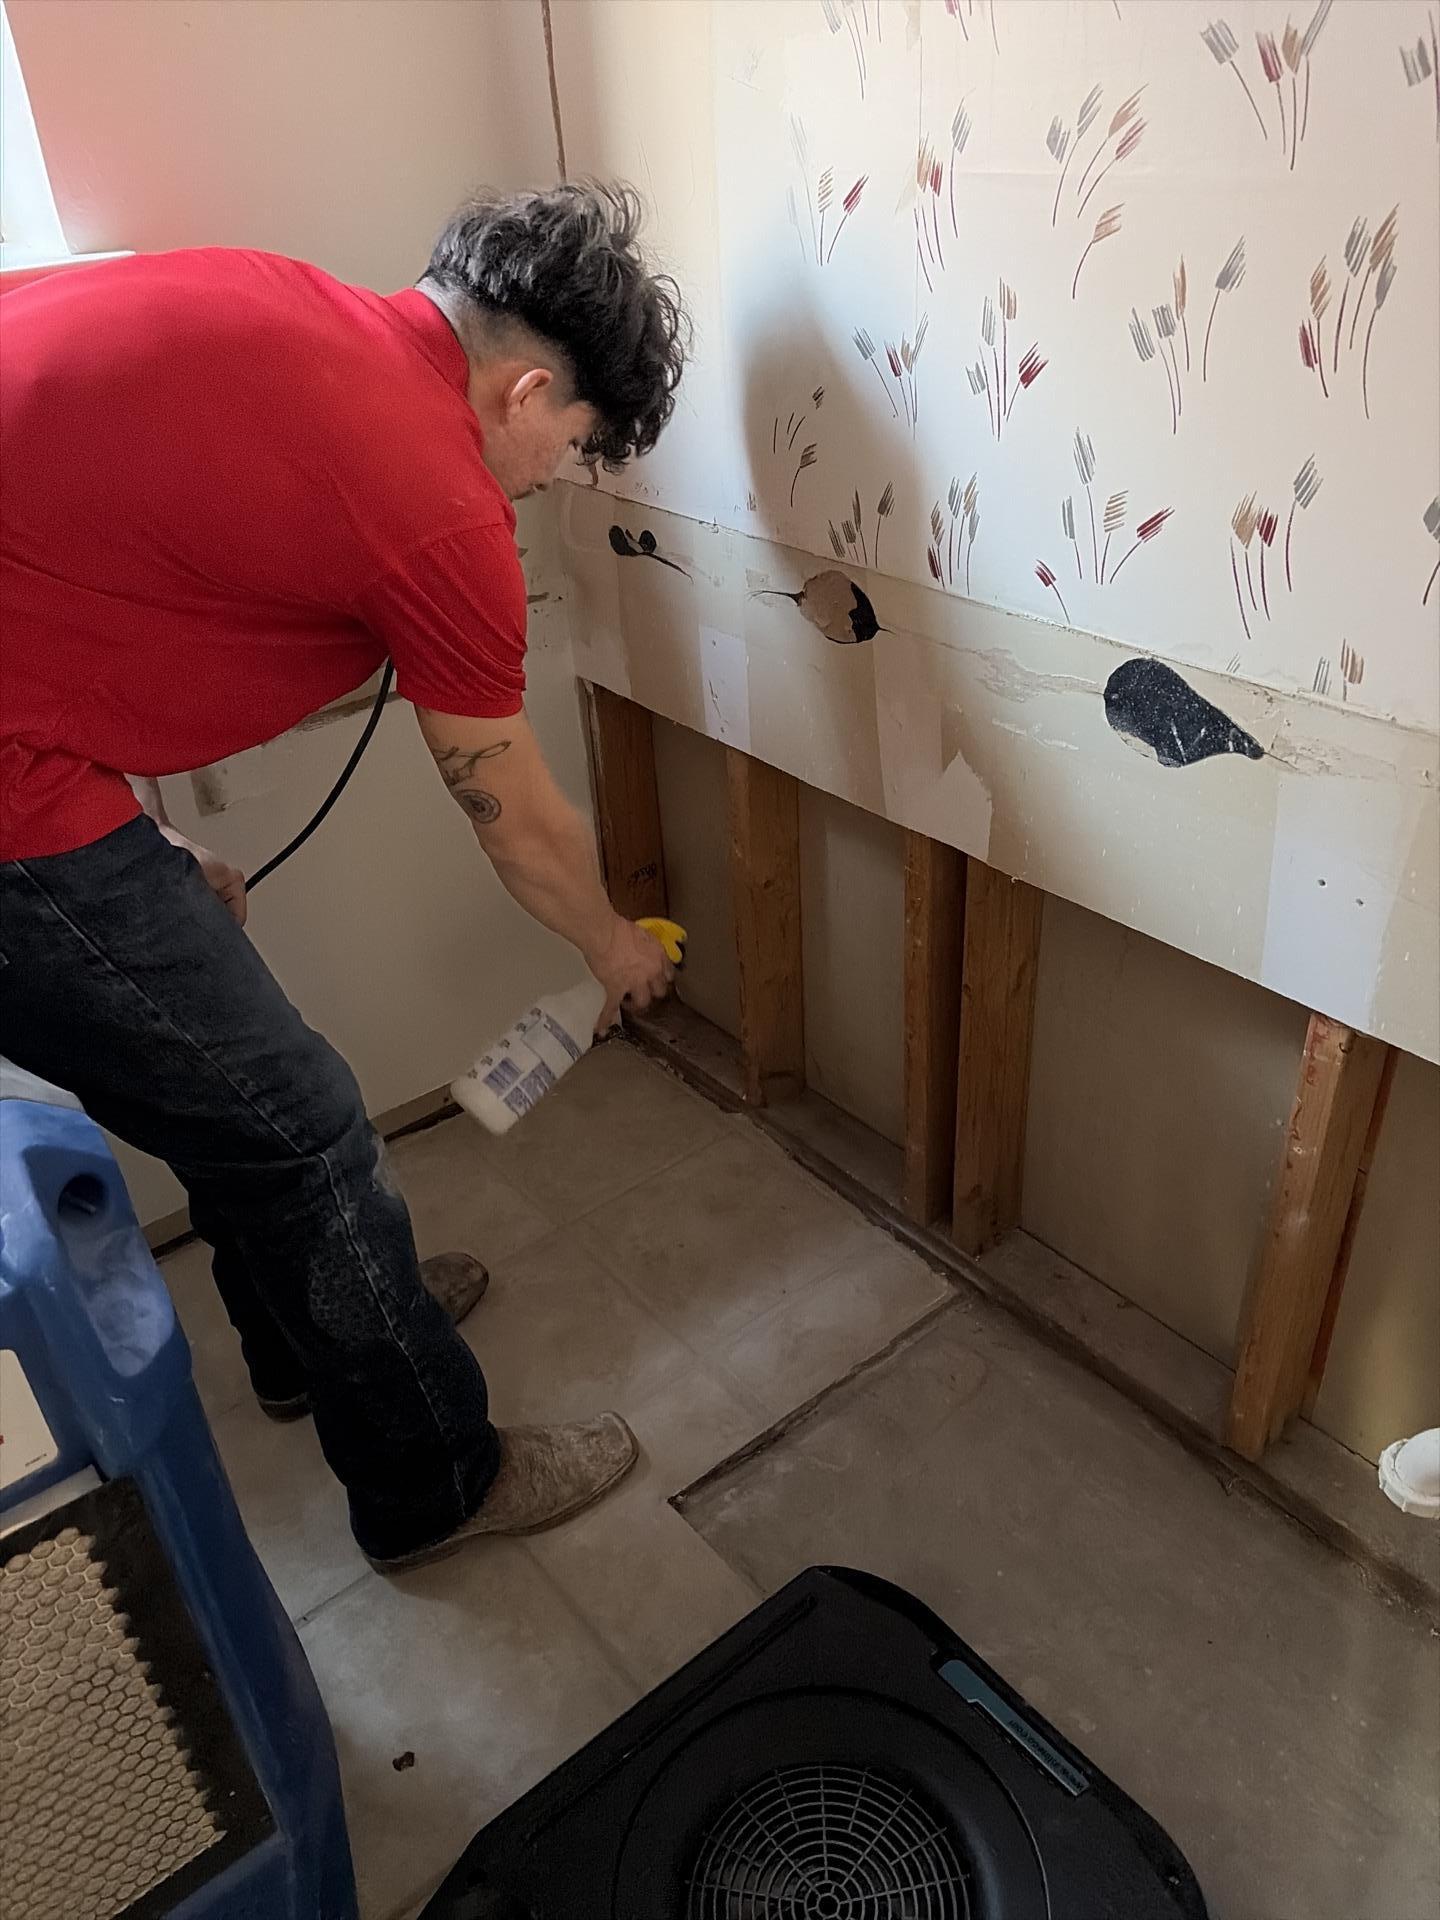
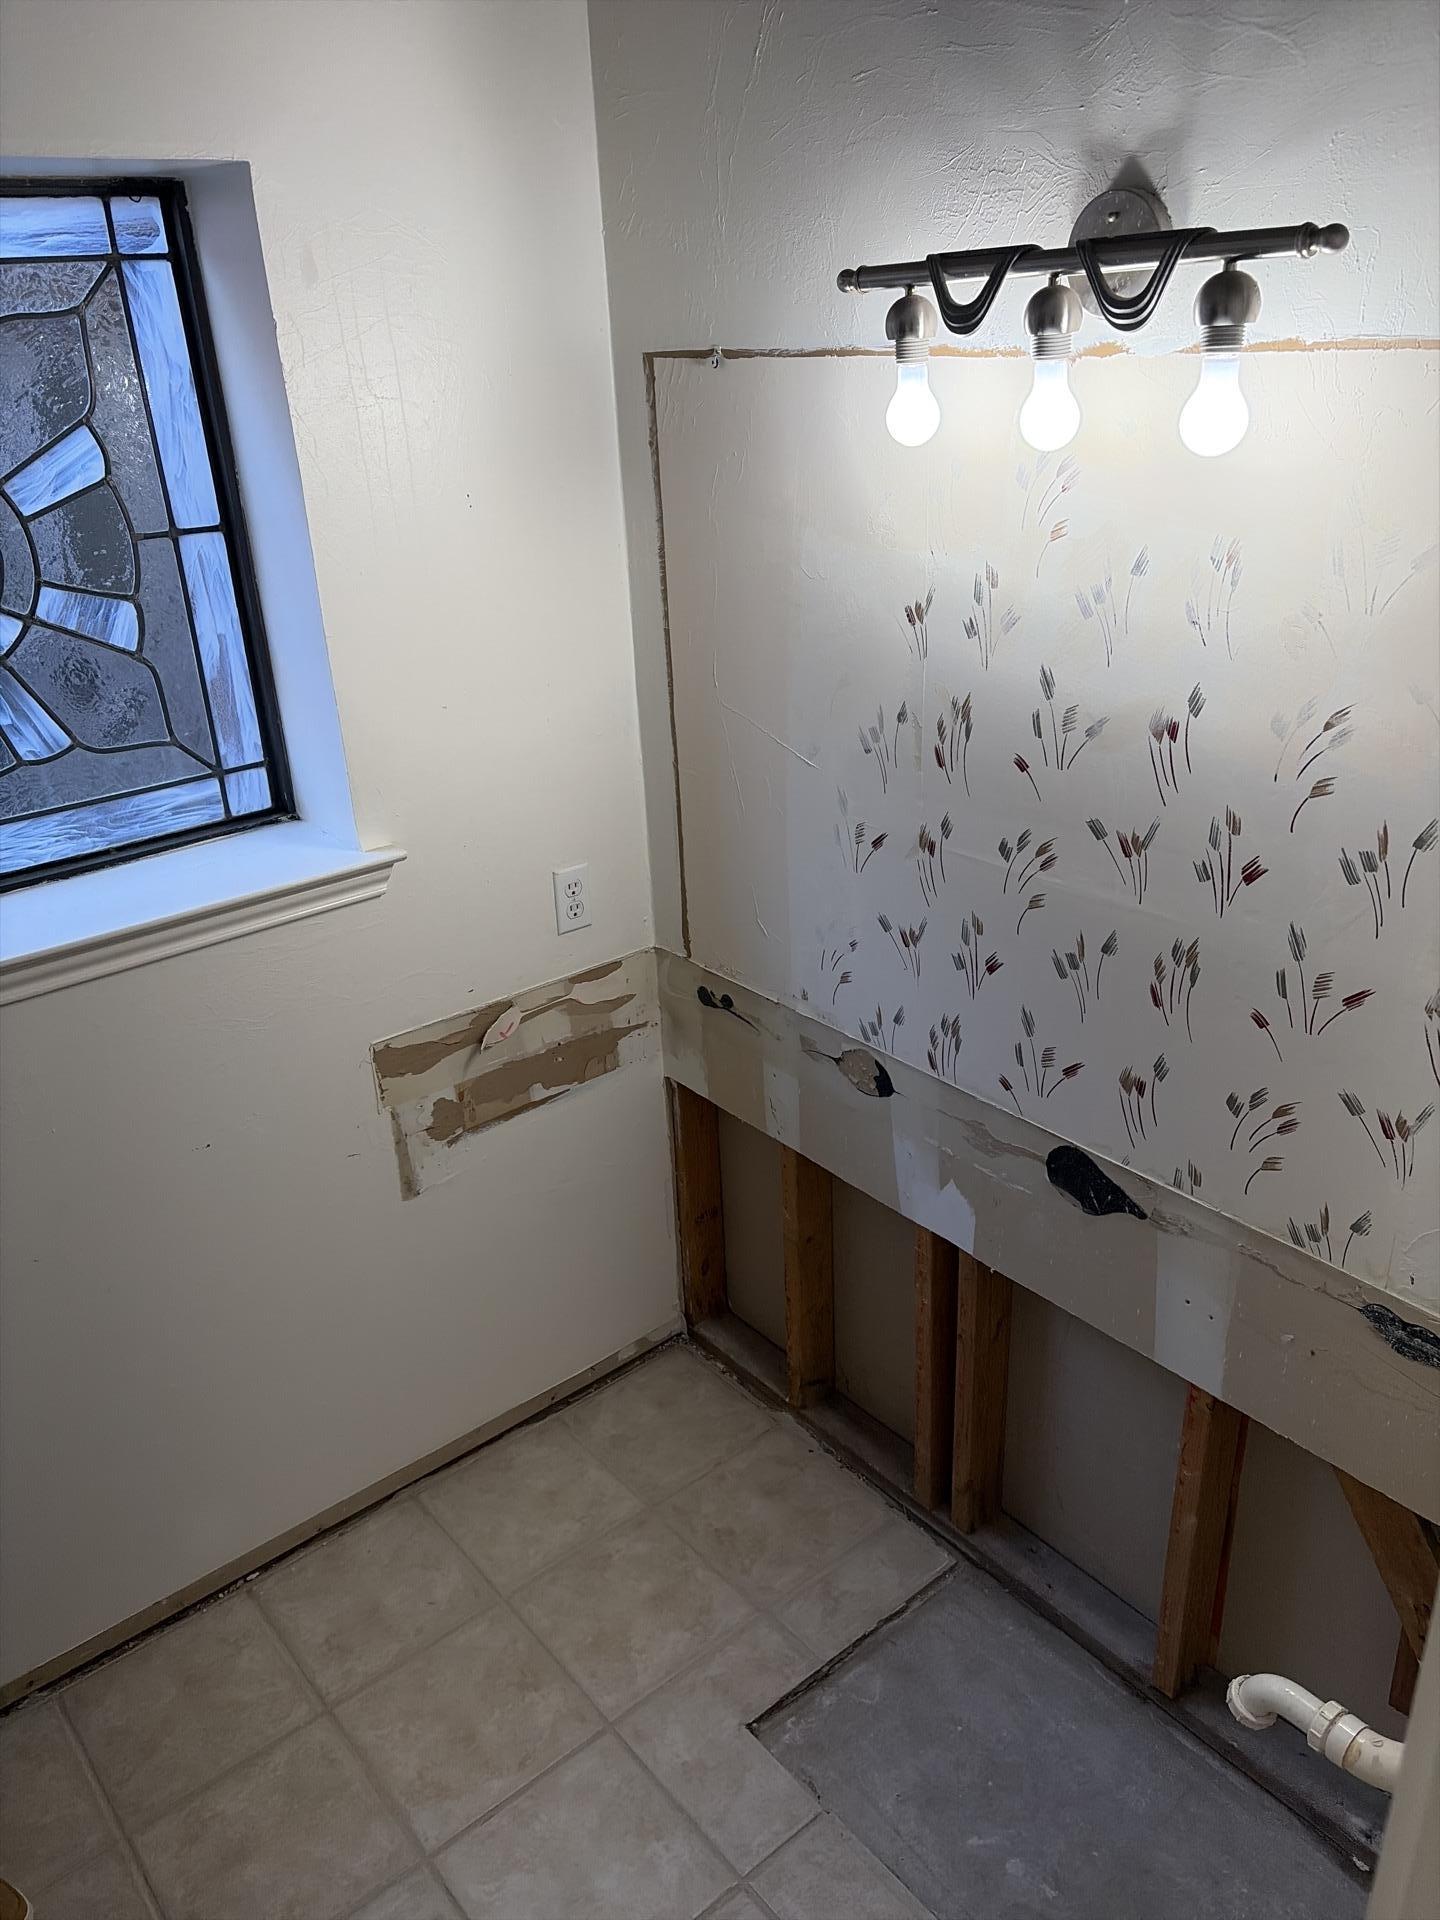
Once we understood the full extent, we got to work. Our first priority was water extraction and controlled demolition. We carefully removed the compromised drywall from the bathroom ceiling and lower walls, about 20 square feet in total. This exposed the framing and insulation, allowing us to assess structural integrity and begin the drying process.
In the master bedroom, we pulled up approximately 4 square feet of saturated carpet and padding in the closet area. We also set up containment barriers using heavy plastic sheeting to isolate the work zone and protect the homeowner’s belongings from dust and debris. According to IICRC standards, proper containment is critical during water damage restoration to prevent cross-contamination and maintain indoor air quality.
Next came sanitization. Water from plumbing leaks can carry contaminants, so we applied antimicrobial treatments to all affected surfaces. This step is often overlooked in DIY cleanup attempts, but it’s essential for preventing microbial growth down the line.
Controlled Demolition and Treatment
Removing saturated drywall and insulation
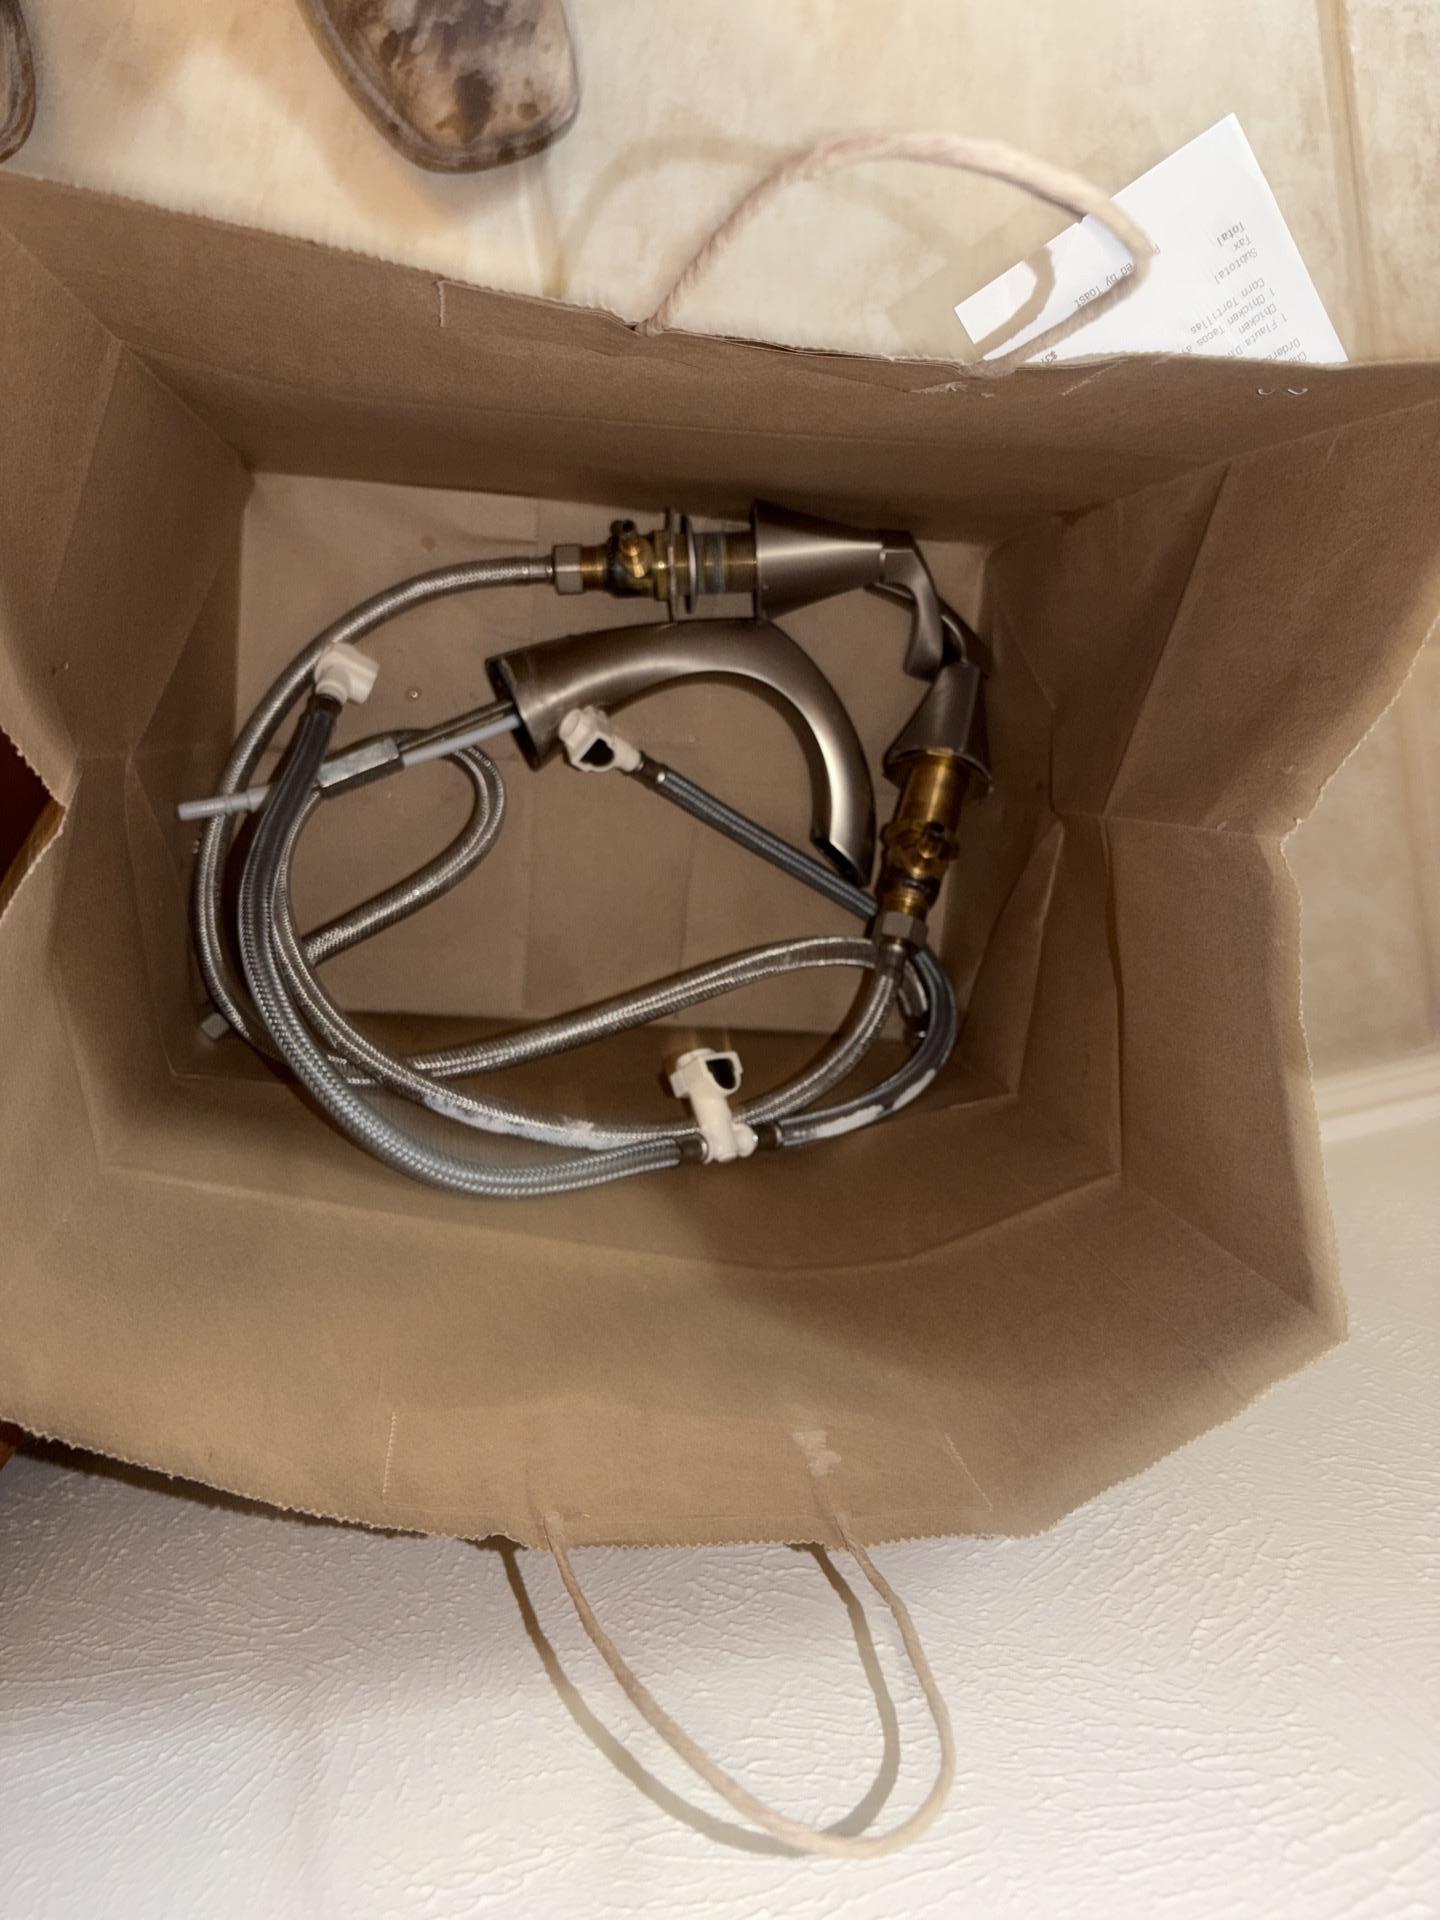
Removed faucet and supply lines during demolition
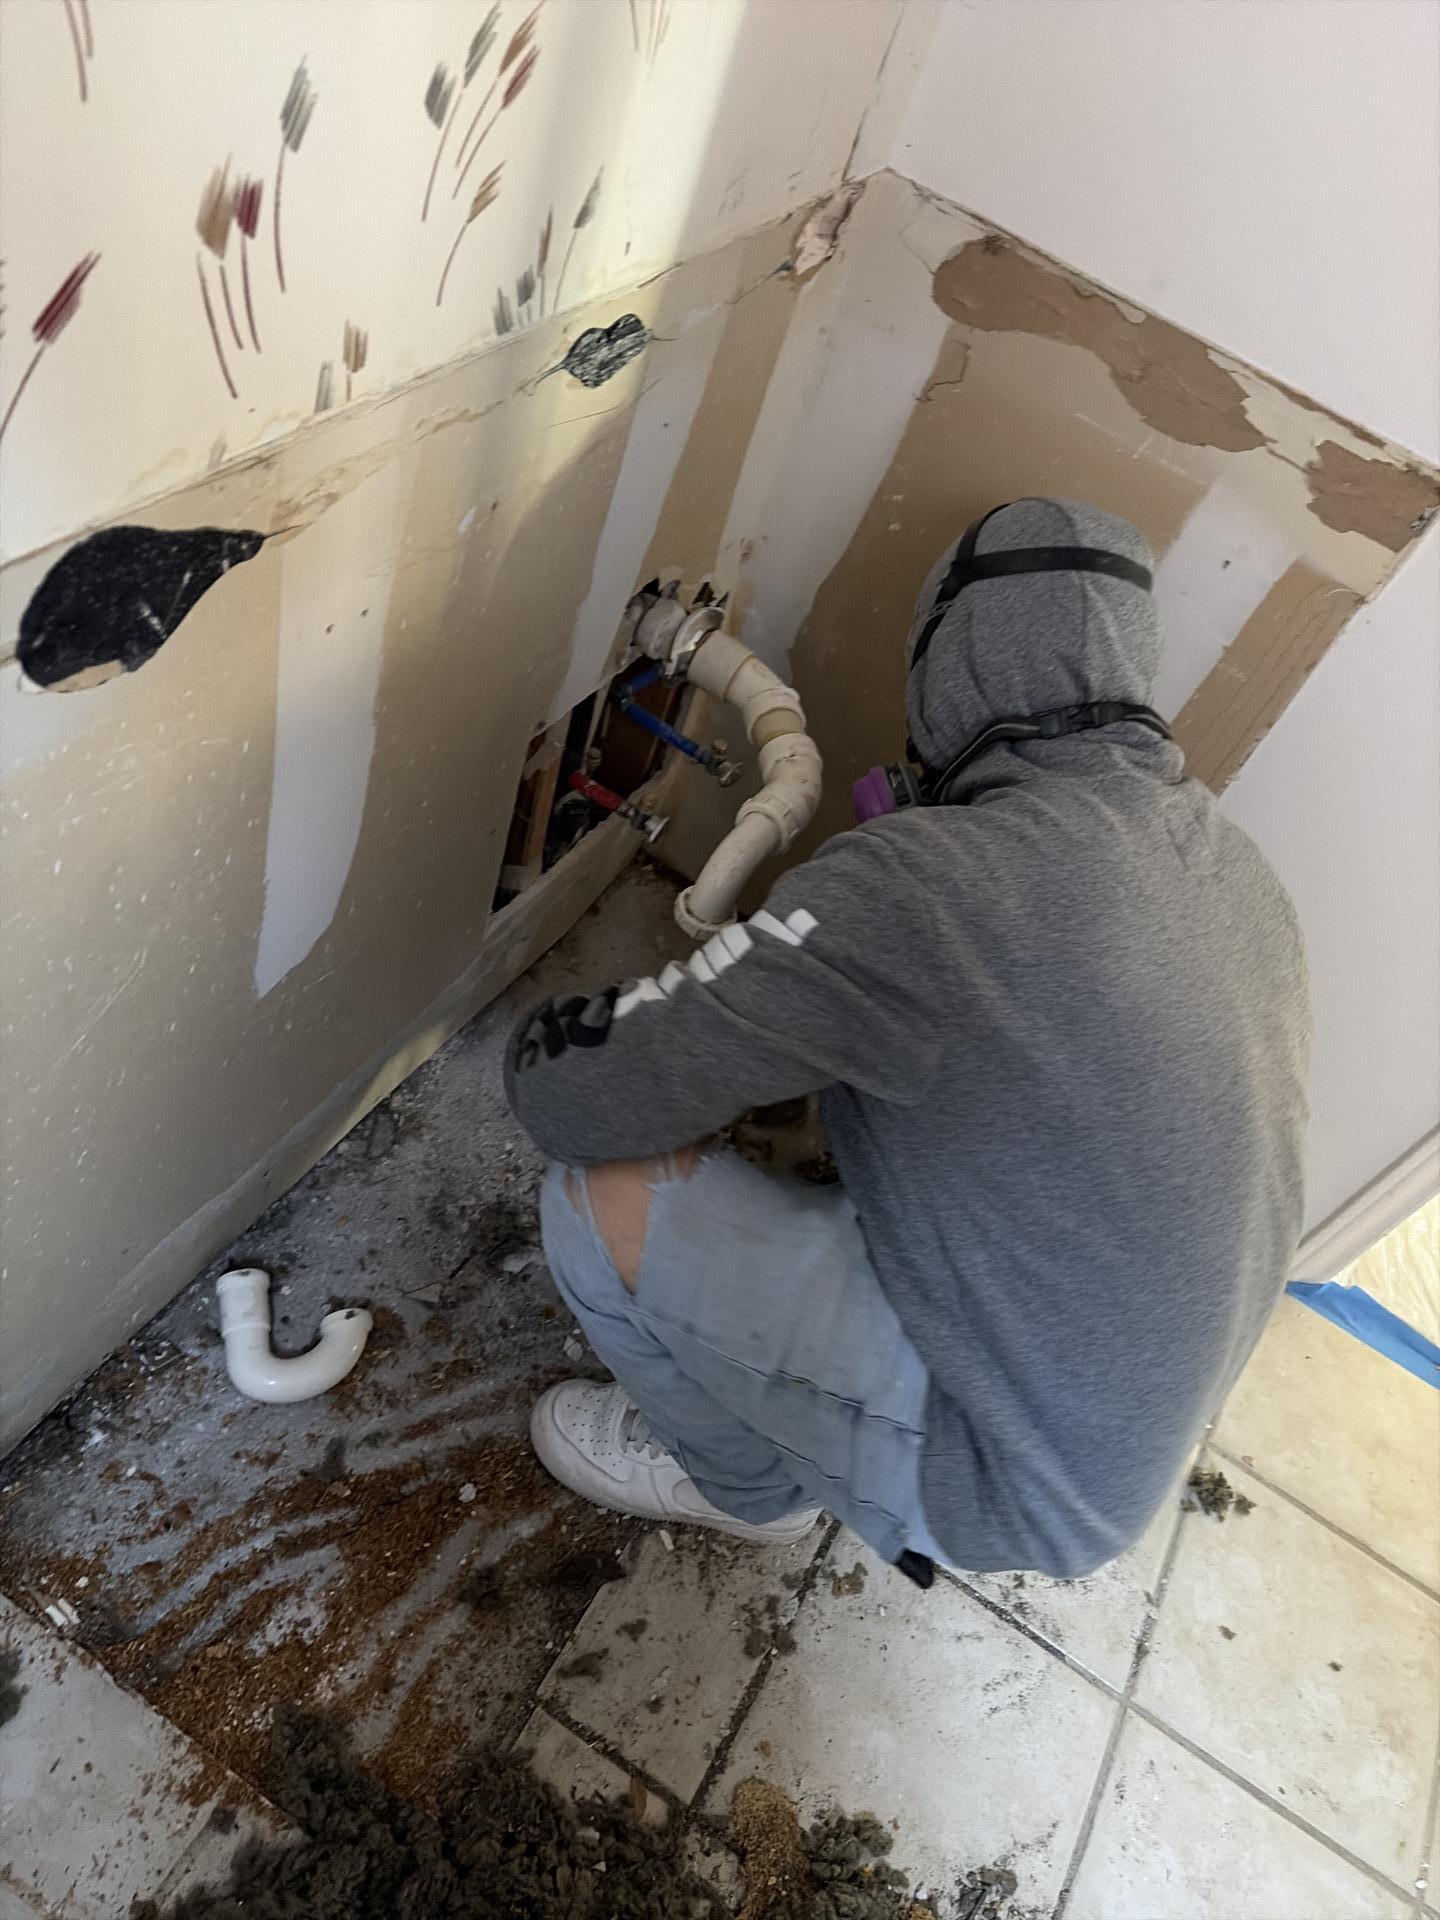
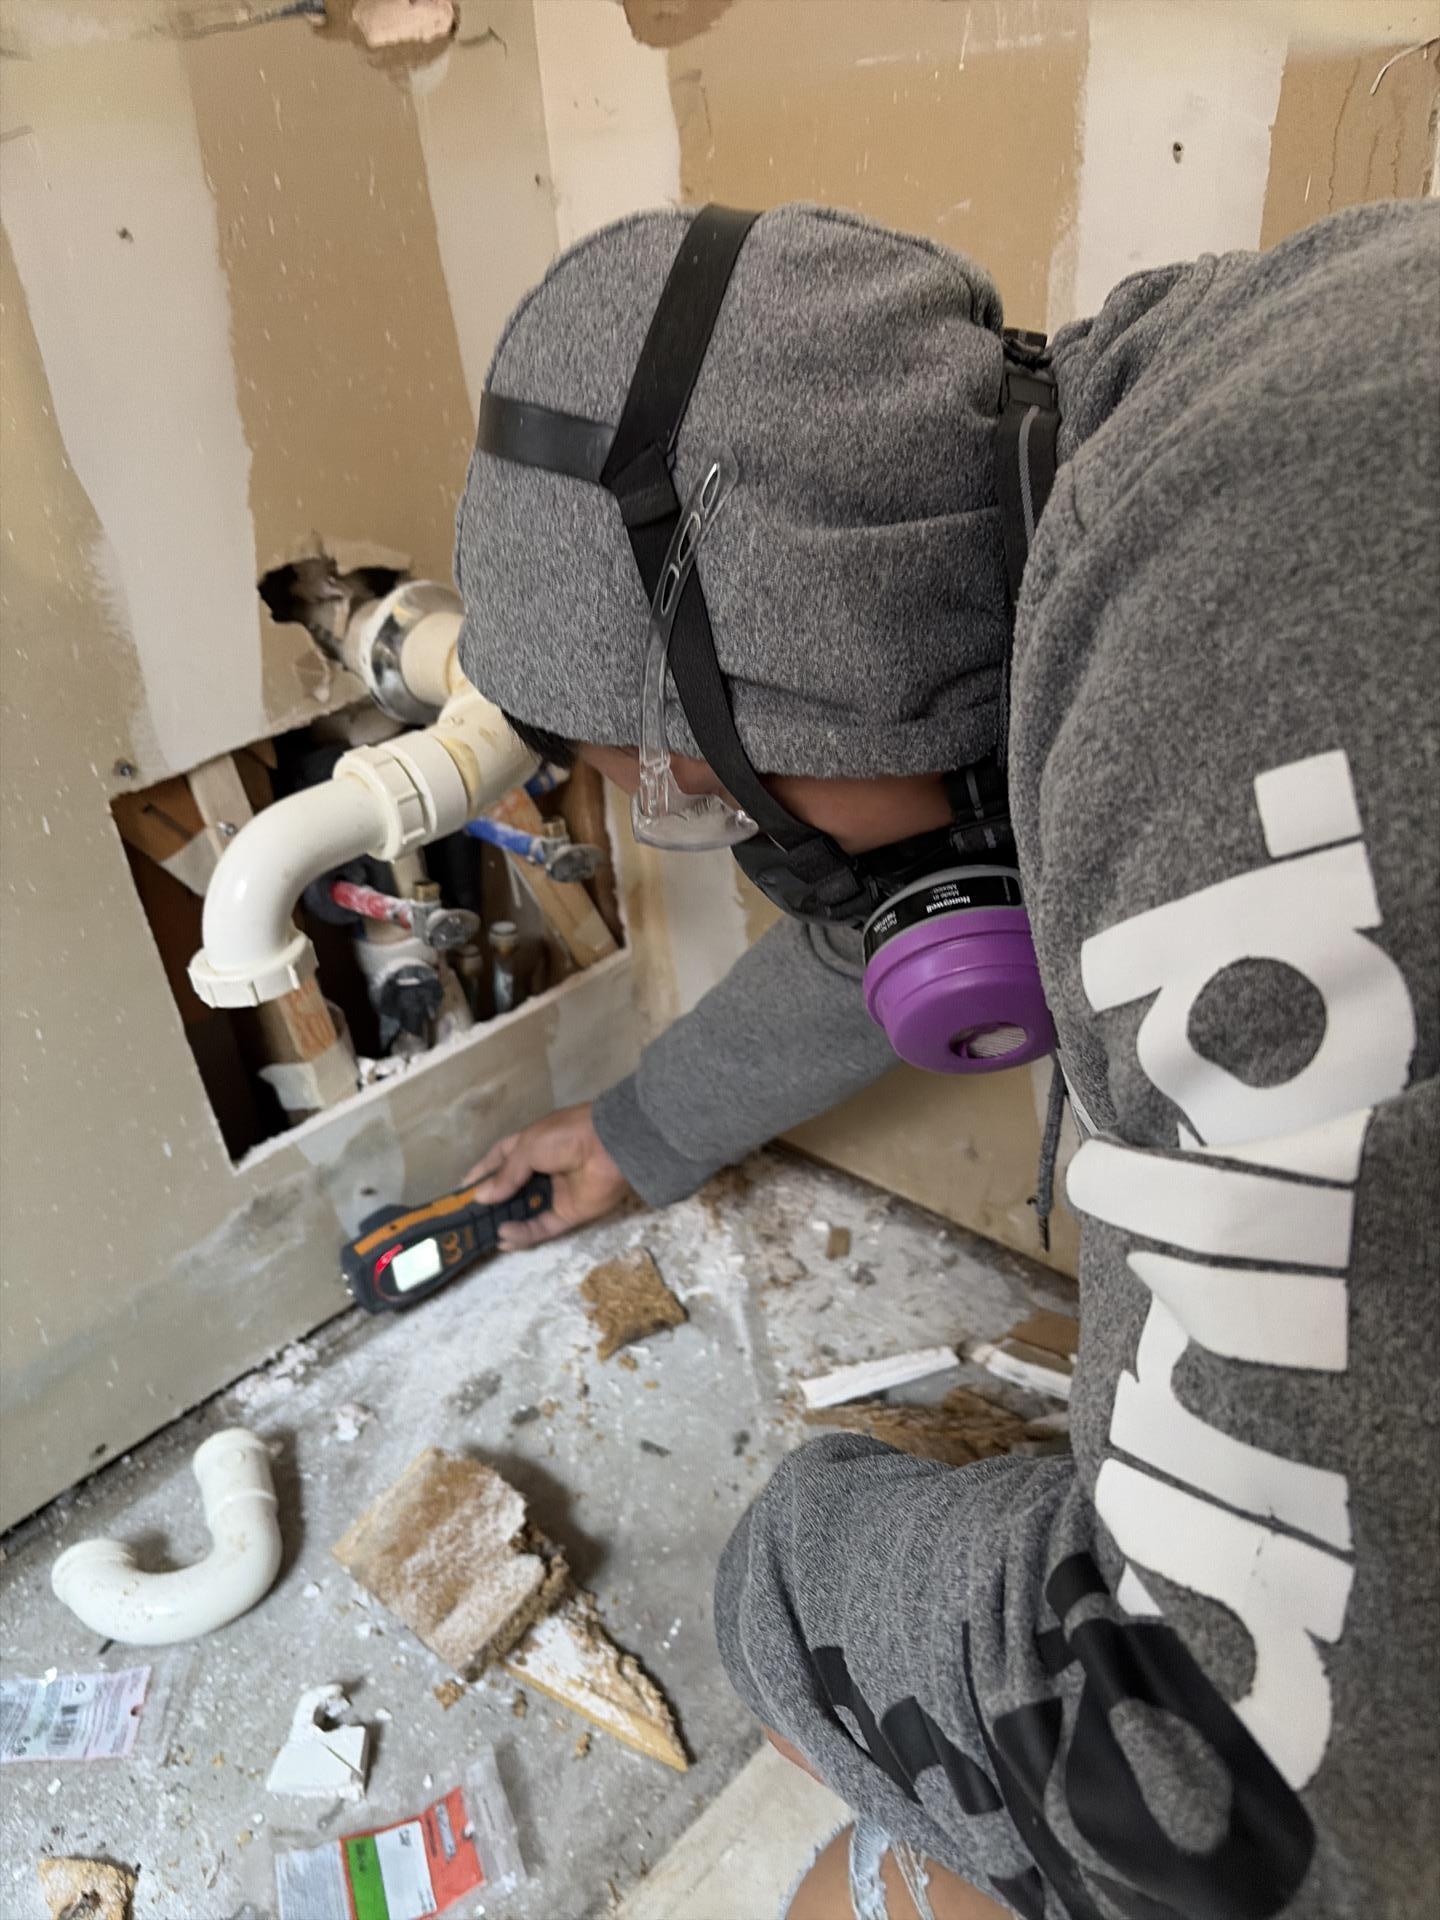
Inspecting the cavity for hidden moisture
Ceiling removal showing full impact
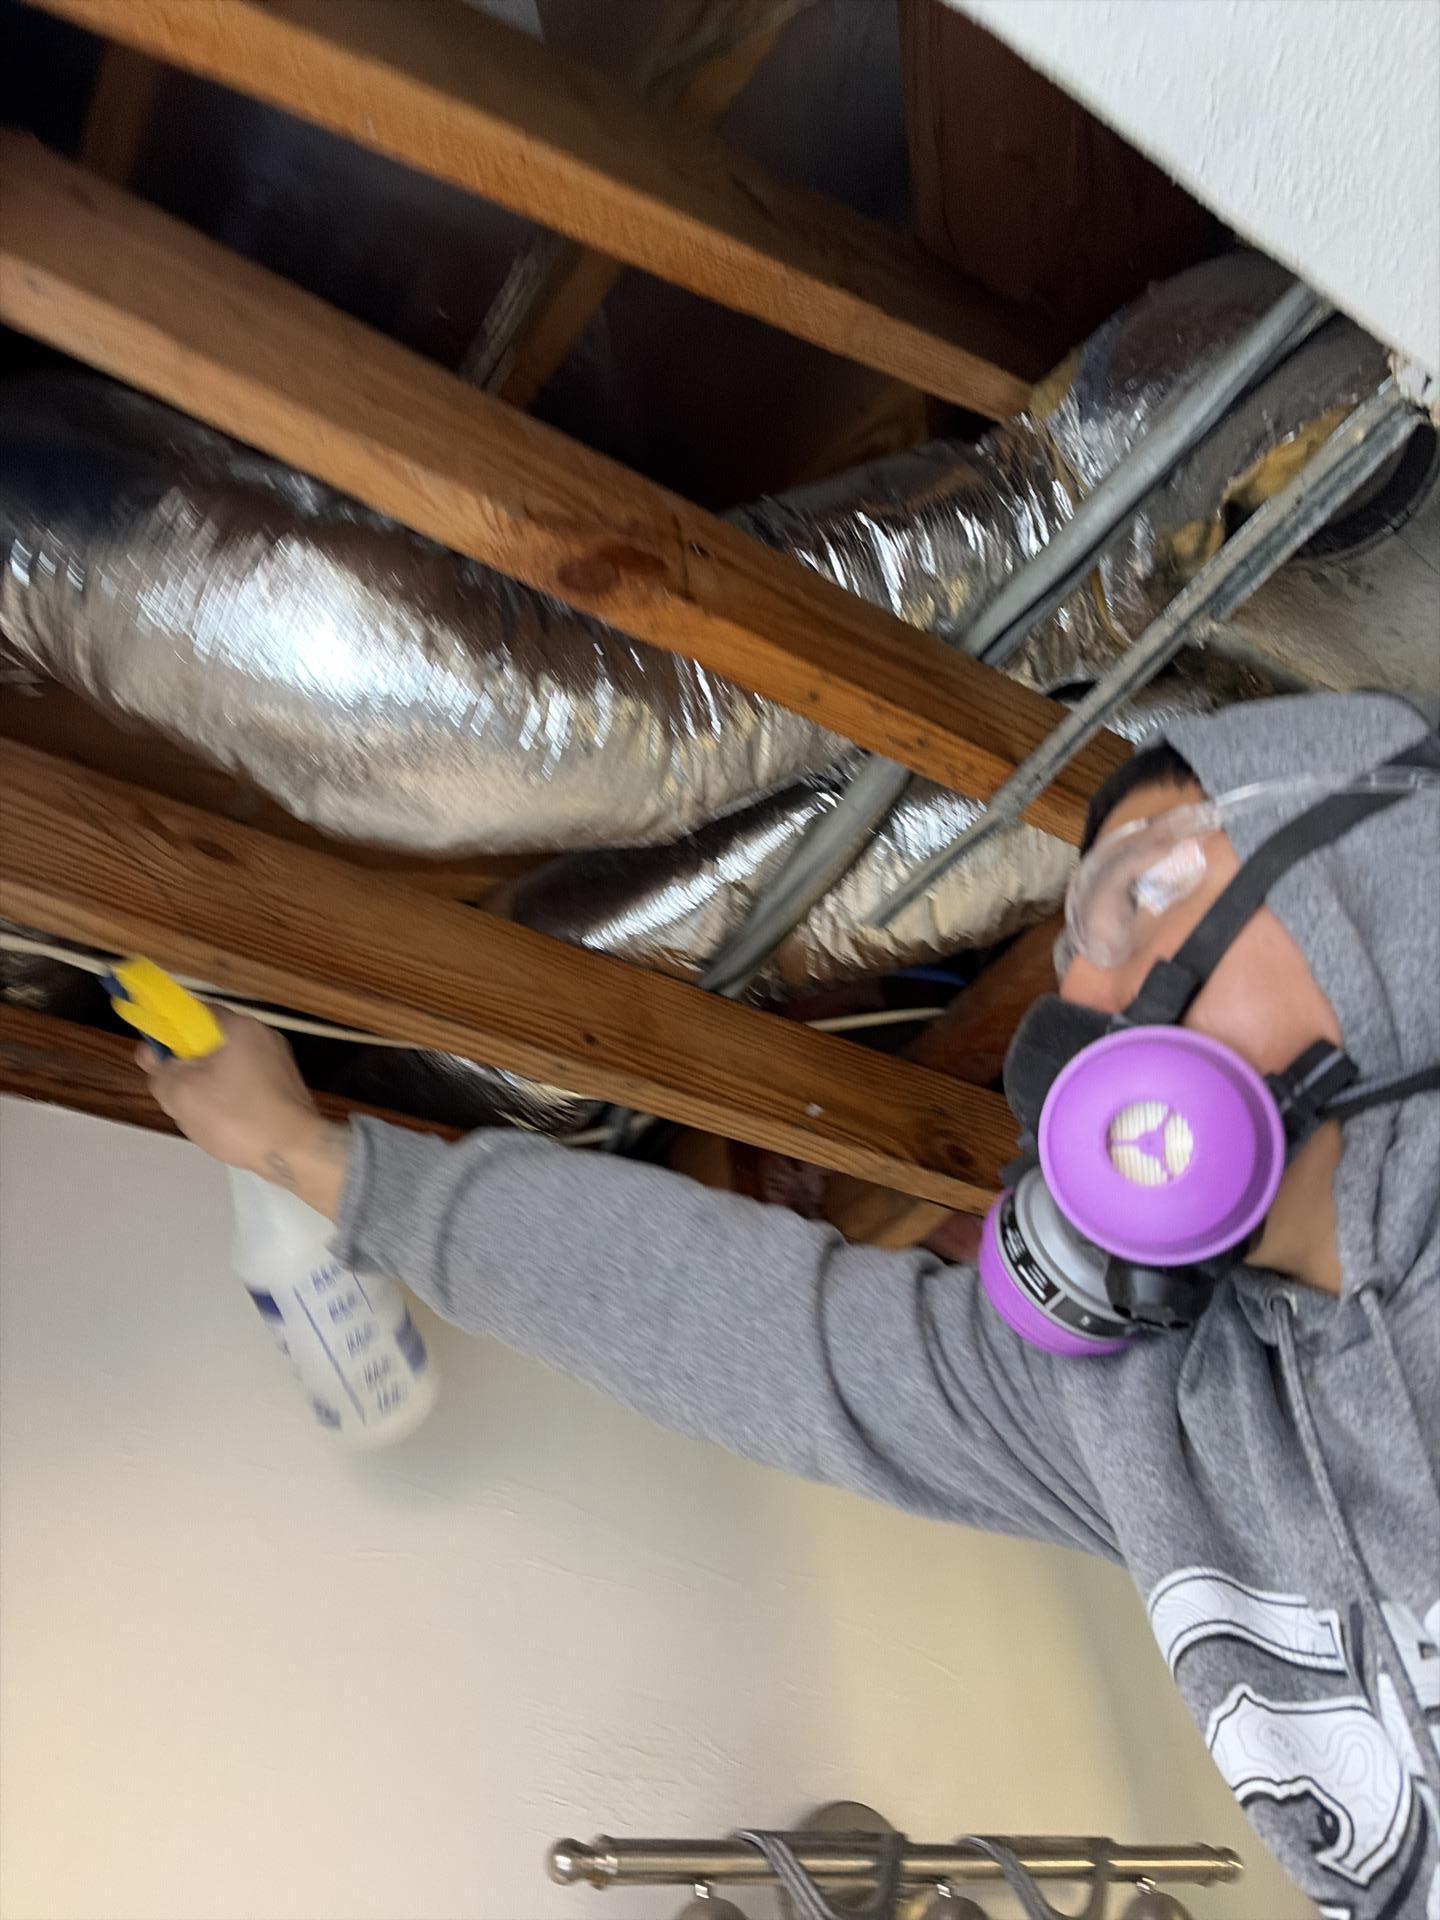
Antimicrobial application to prevent mold
Treating all exposed surfaces
Structural Drying: The Science Behind the Recovery
With demolition complete, we deployed commercial-grade drying equipment throughout the affected areas. This included high-velocity air movers and industrial dehumidifiers strategically positioned to create optimal airflow patterns. The goal was to bring moisture levels down to below 15% in all materials, the industry standard for “dry.”
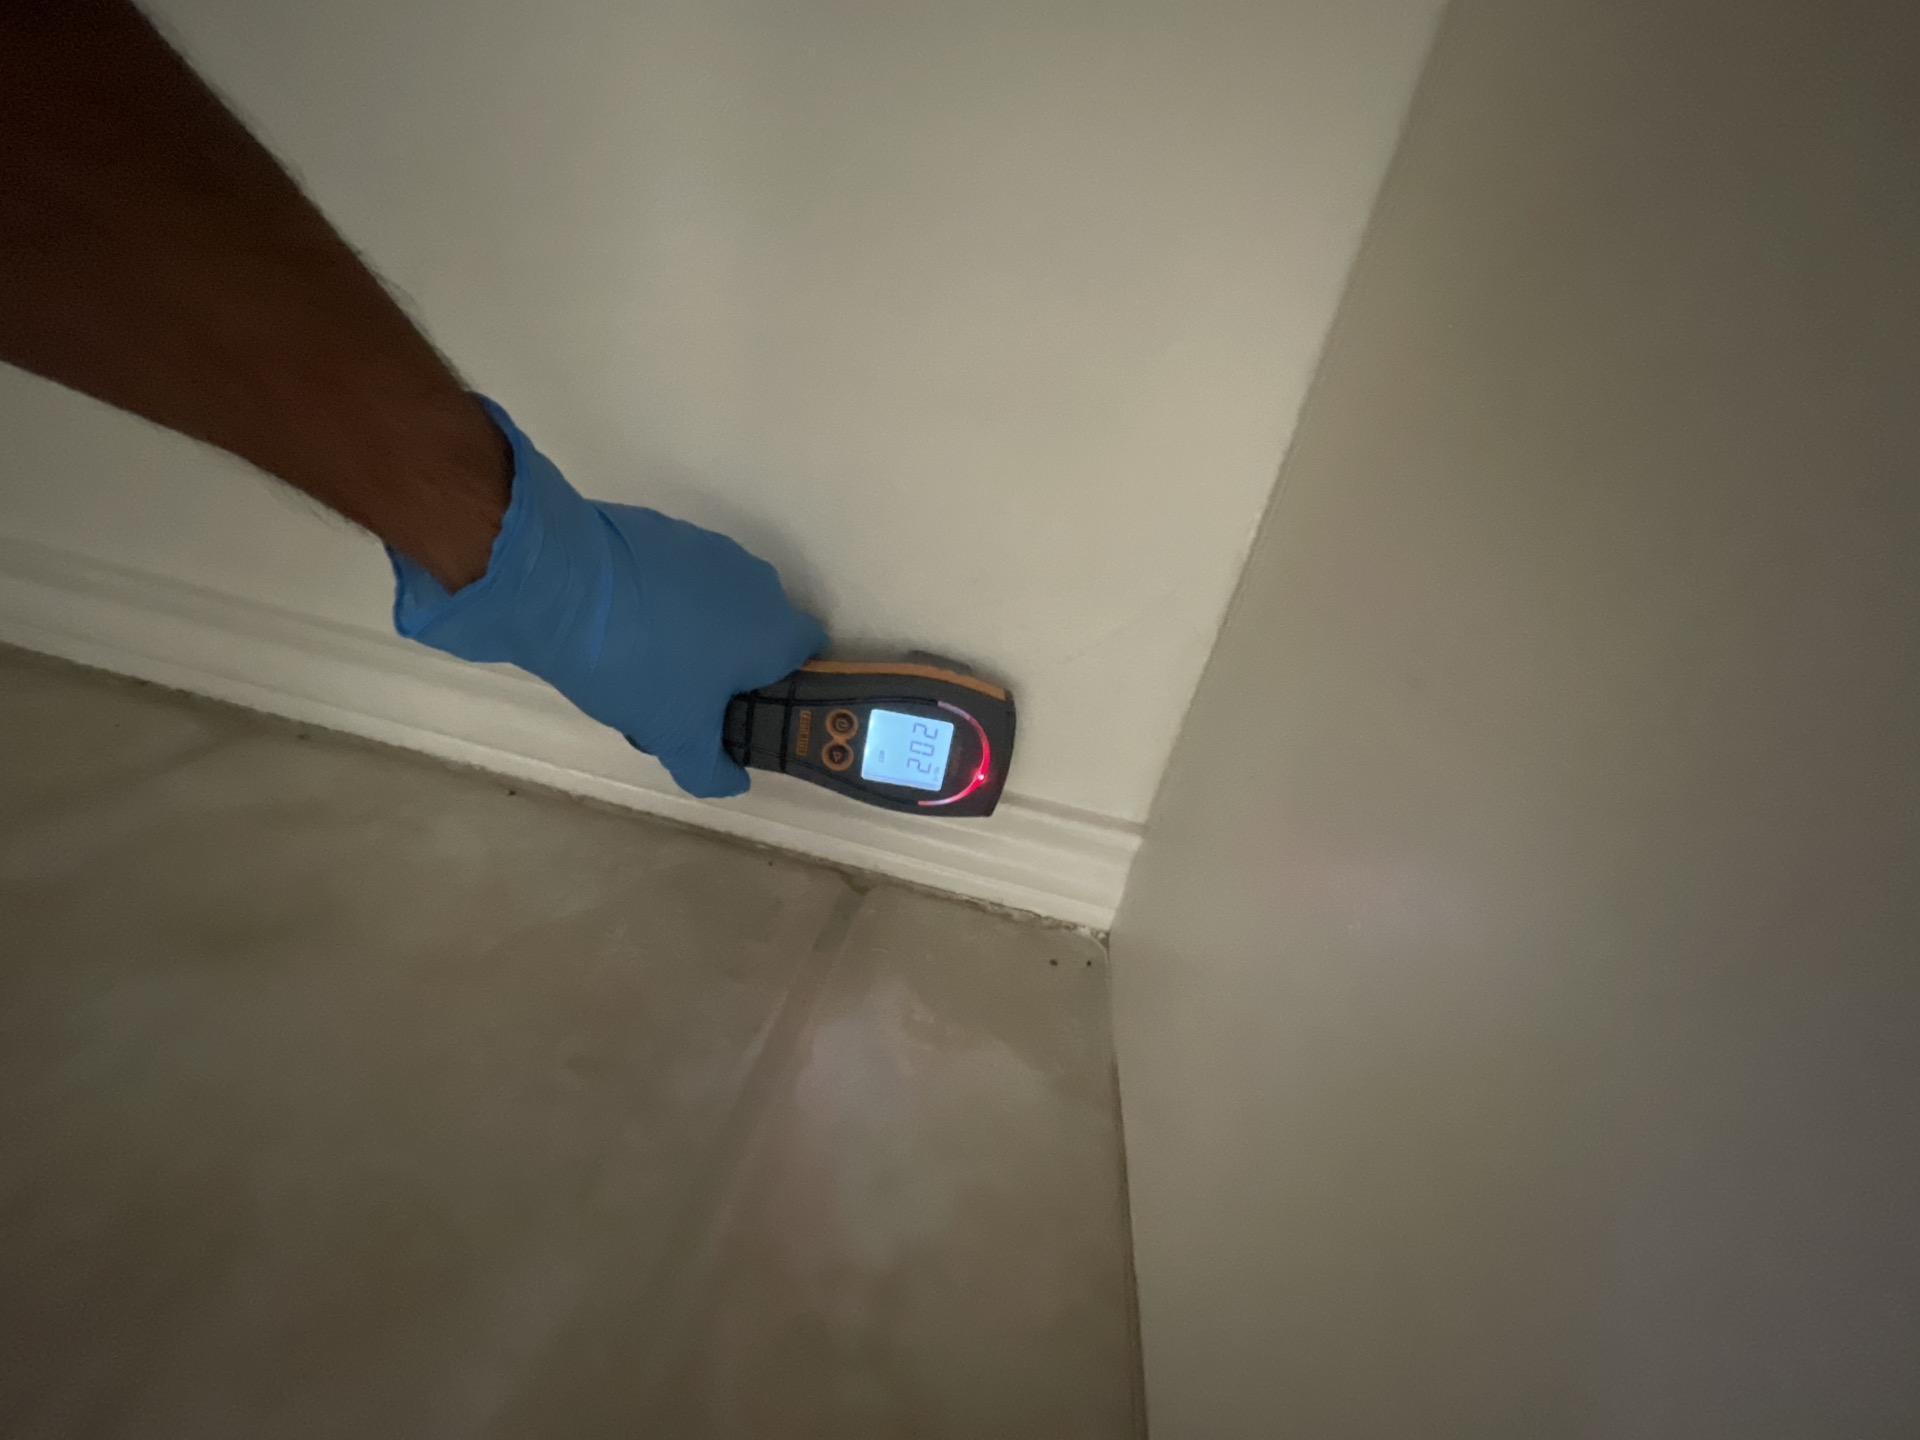
We monitored progress daily using moisture meters and hygrometers, adjusting equipment placement as needed. The bathroom took about four days to reach target levels, while the bedroom and closet dried within three days, thanks to quicker access and less porous materials. For homeowners wondering how long water damage restoration takes, every job is different, but proper drying can’t be rushed.
Did You Know? Simply running a box fan and hoping for the best won’t cut it. Structural drying requires specific temperature, humidity, and airflow conditions to prevent secondary damage like warping, swelling, and mold growth.
Professional Drying and Completion
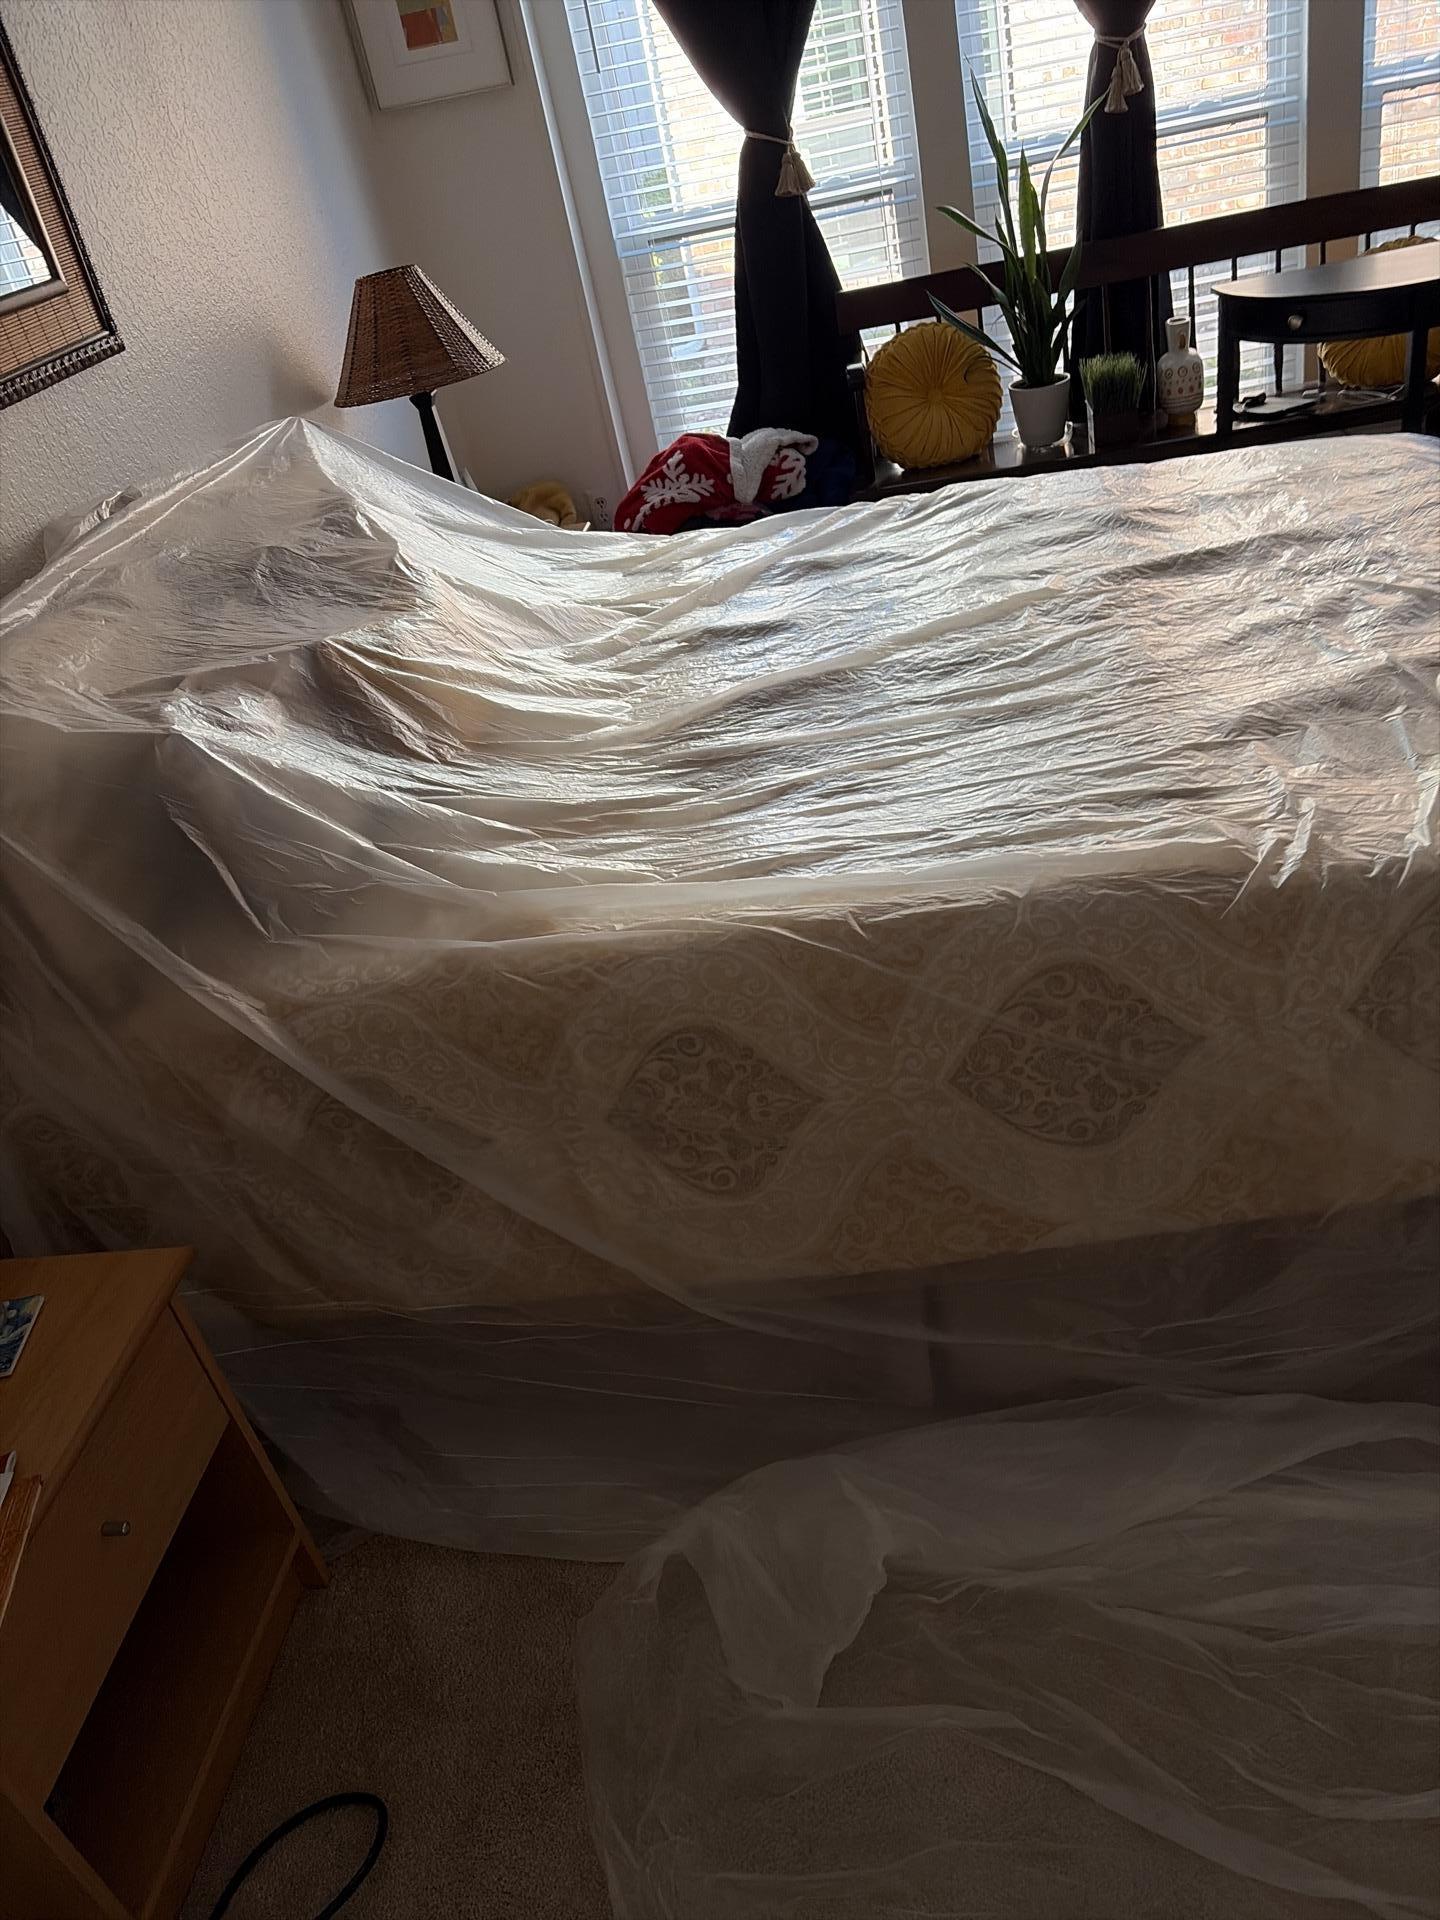
Containment in the master bedroom
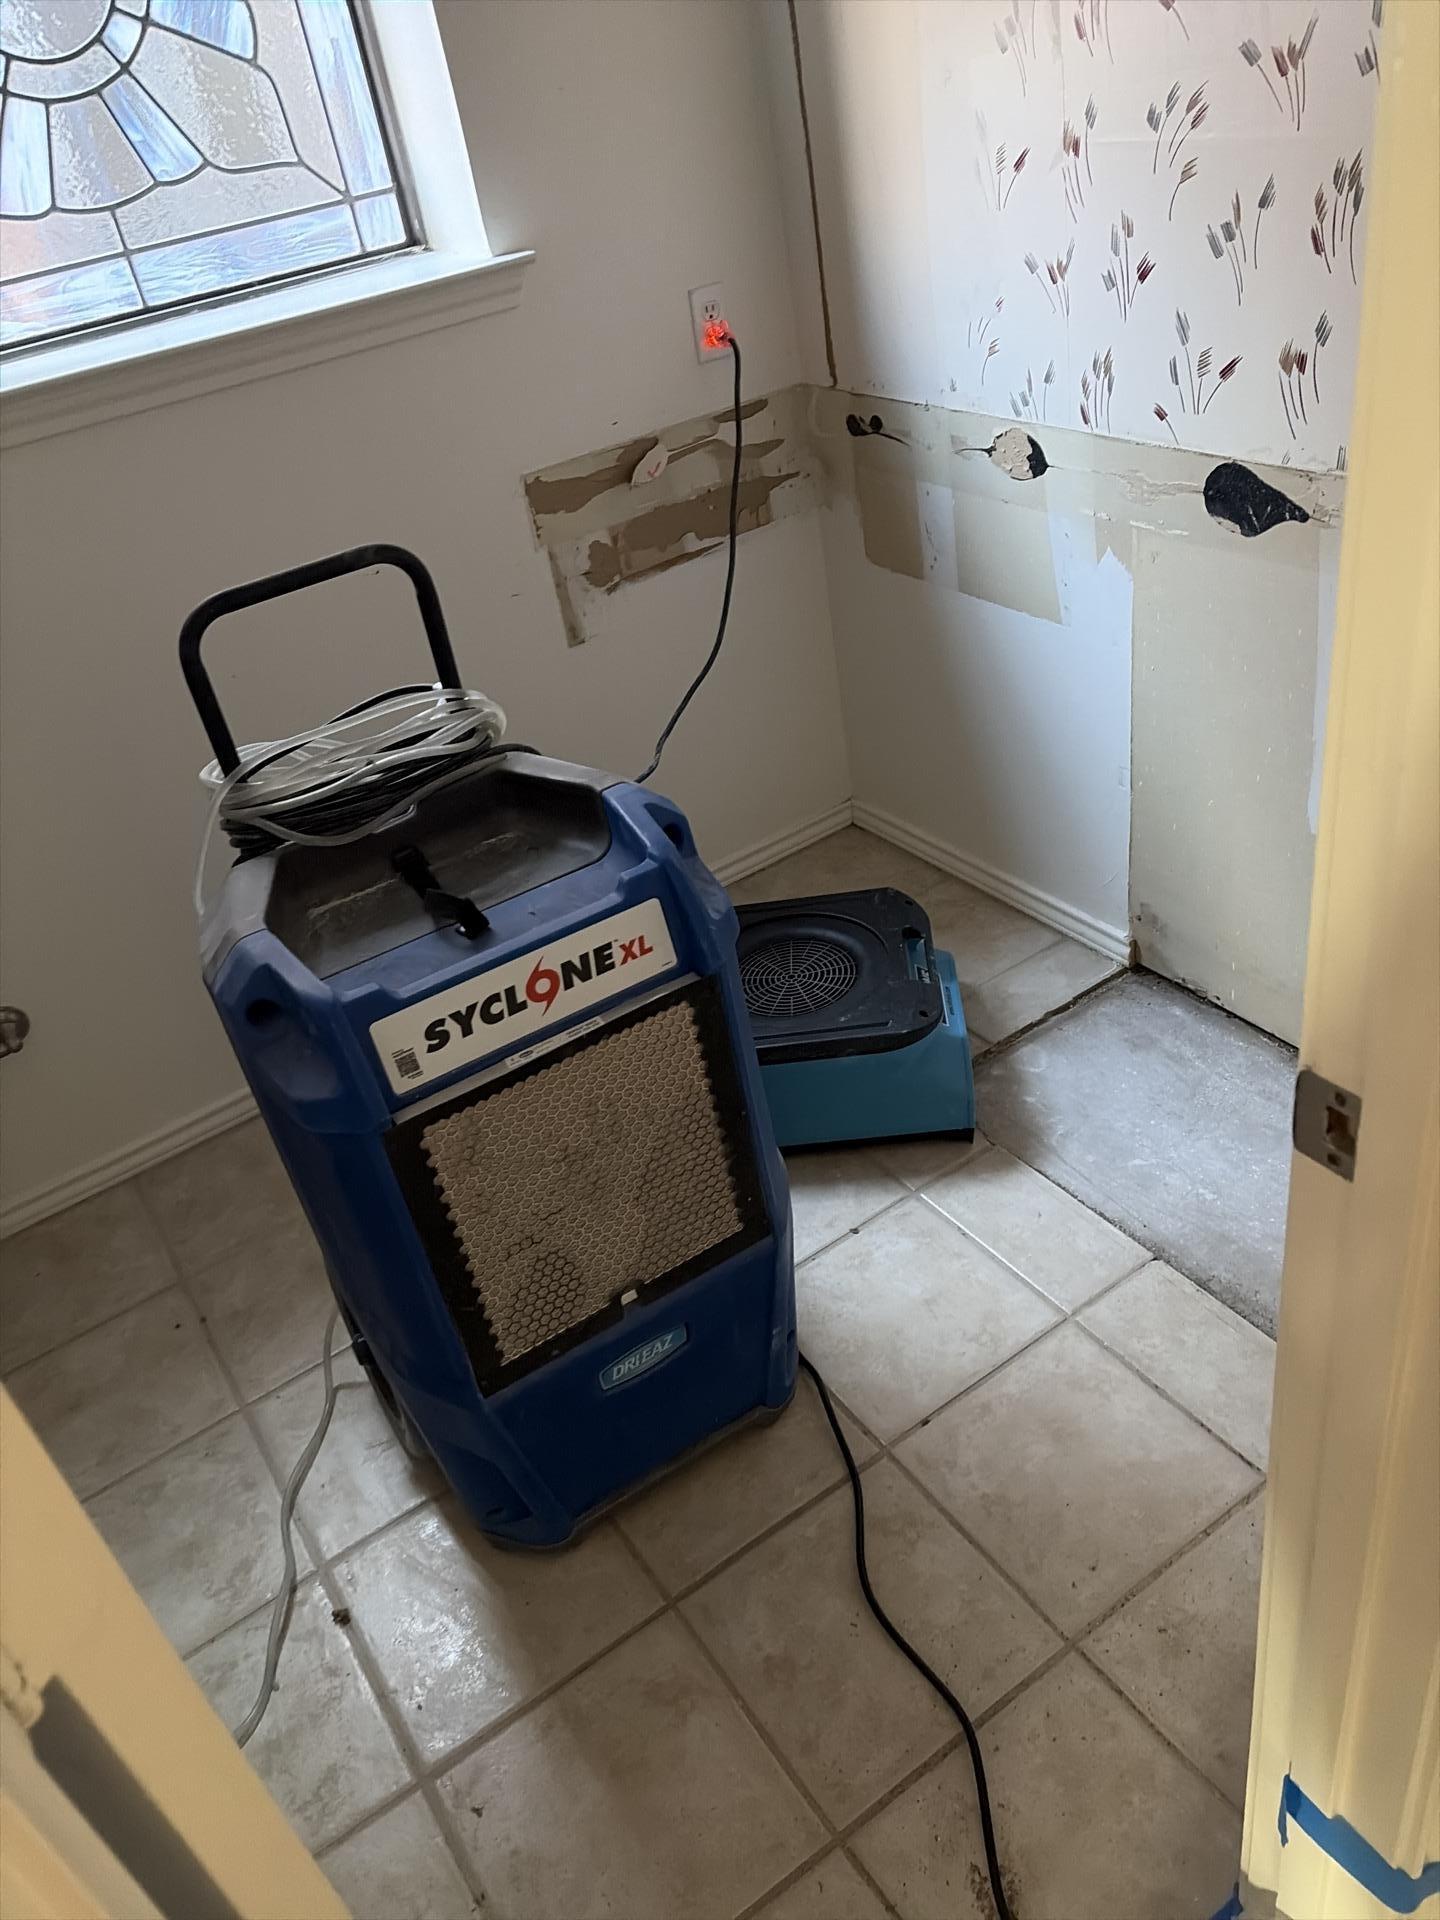
Commercial drying equipment in place
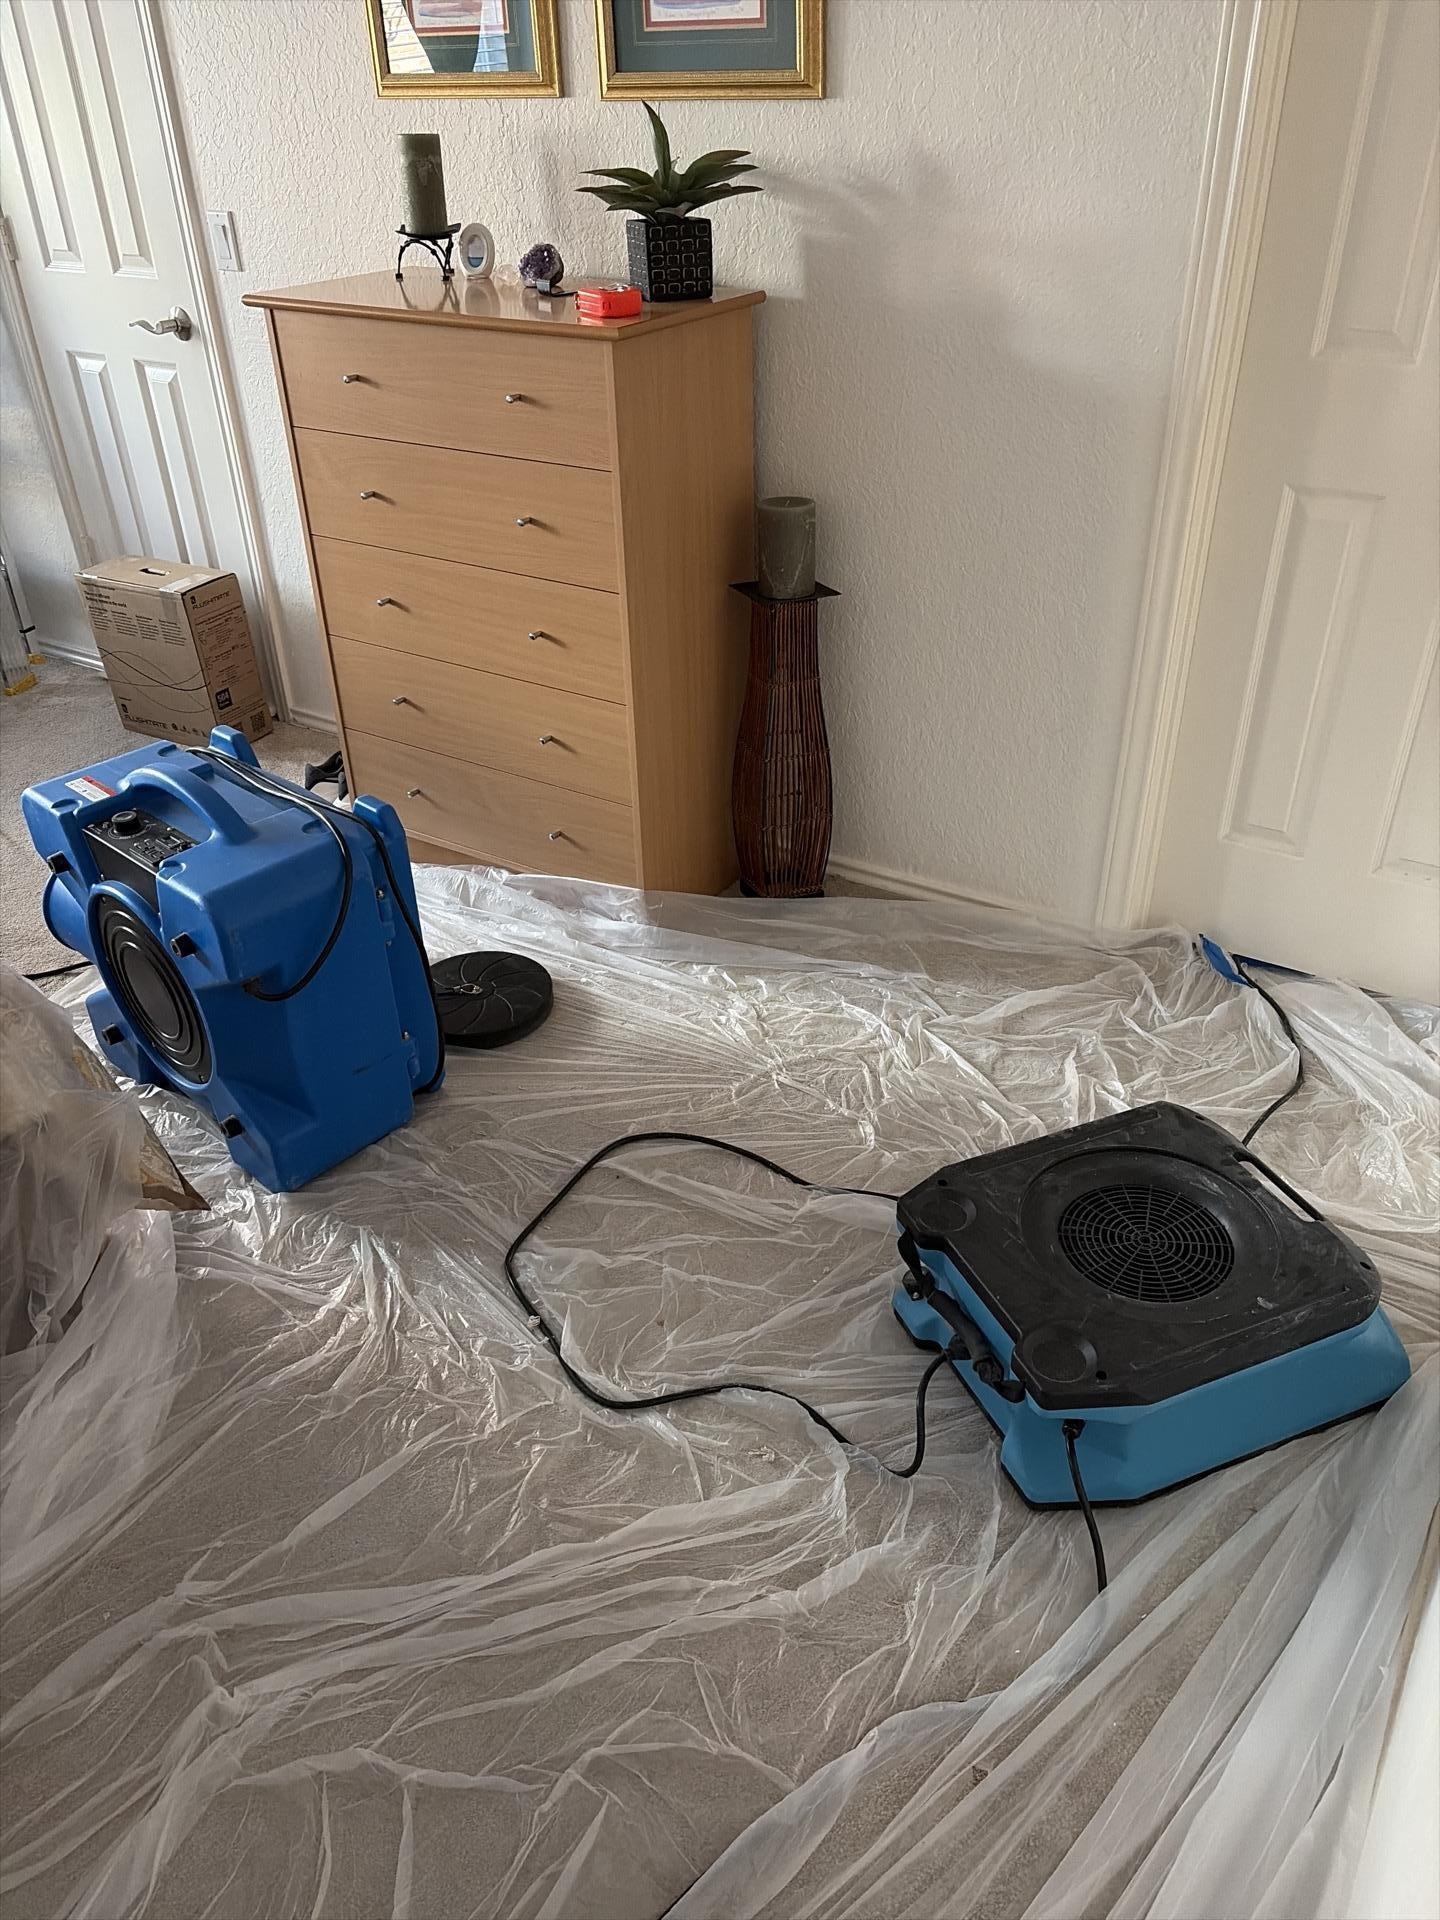
Bedroom drying setup with containment
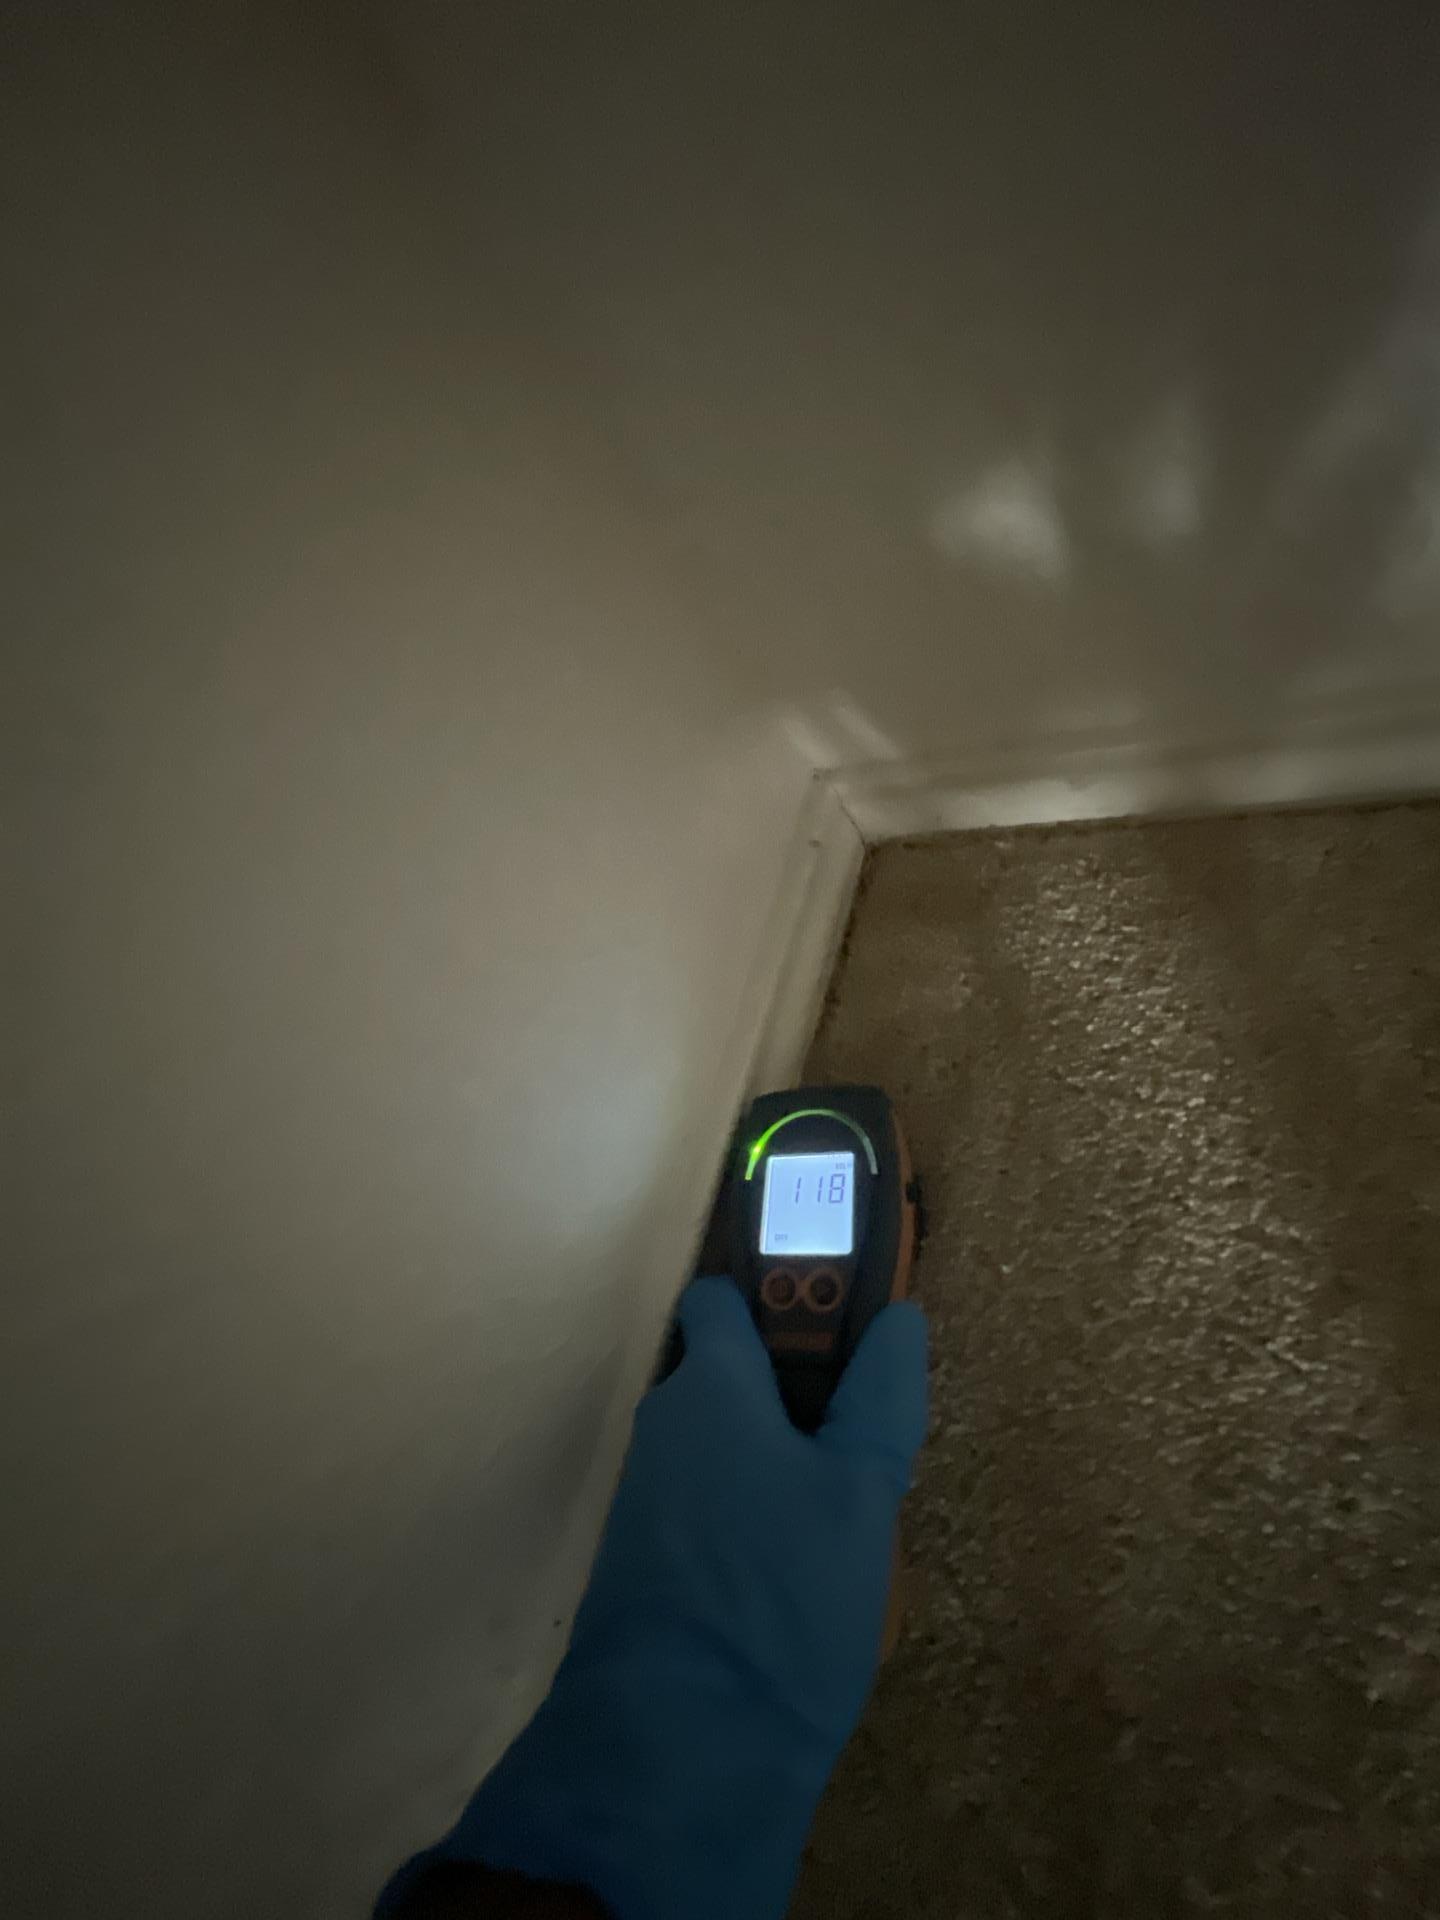
Closet readings at safe levels
Mitigation complete, ready for reconstruction
What Happened Next: Reconstruction
After mitigation wrapped up, the homeowner was ready to move forward with reconstruction services. Our team came back to install new drywall, match the existing texture, and repaint the bathroom and affected bedroom areas. We also coordinated with a local plumber to inspect and replace the failed PEX connection in the attic, an important step to prevent future issues.
The homeowner opted to upgrade their bathroom lighting and vanity hardware during reconstruction, turning an unfortunate situation into an opportunity to refresh the space. Within a couple of weeks, the home looked better than before the leak happened. For additional peace of mind, we recommended routine leak detection checks, especially in homes with older plumbing systems.
Lessons Learned: Preventing Future Water Damage
This job reinforced a few key lessons every North Texas homeowner should know:
- Check your attic regularly. Plumbing runs, HVAC condensate lines, and roof penetrations are all common leak sources that go unnoticed until water starts dripping.
- Know where your main water shutoff is. Every second counts when a pipe fails. Being able to cut the water immediately can save thousands in damage.
- Don’t wait to call for help. Water spreads fast and the longer it sits, the worse the damage gets. Professional mitigation within the first 24-48 hours makes a huge difference in outcomes and costs.
- Trust the professionals. DIY attempts often miss hidden moisture, leading to mold problems weeks or months later. Certified restoration technicians have the tools and training to do it right the first time.
For more guidance on what to look for, check out our article on hidden signs of water damage in your North Texas home.
Hear From the Homeowner
When the job was done, the homeowner was kind enough to share their experience. Here’s what they had to say about working with Intensa Dry Mold & Water Restoration Restoration:
“I highly recommend Intensa Dry Mold & Water Restoration. Bobby did a fantastic job with the water mitigation. He was prompt, kind and did everything possible to make this horrible pipe leak experience more tolerable. Elnard, the company owner, is also wonderful to deal with. He responds quickly and even came out on a Sunday to take measurements for the reconstruction phase of the project. It doesn’t get much better than that! If you need water mitigation and reconstruction, I highly recommend Intensa Dry Mold & Water Restoration.”
Insurance Tip: Most homeowner’s insurance policies cover sudden and accidental water damage from plumbing failures. We work directly with insurance companies to document damage, provide detailed estimates, and make the claims process as smooth as possible for homeowners.
Dealing With Water Damage in Your Addison Home?
Our IICRC-certified team responds in under 40 minutes, 24/7. From emergency mitigation to complete reconstruction, we handle every step so you don’t have to.
Under 40-Minute Response
Free Inspections
Direct Insurance Billing
IICRC Certified
Serving Addison, Plano, Frisco, McKinney, and all of the Dallas-Fort Worth area