Every homeowner’s nightmare has a way of showing up quietly. No dramatic sounds. No obvious signs. Just a dishwasher doing its thing, except that somewhere behind the wall, it had been leaking, and the damage had already spread further than anyone expected. When our team at Intensa Dry Restoration got the call from this Allen, TX residence, we knew what we were walking into. What we found confirmed it. Our water damage restoration team was on-site quickly, ready to assess and act.
Project Snapshot
|
What Happened: A Dishwasher Leak That Went Further Than Expected
The source of loss was a dishwasher leak, classified as Category 1 water, meaning clean supply water. That’s the best-case scenario from a contamination standpoint. But clean water doesn’t stay clean once it starts sitting in flooring, subfloor, and wall cavities. Time is always the enemy.
By the time we arrived, moisture had migrated well beyond the kitchen. The living room hardwood floors were showing saturation. The play room adjacent to the kitchen had moisture in the flooring and walls. The kitchen itself had buckled hardwood, saturated ceramic tile grout, and soaked plywood subfloor under the cabinets. This wasn’t a small job.
Here’s something worth knowing about dishwasher leaks specifically: the water often travels underneath the flooring before it ever shows up on the surface. By the time you notice warping or soft spots, the subfloor has likely been wet for a while. That’s why our team runs full moisture mapping on every affected room, not just the room where the source is. Dishwasher leaks behind walls are more common than most people realize, and the hidden damage is almost always worse than what you can see.
⚠ Heads Up: Dishwasher Leaks Are Often Silent Dishwashers can leak slowly for weeks without any visible puddle on the floor. Water seeps under the unit, saturates the subfloor, and travels along joists into adjacent rooms. By the time you notice a soft spot or a musty smell, the damage has usually been building for a while. If your kitchen floor feels slightly springy near the appliance, it’s worth getting it checked. |
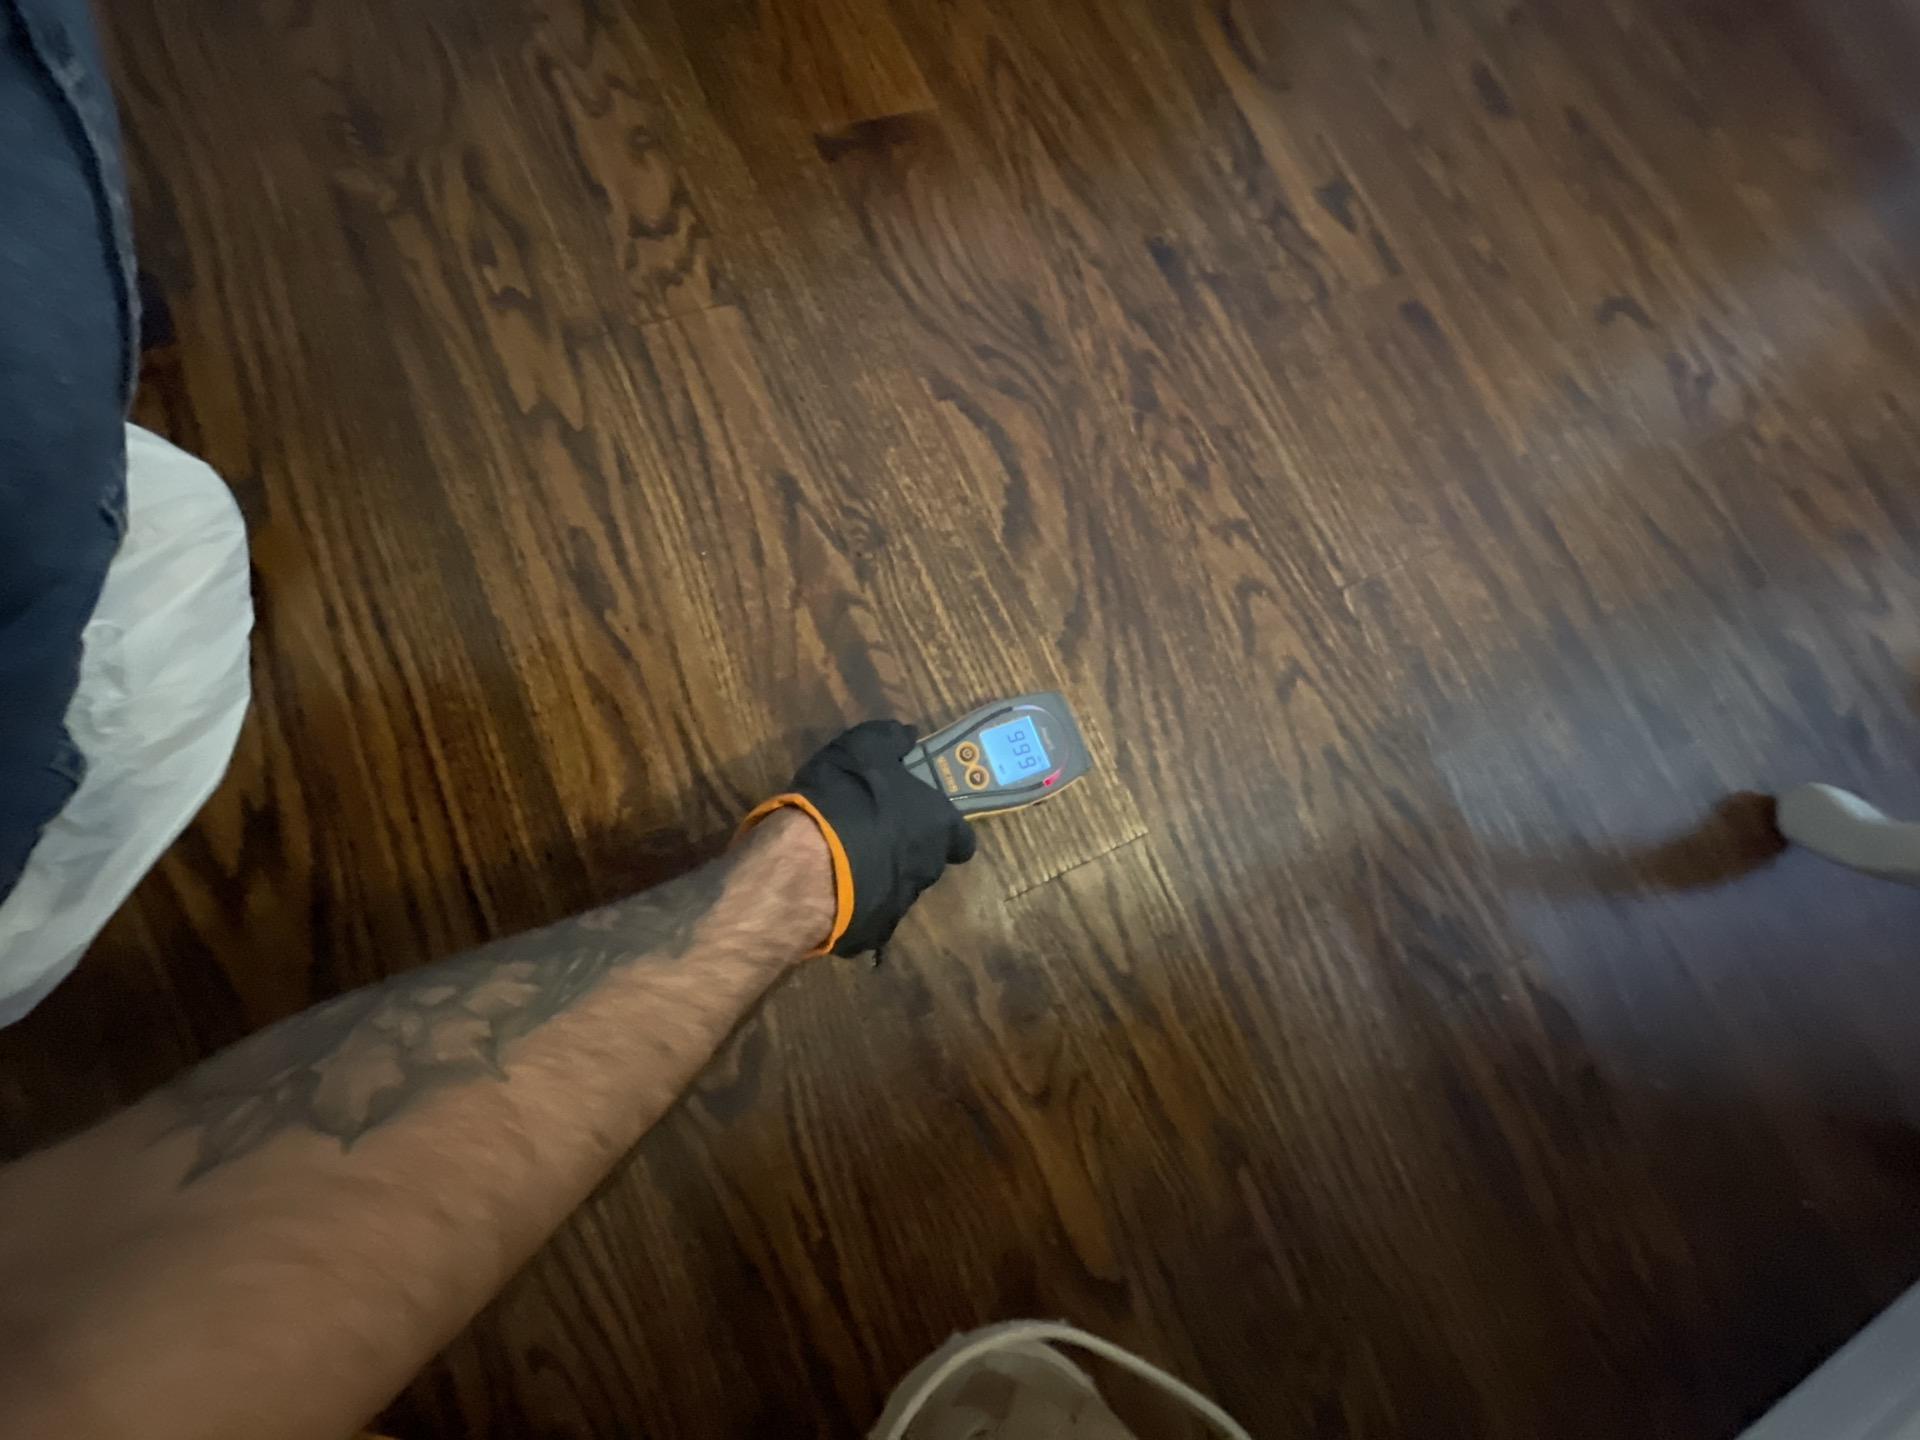
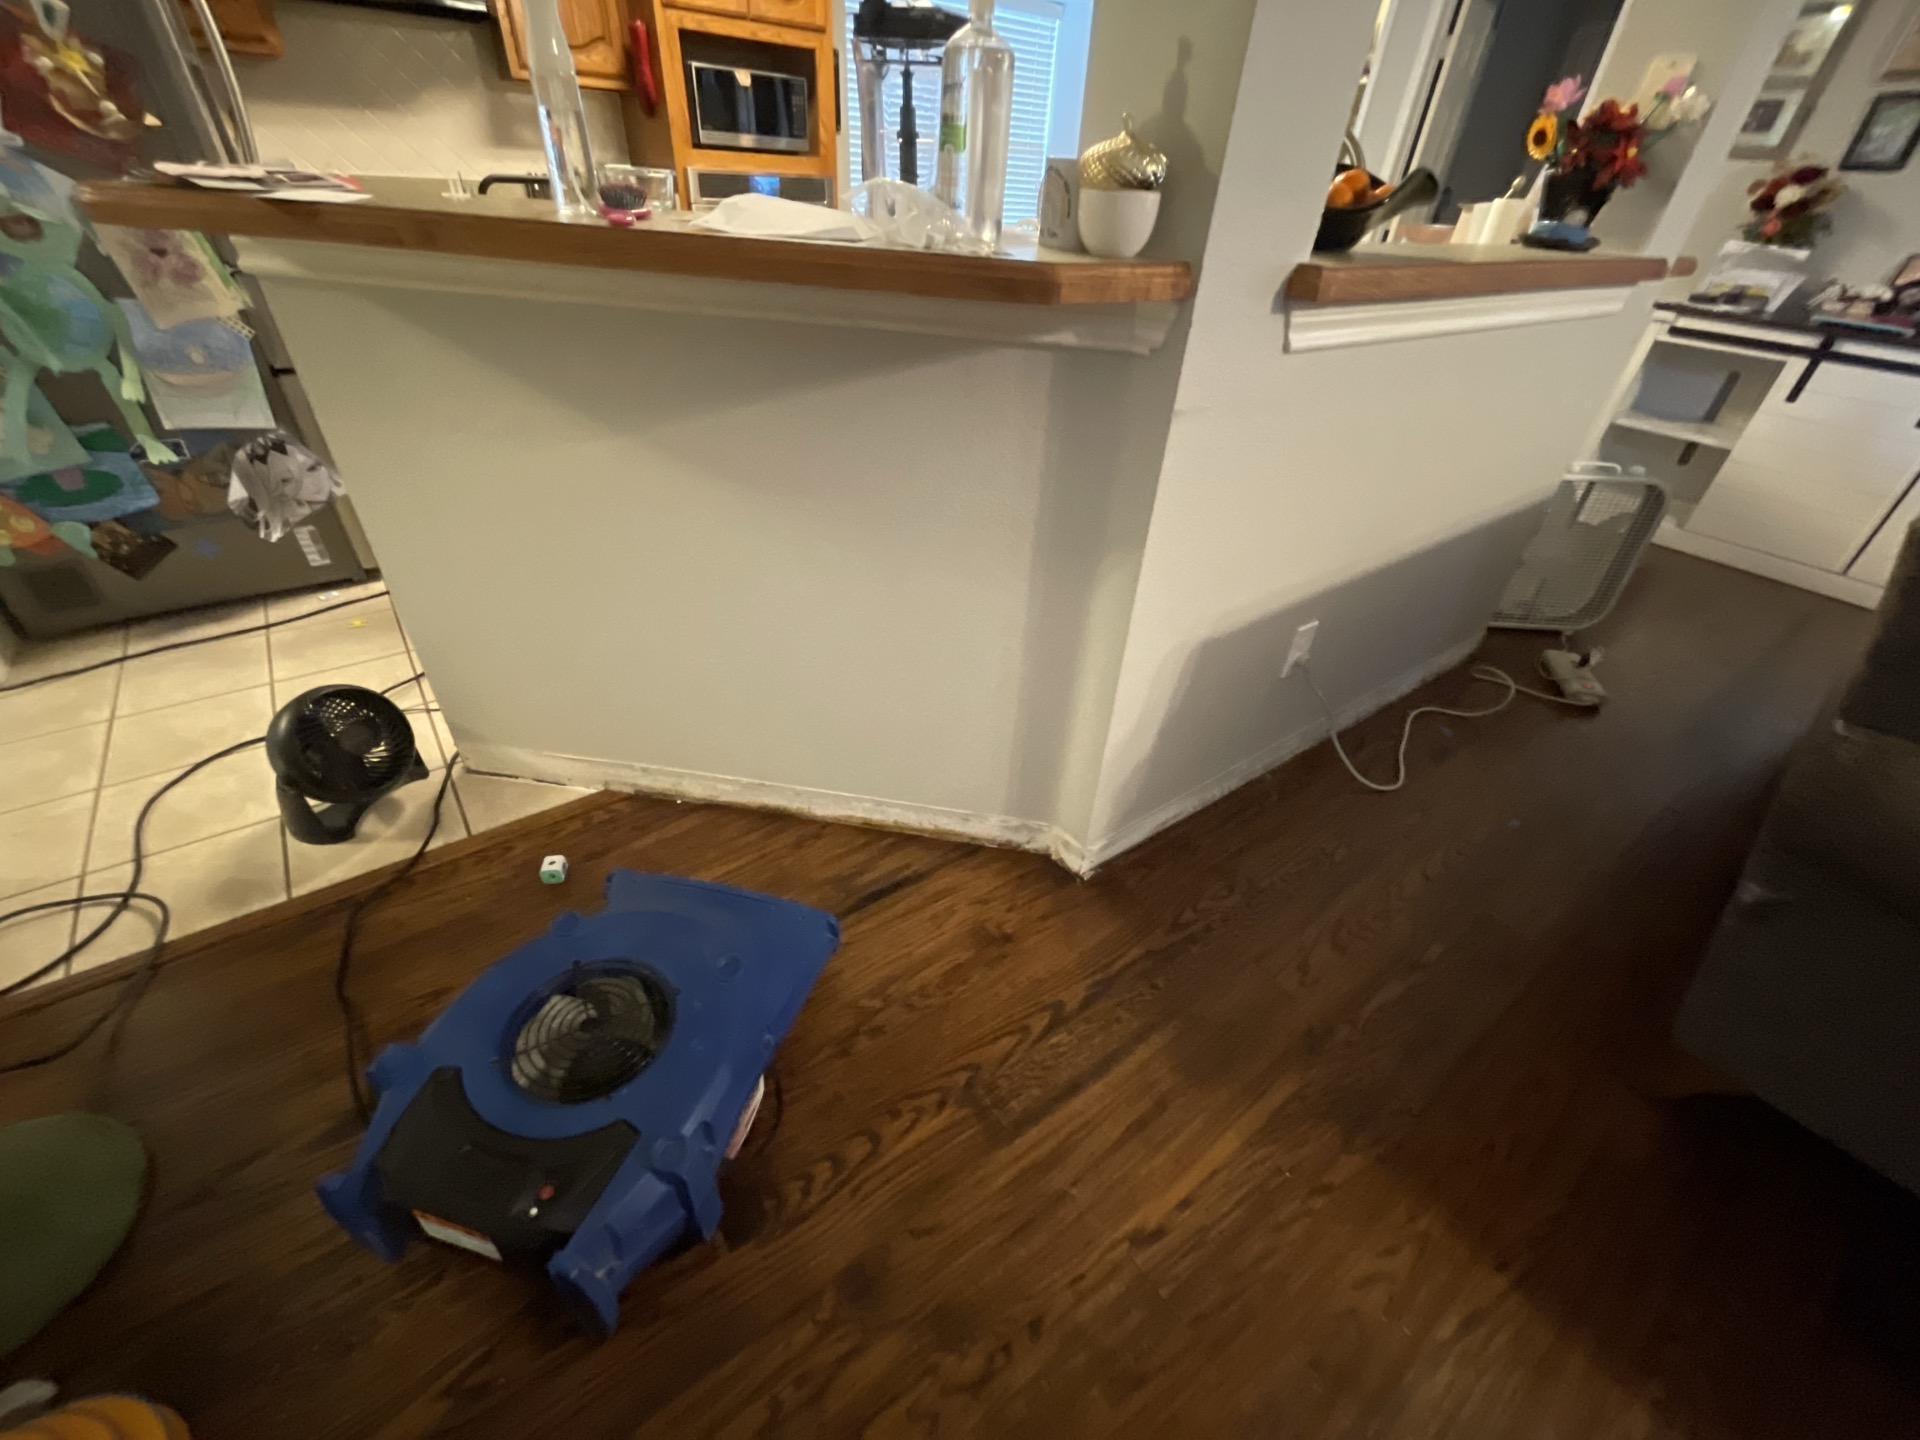
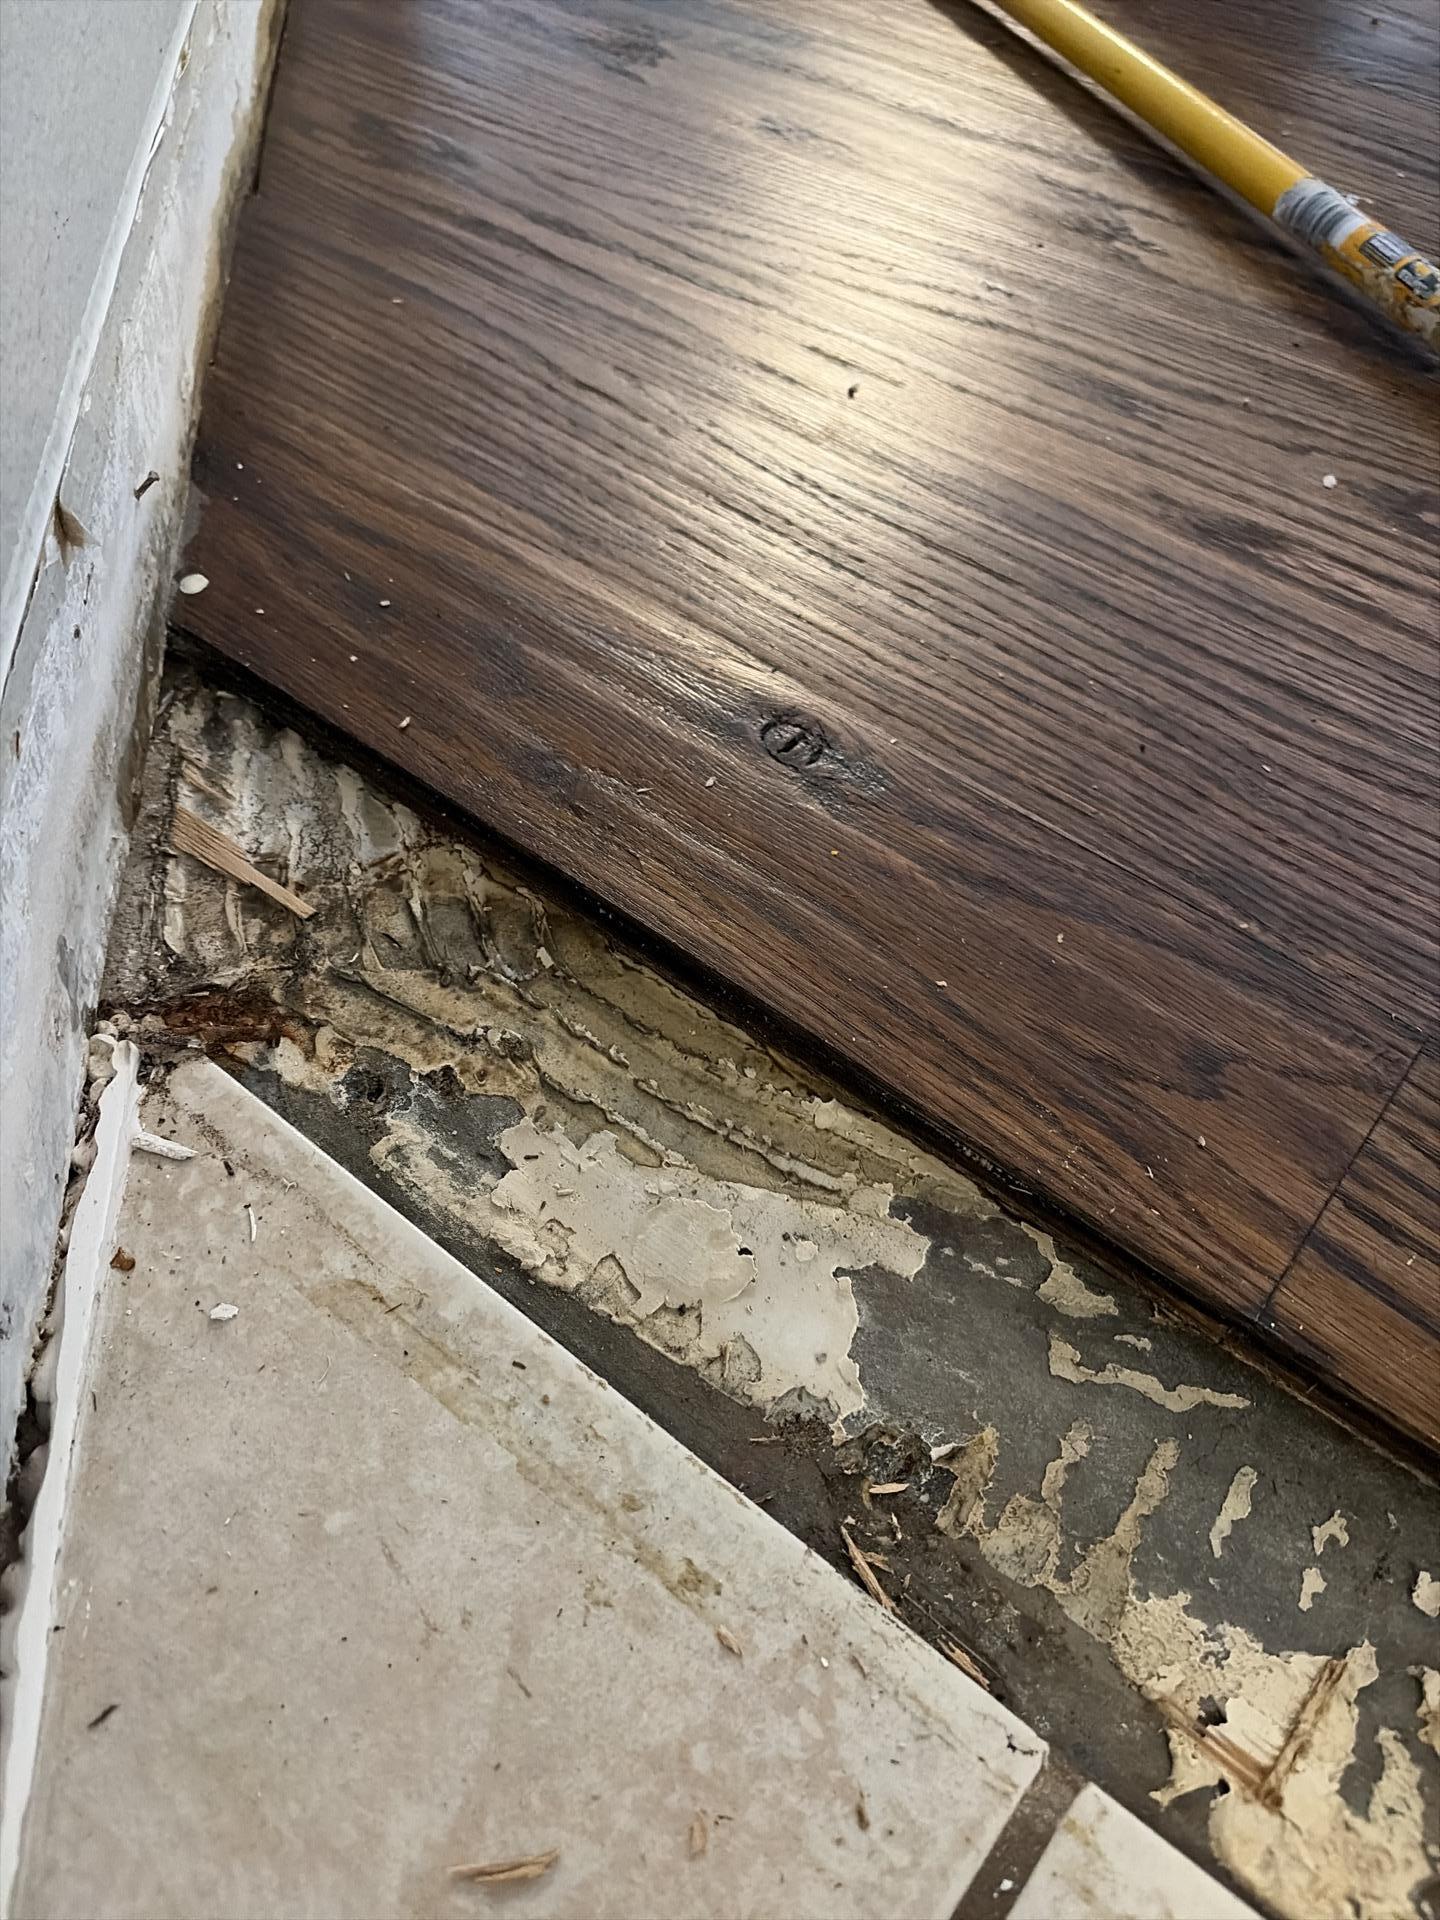
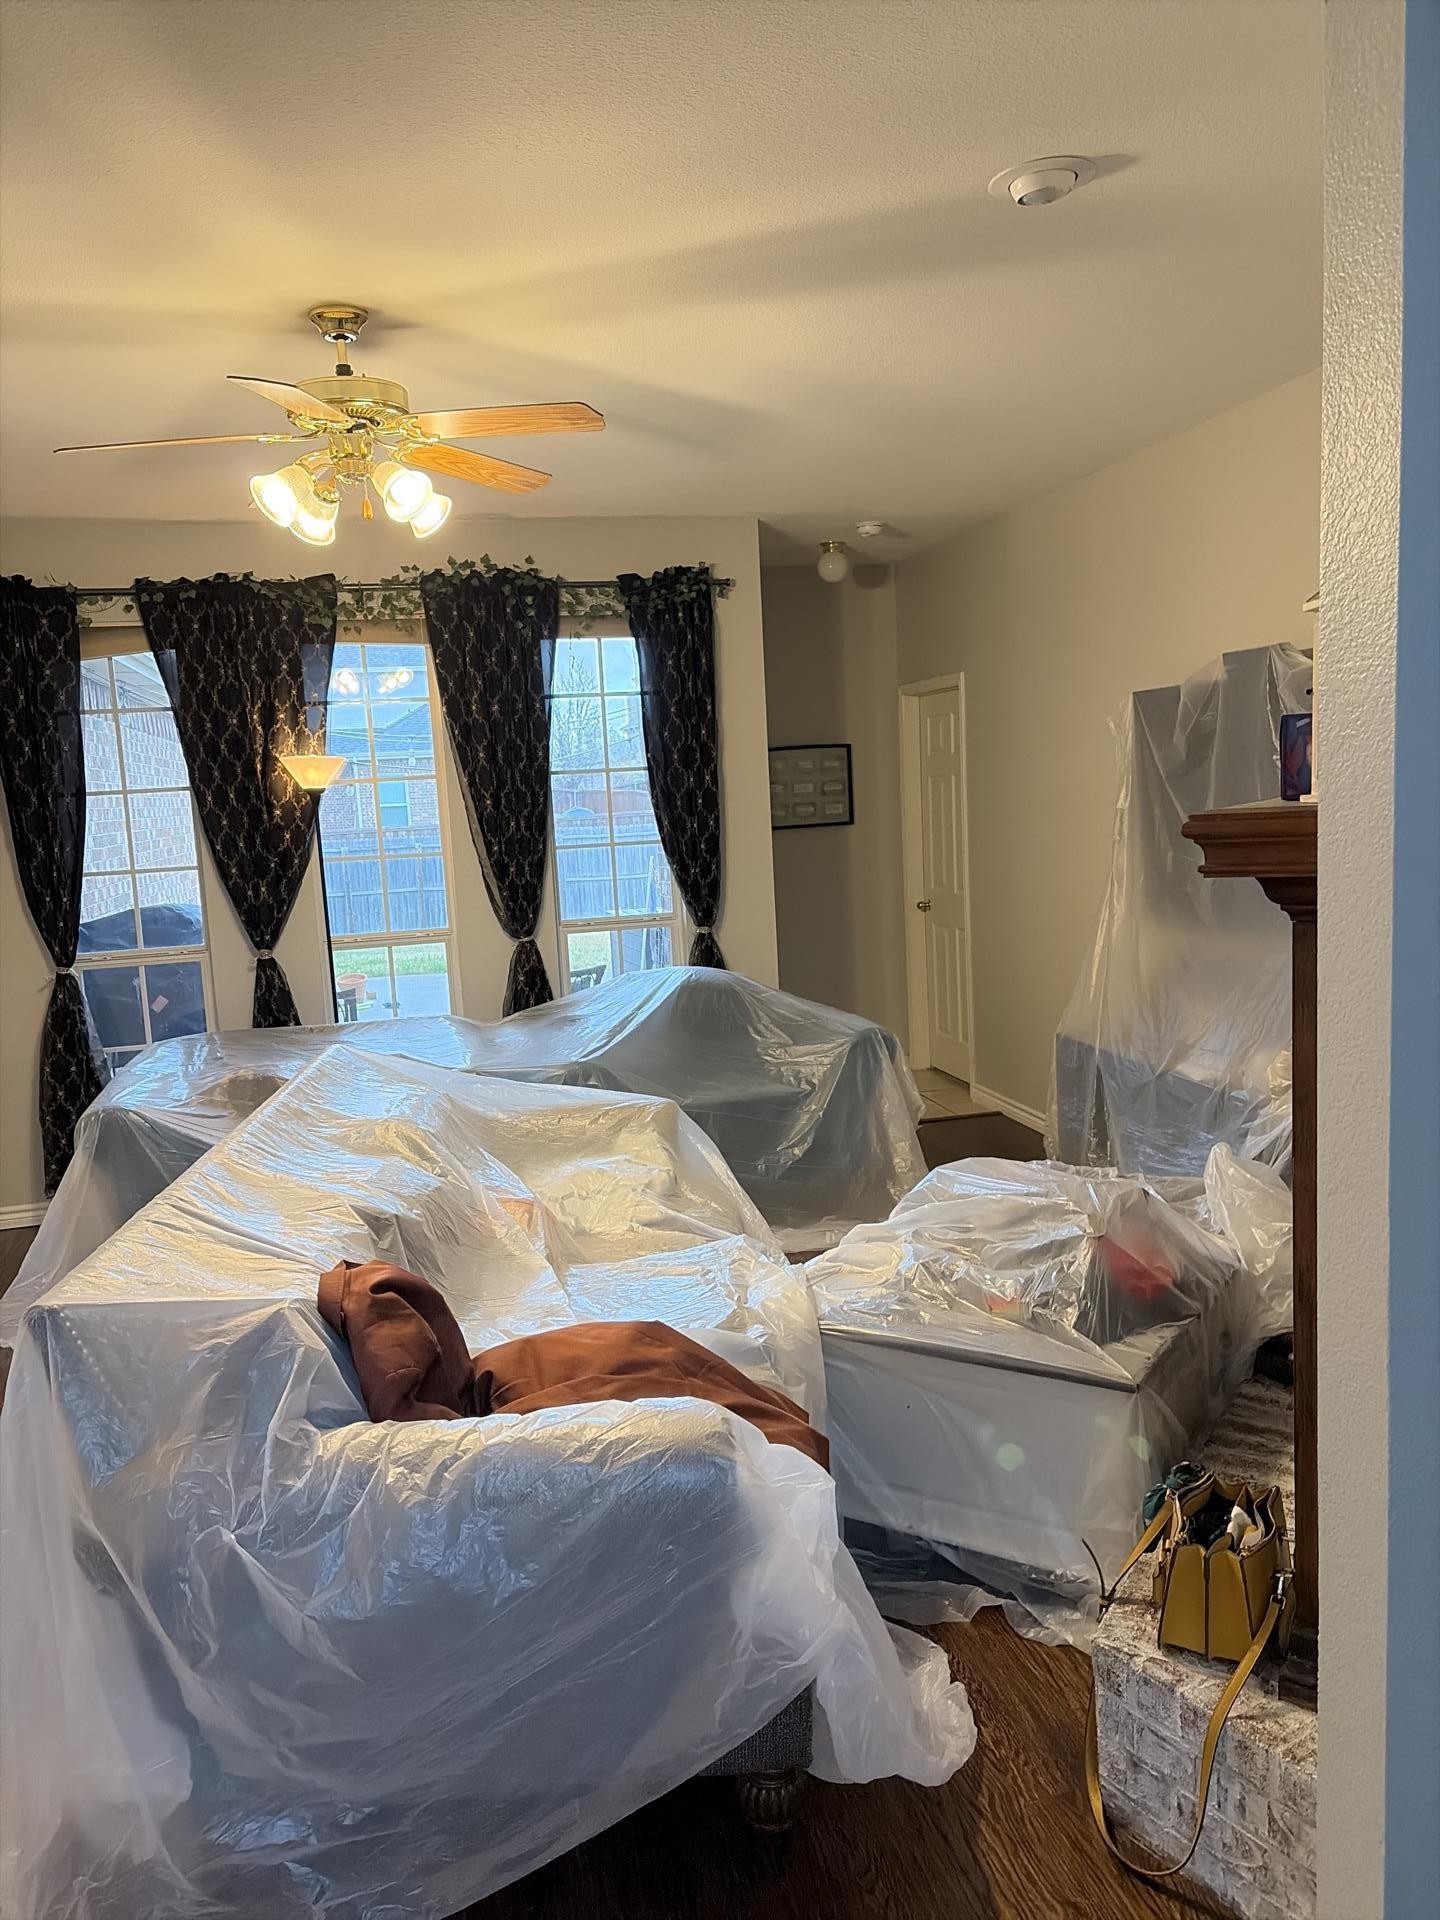
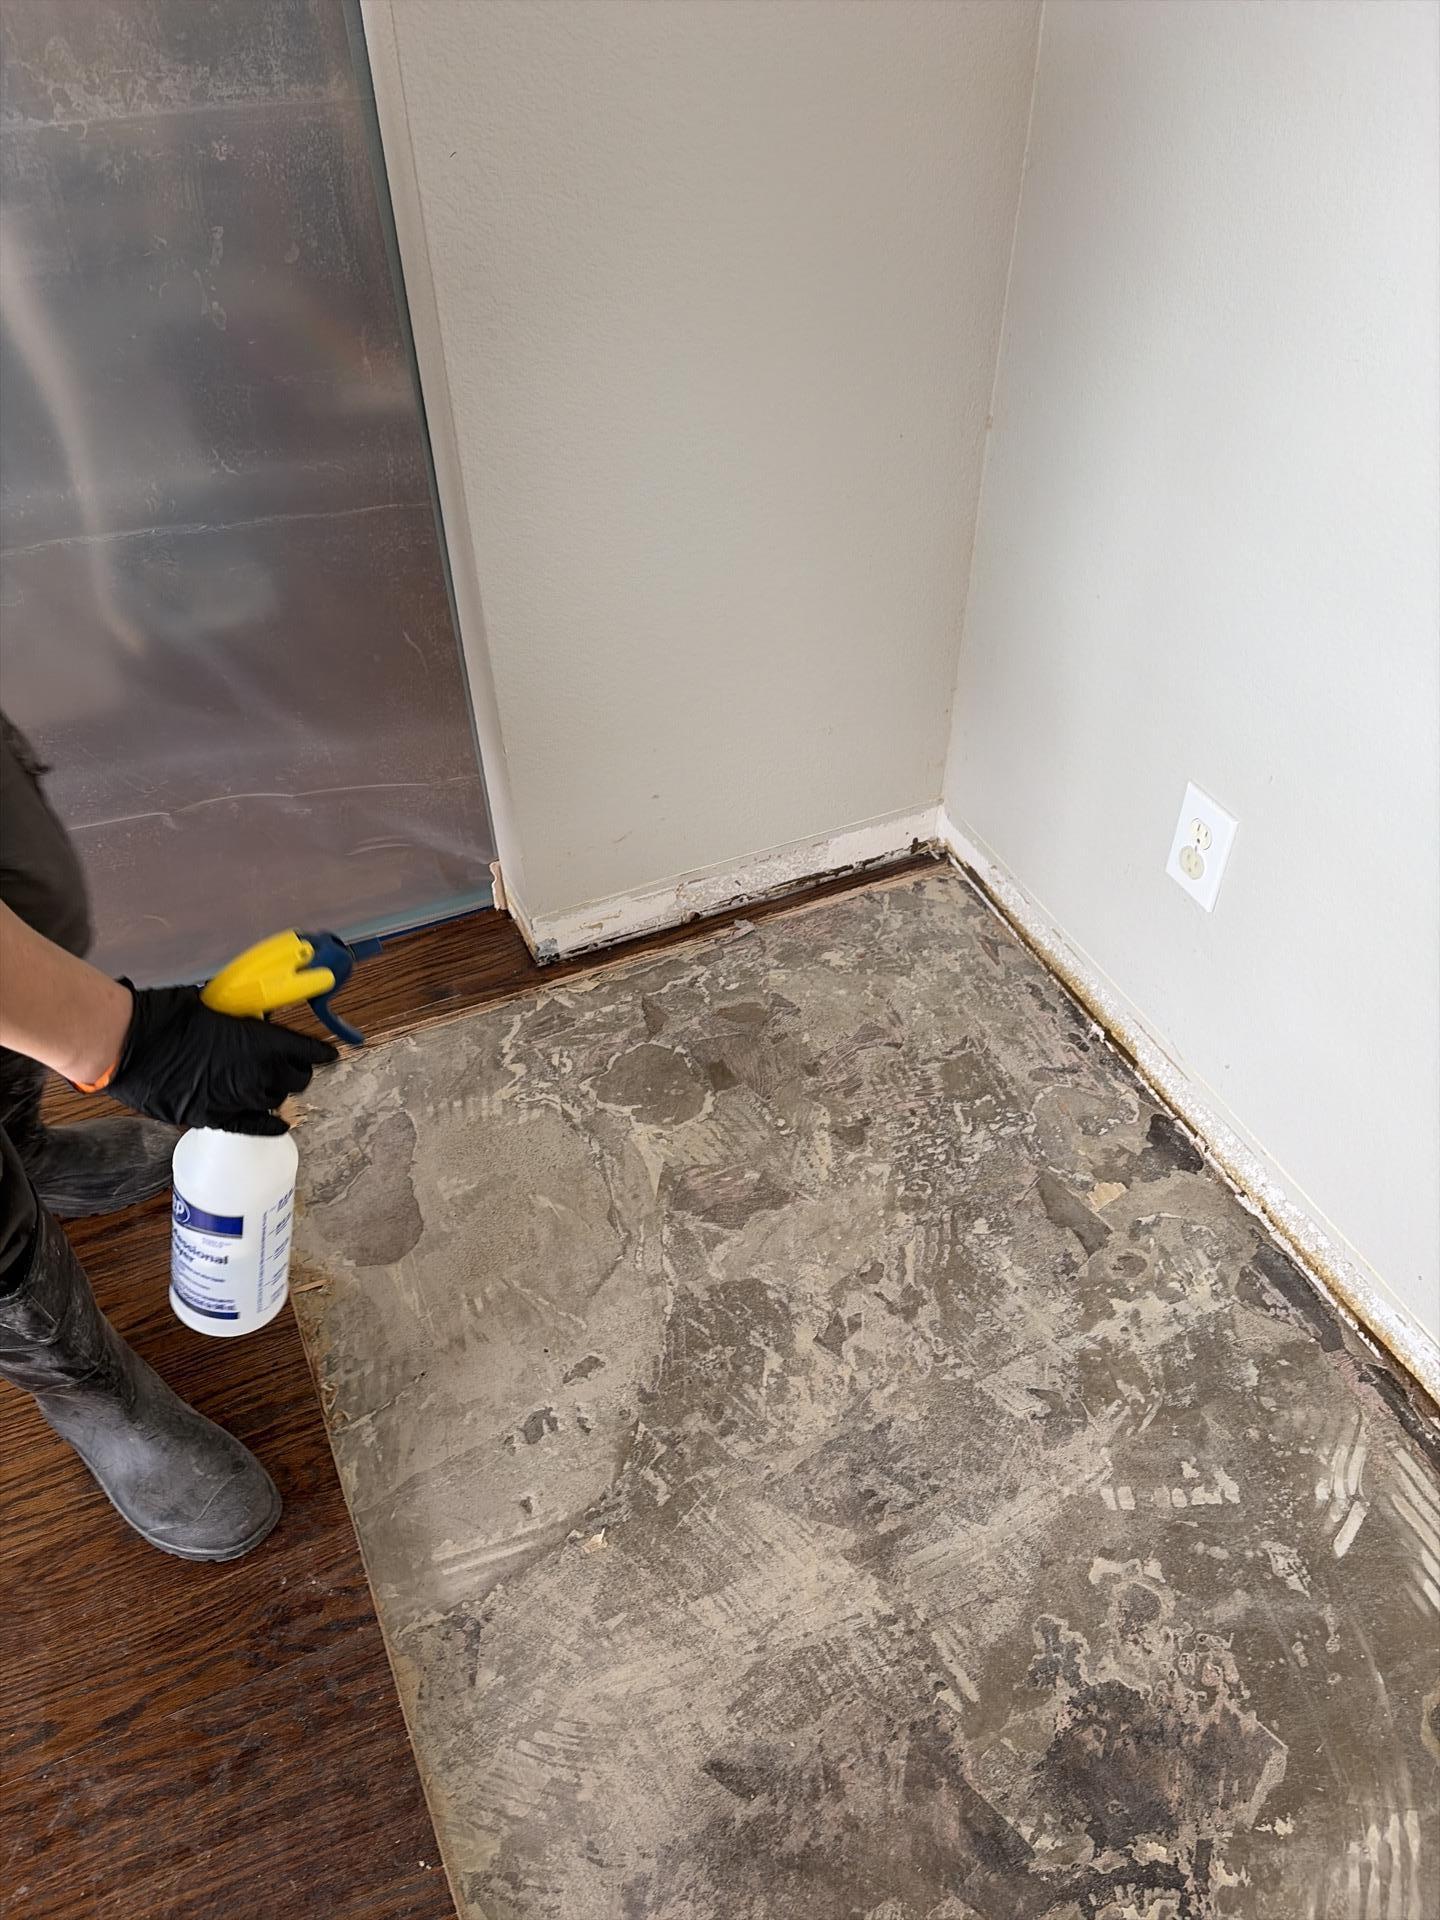
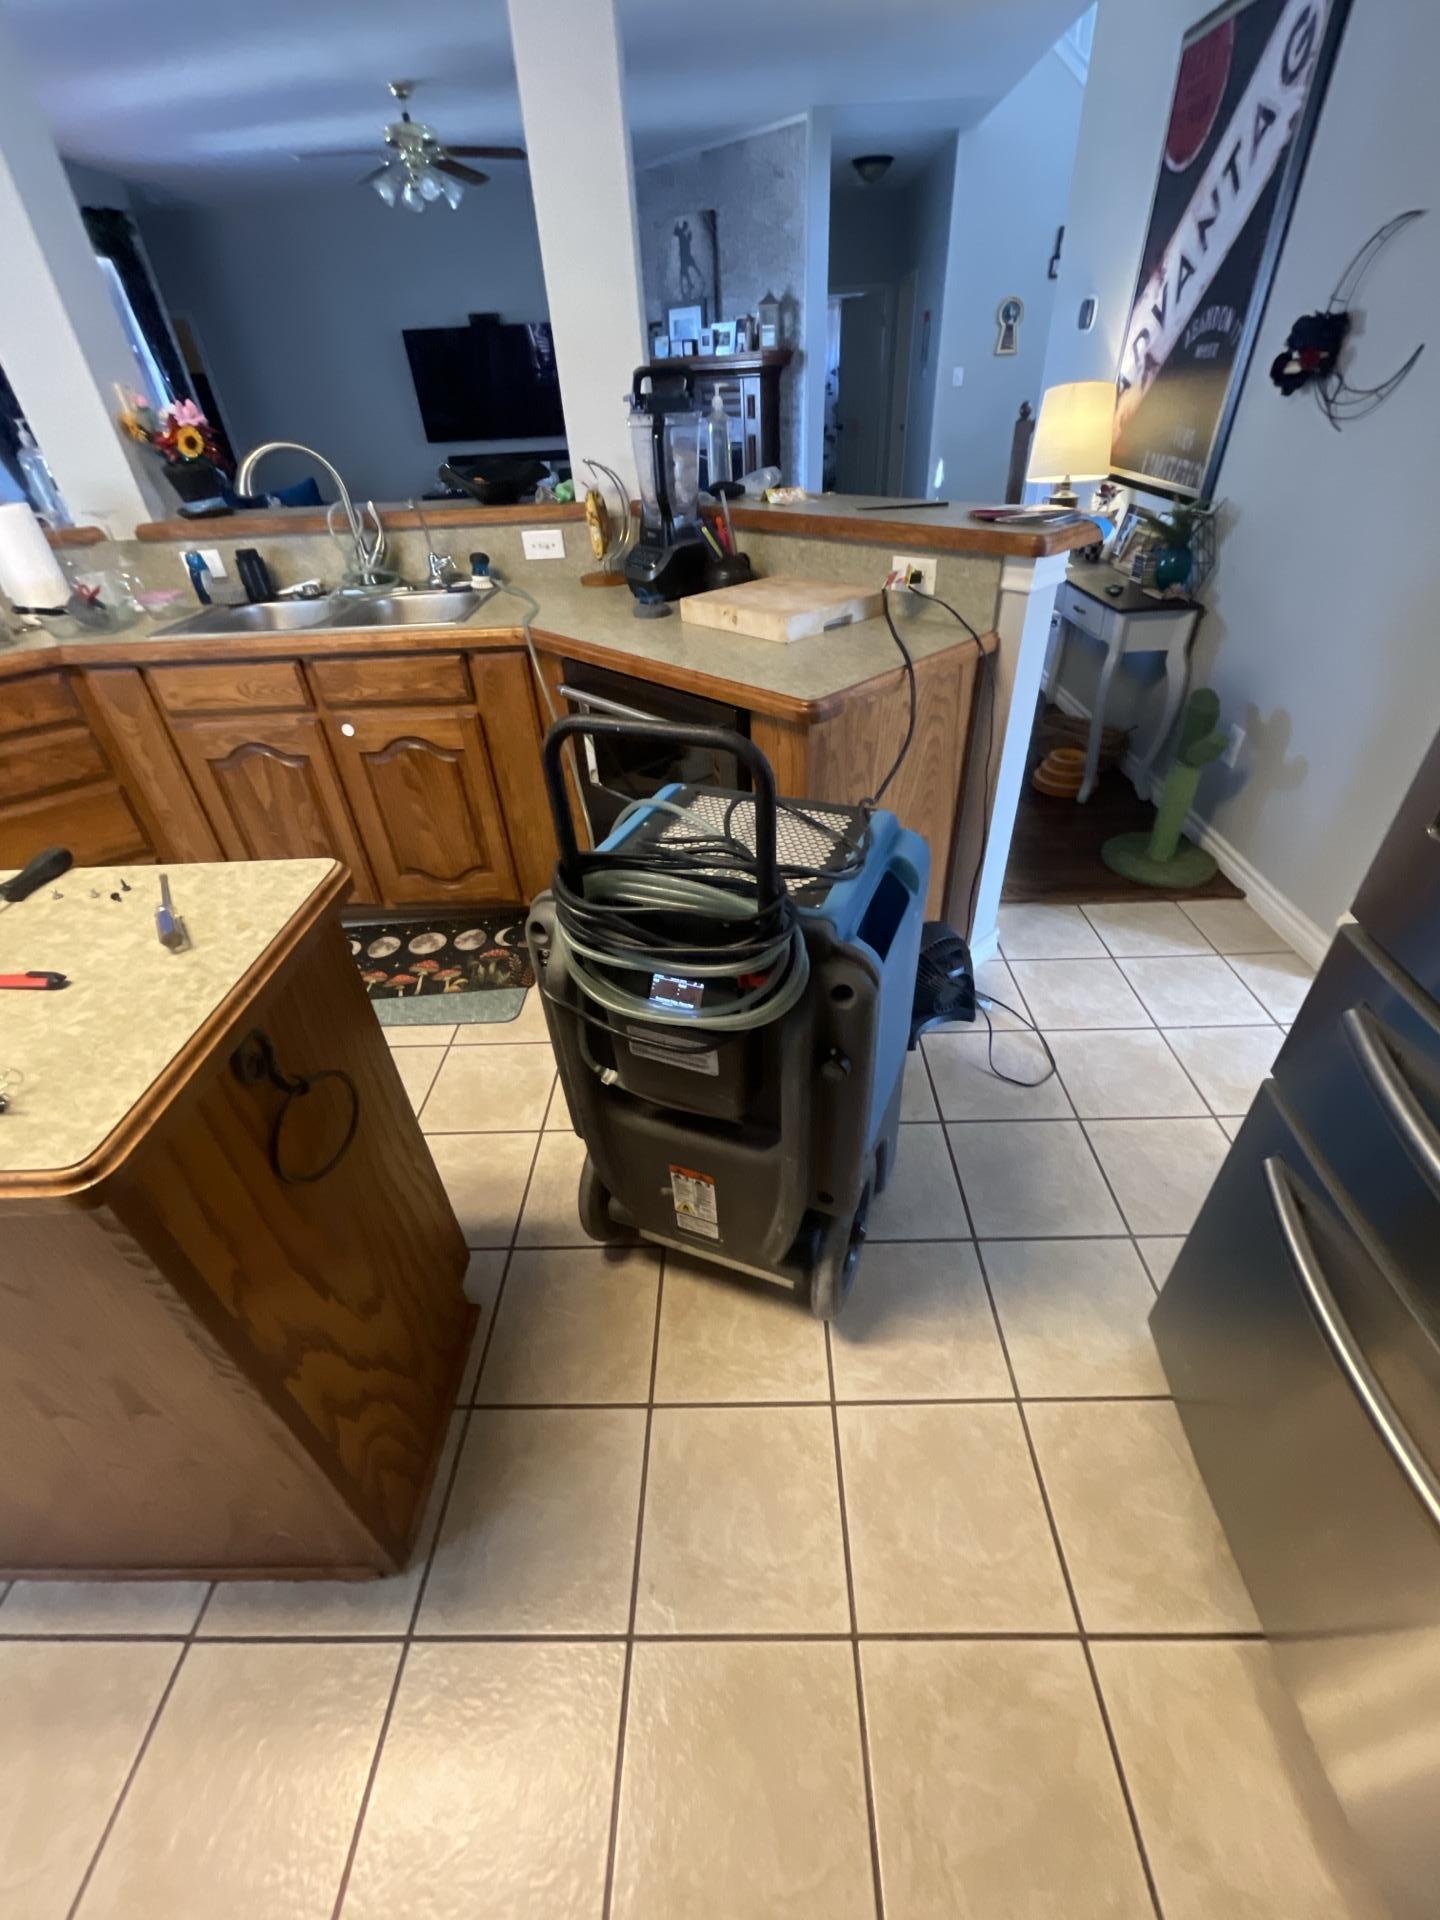
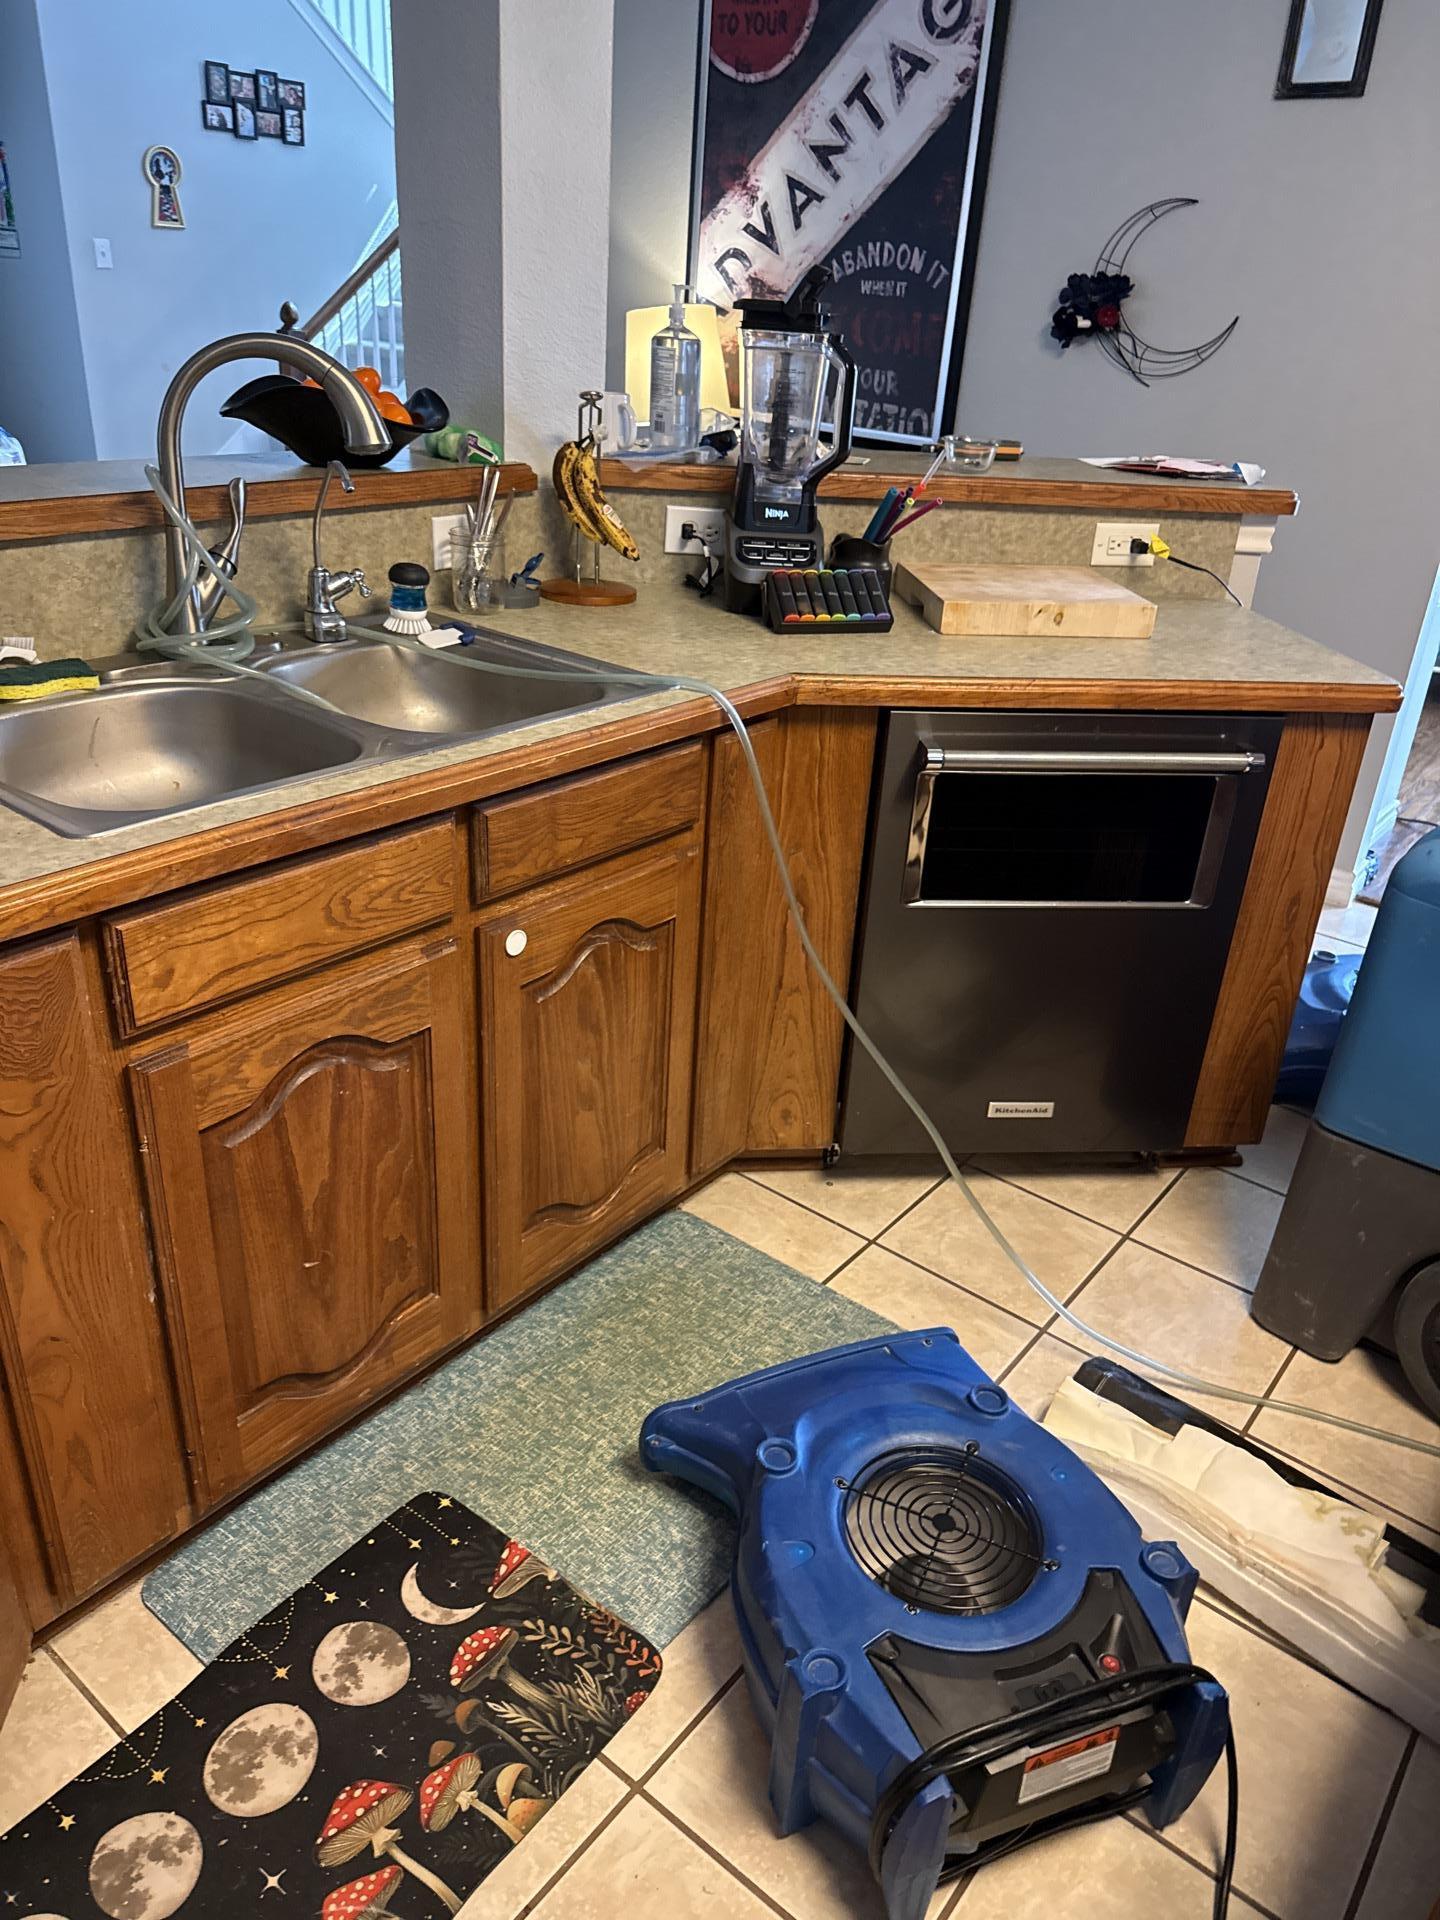
Initial assessment and moisture readings across the affected rooms.
 |  |  |
 |  |  |
How We Handled the Mitigation
Our approach follows IICRC S500 standards for professional water damage restoration, and this job was no different. Every step was documented, measured, and tracked daily.
Step 1: Full Moisture Mapping
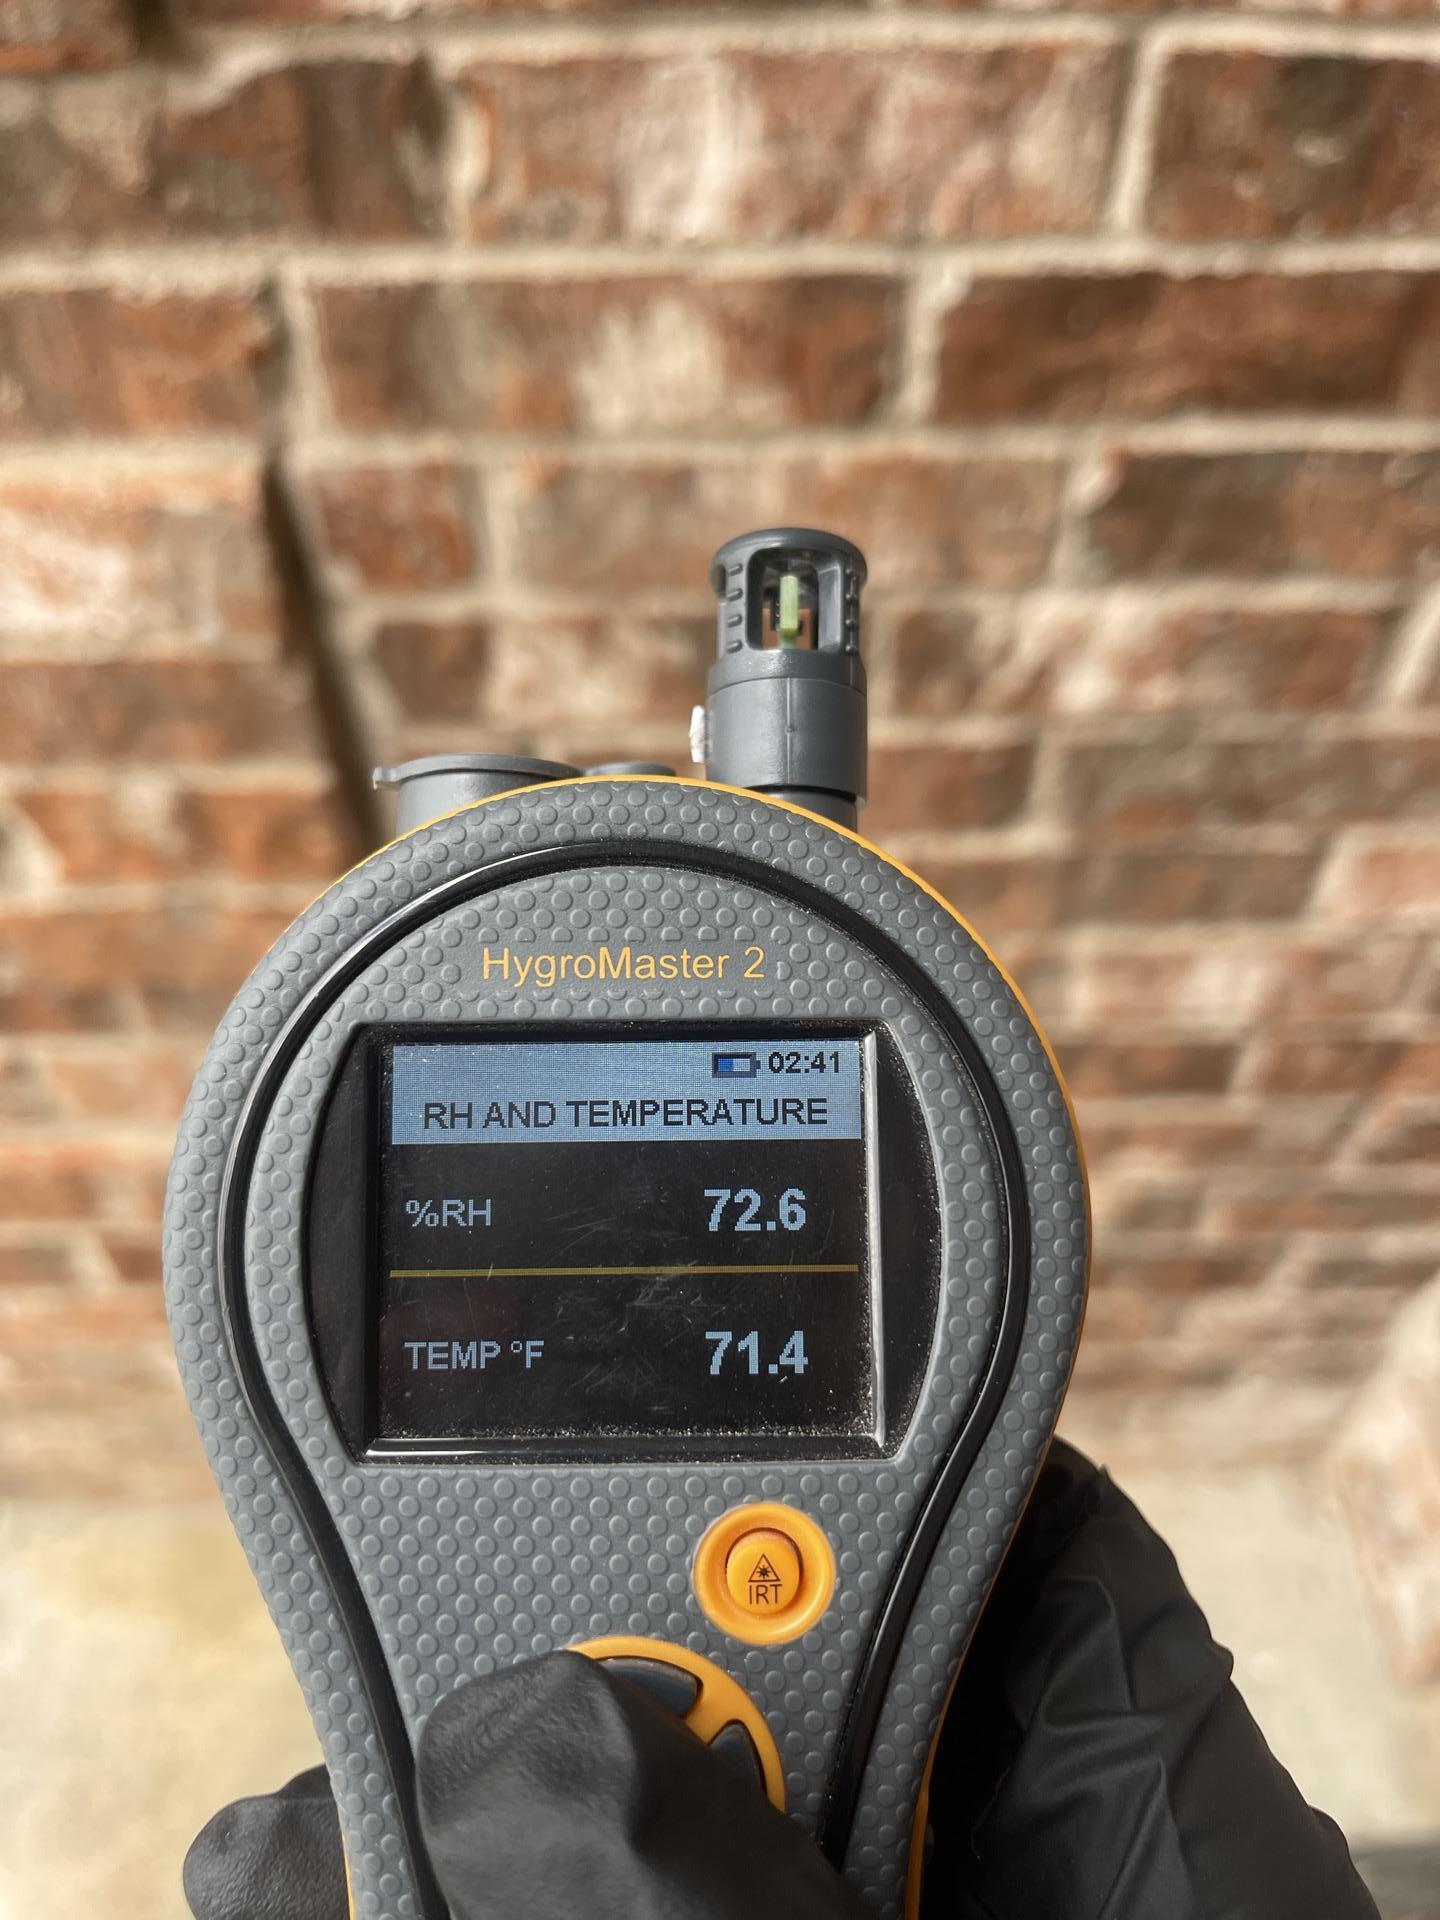
We used Protimeter 1,000 point meters and hygrometer readings to document baseline moisture levels in every affected area before touching anything. The living room trim, kitchen hardwood, kitchen ceramic tile, kitchen plywood subfloor, and kitchen drywall were all flagged for monitoring. We also took exterior readings and hallway unaffected-area readings to establish reference points.
Step 2: Demo and Containment
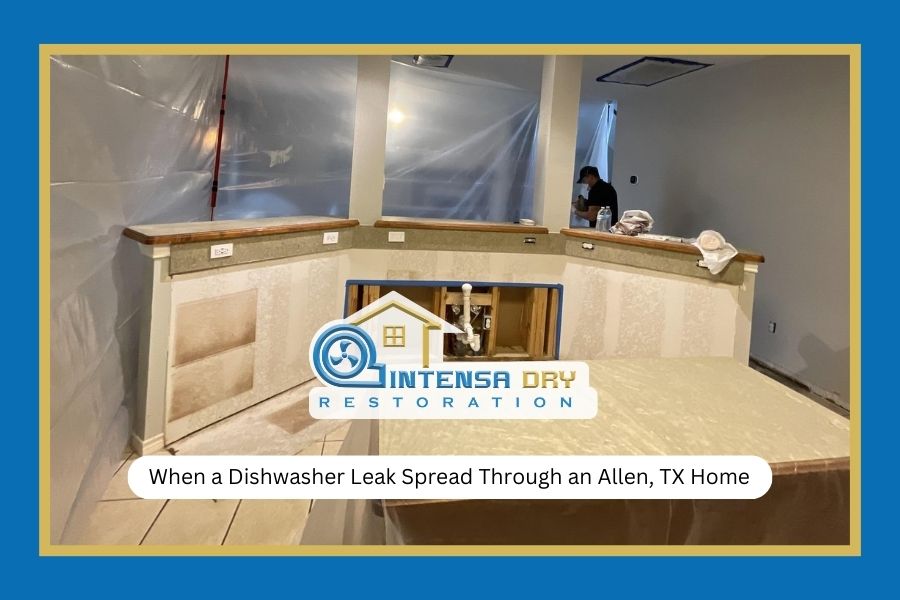
The kitchen hardwood was buckled and fully saturated when we arrived. That flooring had to come out. We also removed sections of kitchen cabinetry to access the water damage underneath and behind the walls. In the play room, flooring demo was required as well, along with targeted baseboard and wall removal to expose wet material.
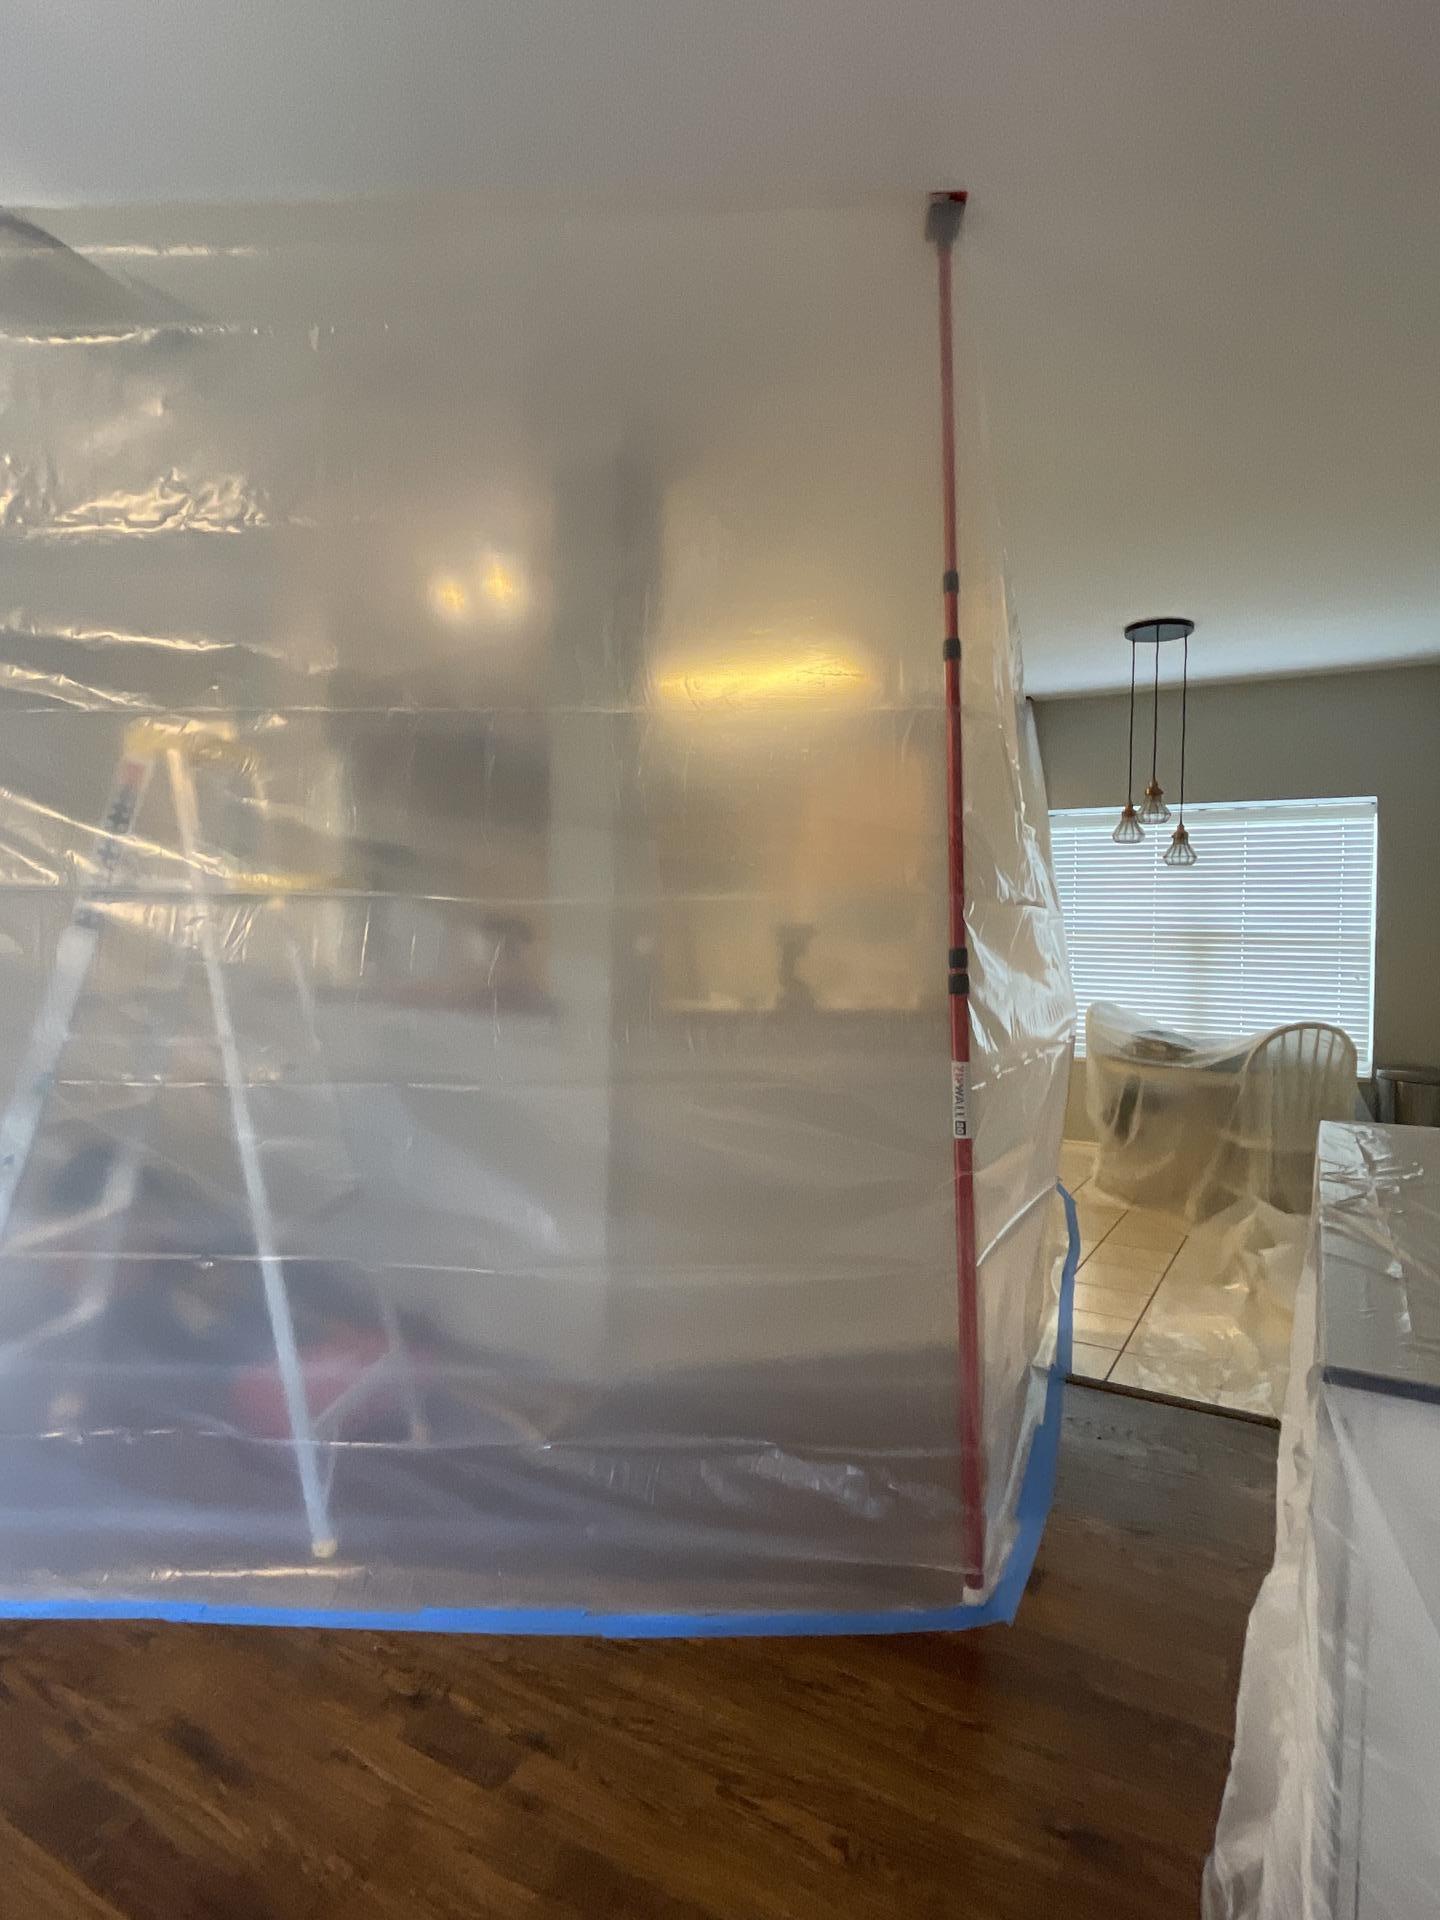
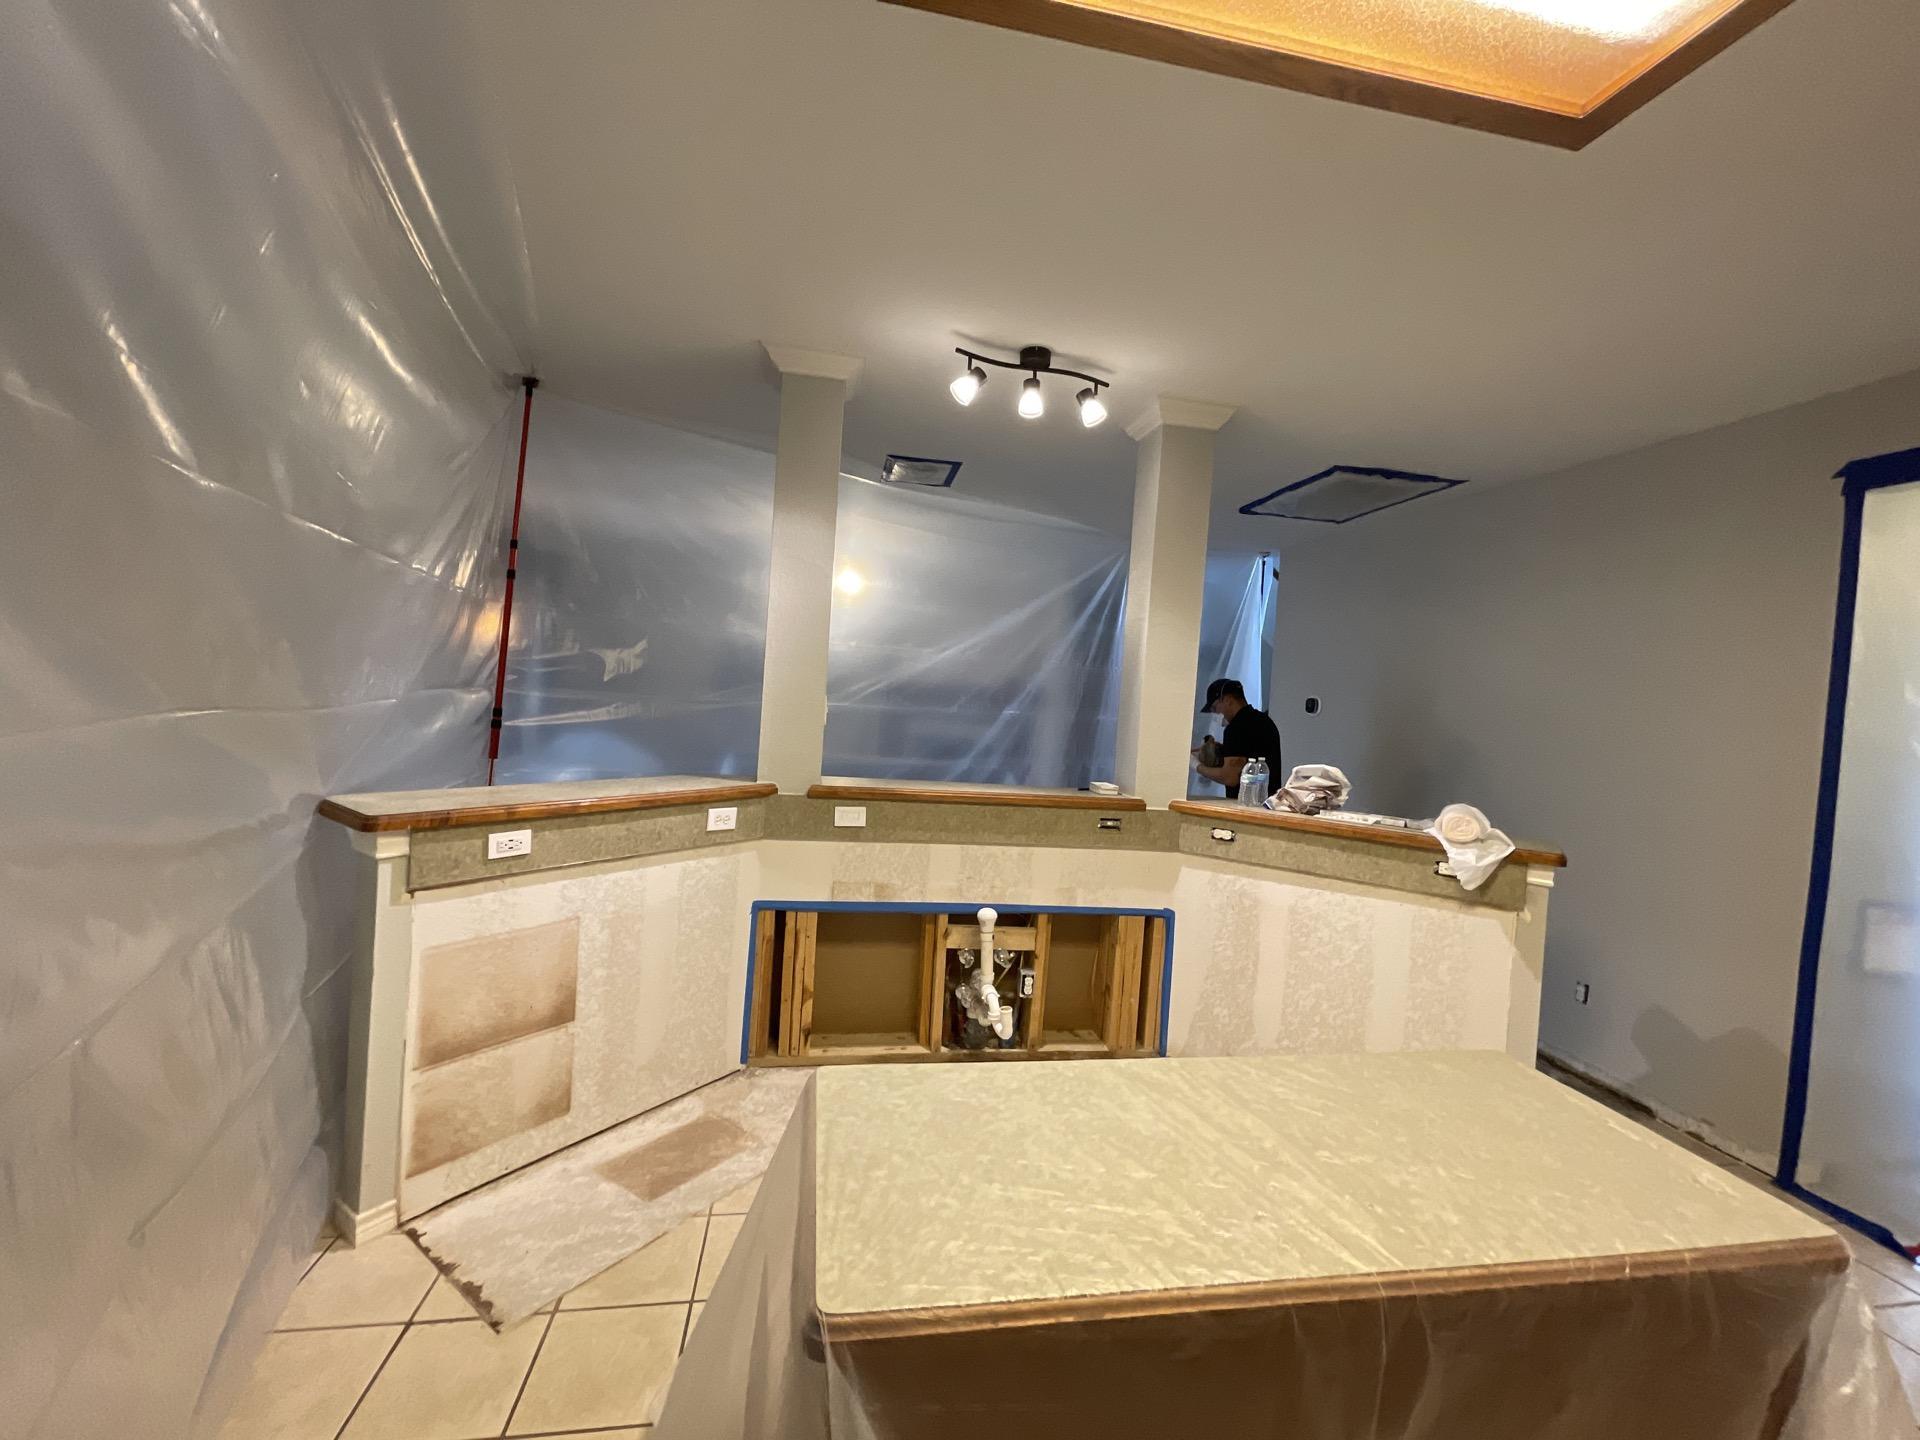
Containment barriers were set up throughout the home to protect unaffected areas during demo and drying. This keeps dust and debris contained and also allows us to control airflow more precisely during the drying phase.
Step 3: Drying Equipment and Daily Monitoring
Equipment was deployed immediately and monitored every single day until each affected material hit its drying target.
Our team returned daily to take moisture readings, log equipment performance, and assess progress. The kitchen subfloor plywood held the most moisture and required the longest drying time, which isn’t unusual for layered flooring assemblies. The living room trim dried faster, reaching target levels within a few days.
According to the EPA’s guidance on moisture and mold prevention, materials need to be dried within 24-48 hours to prevent mold growth. That timeline is exactly why rapid response and aggressive drying equipment matter so much.
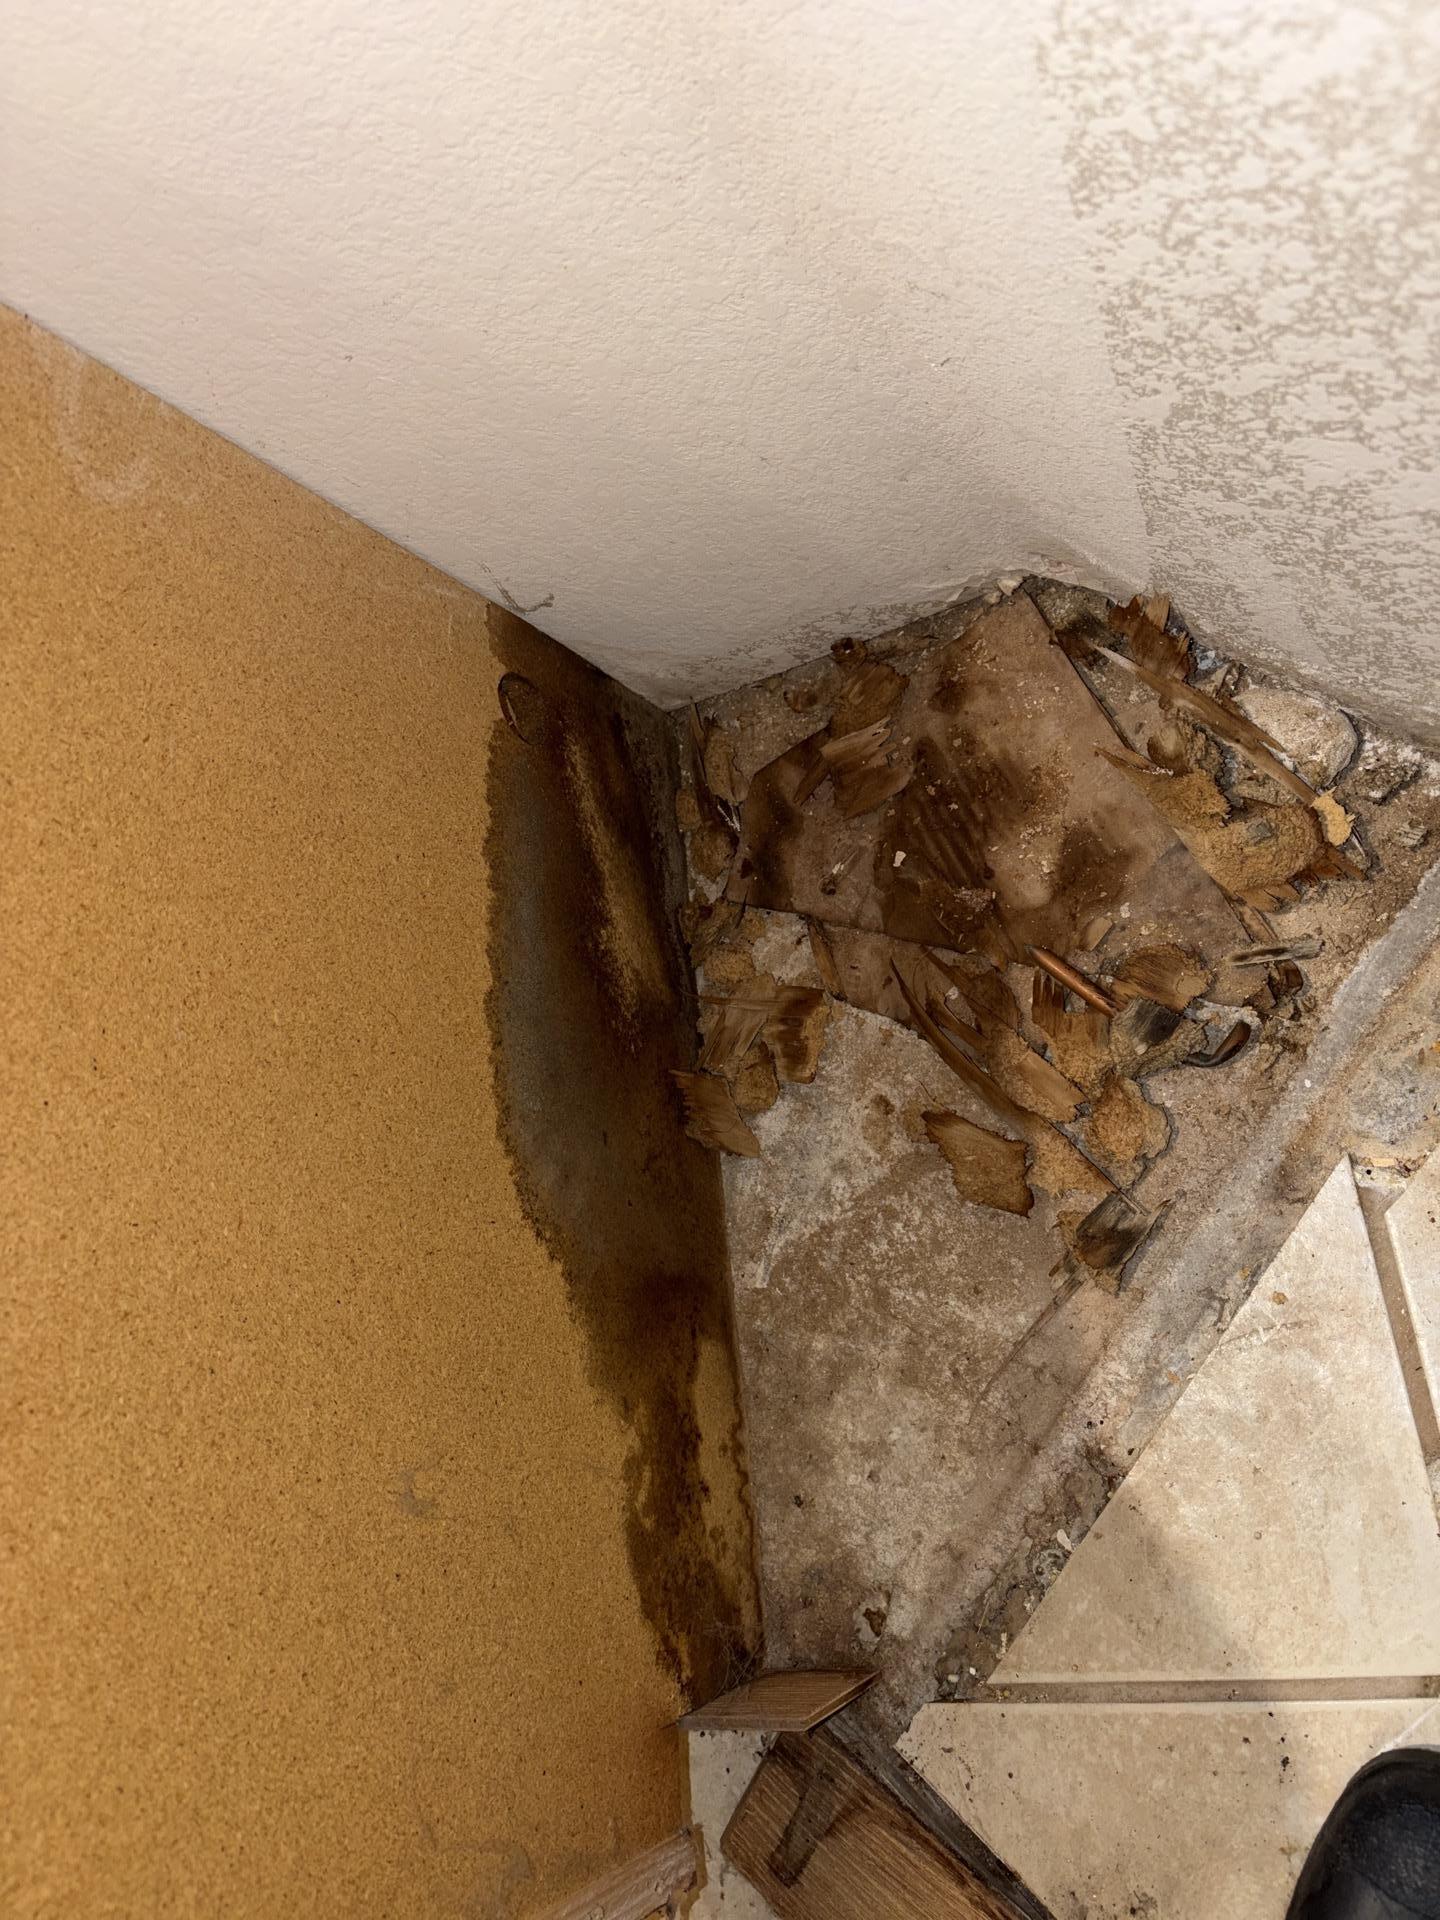
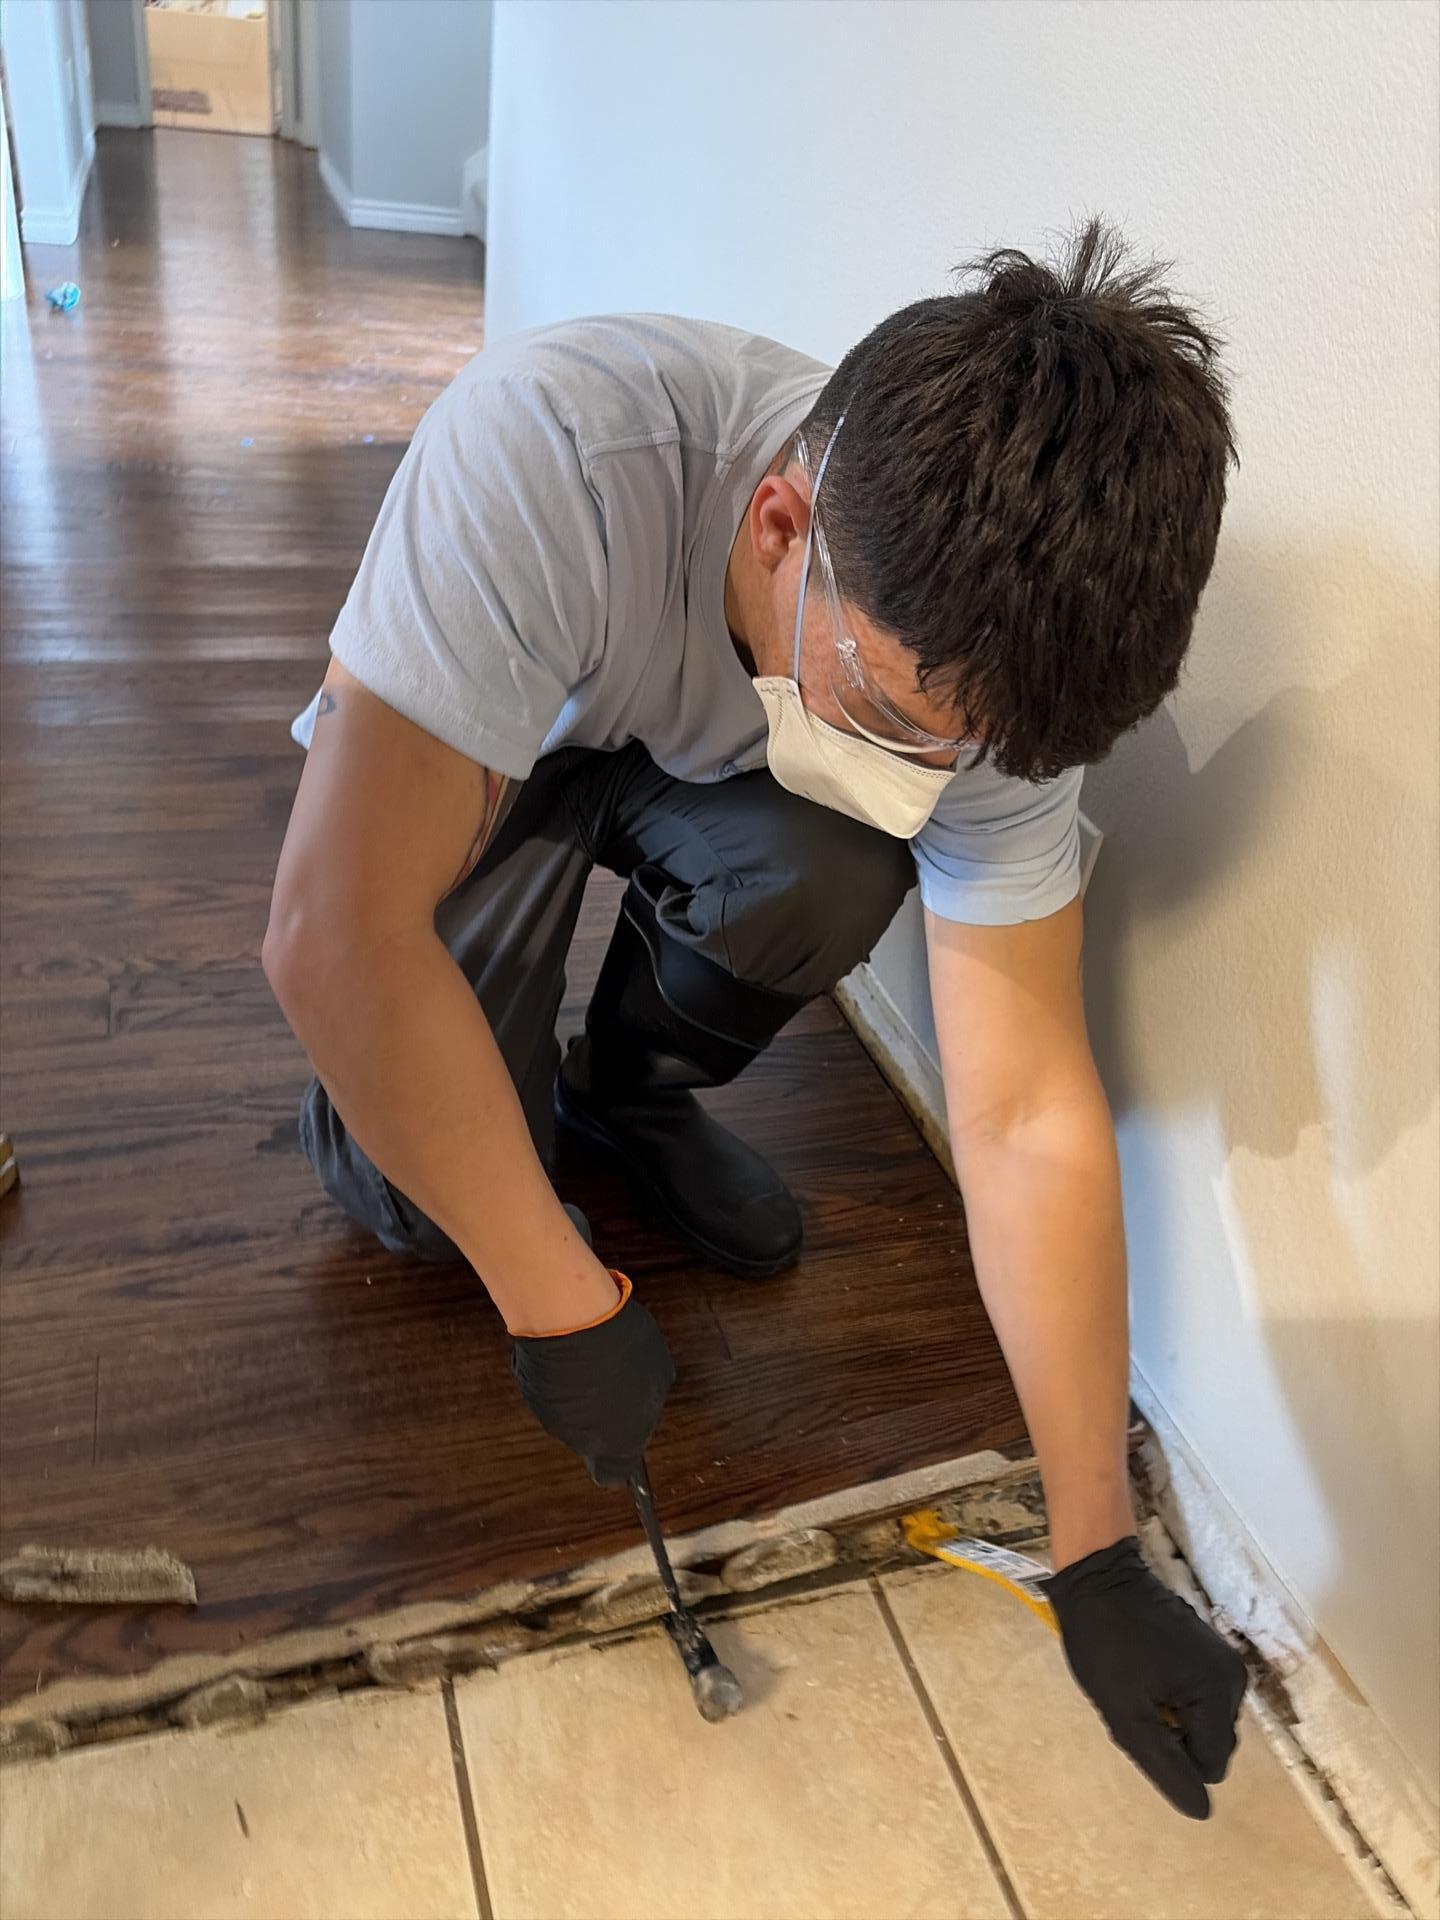
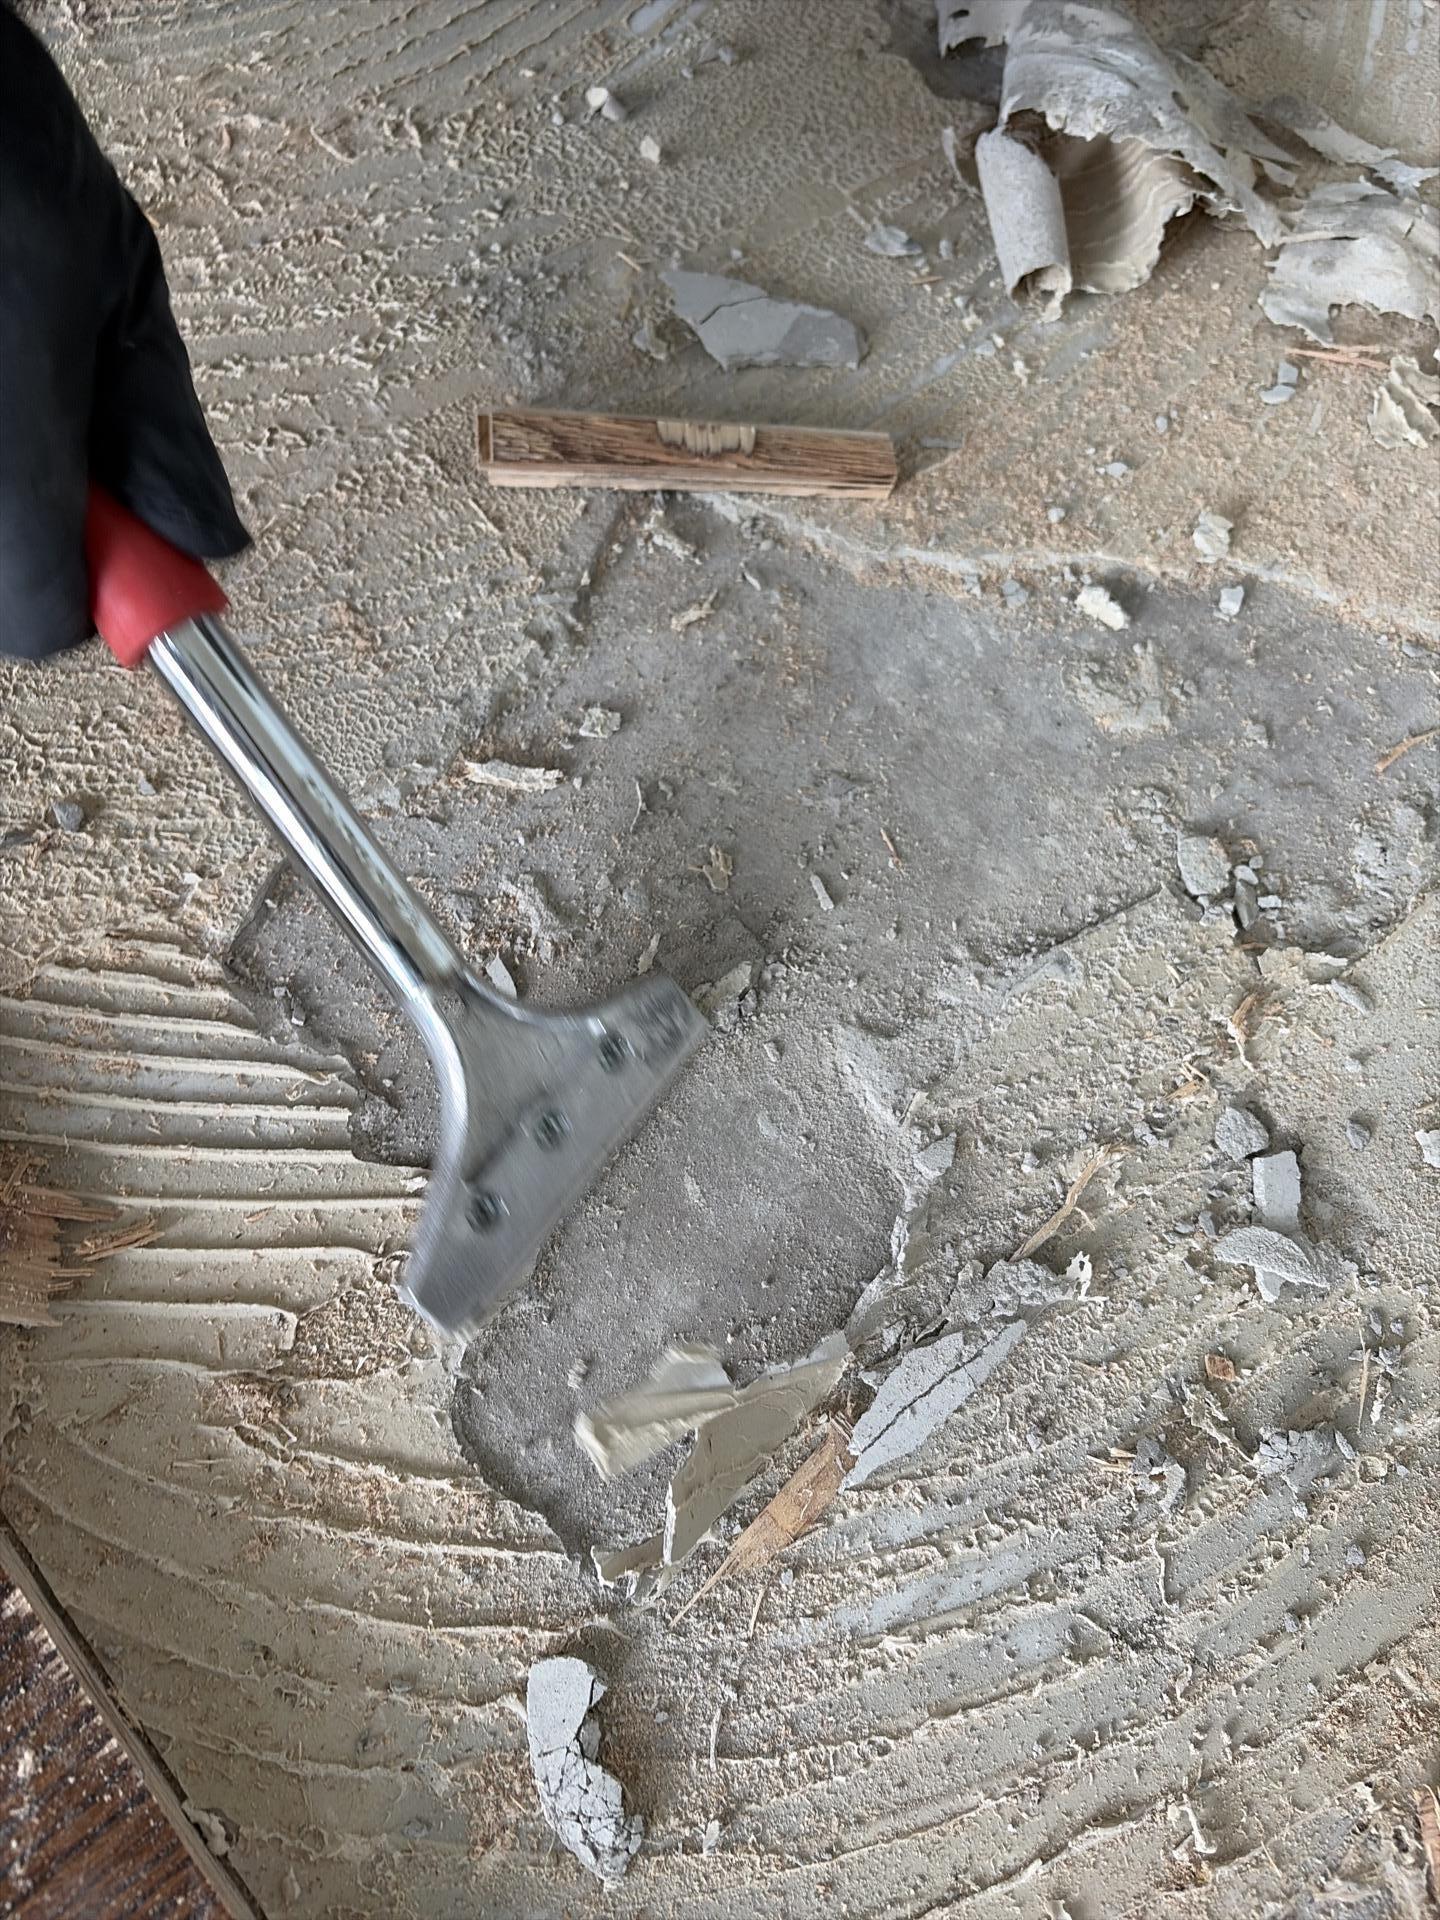
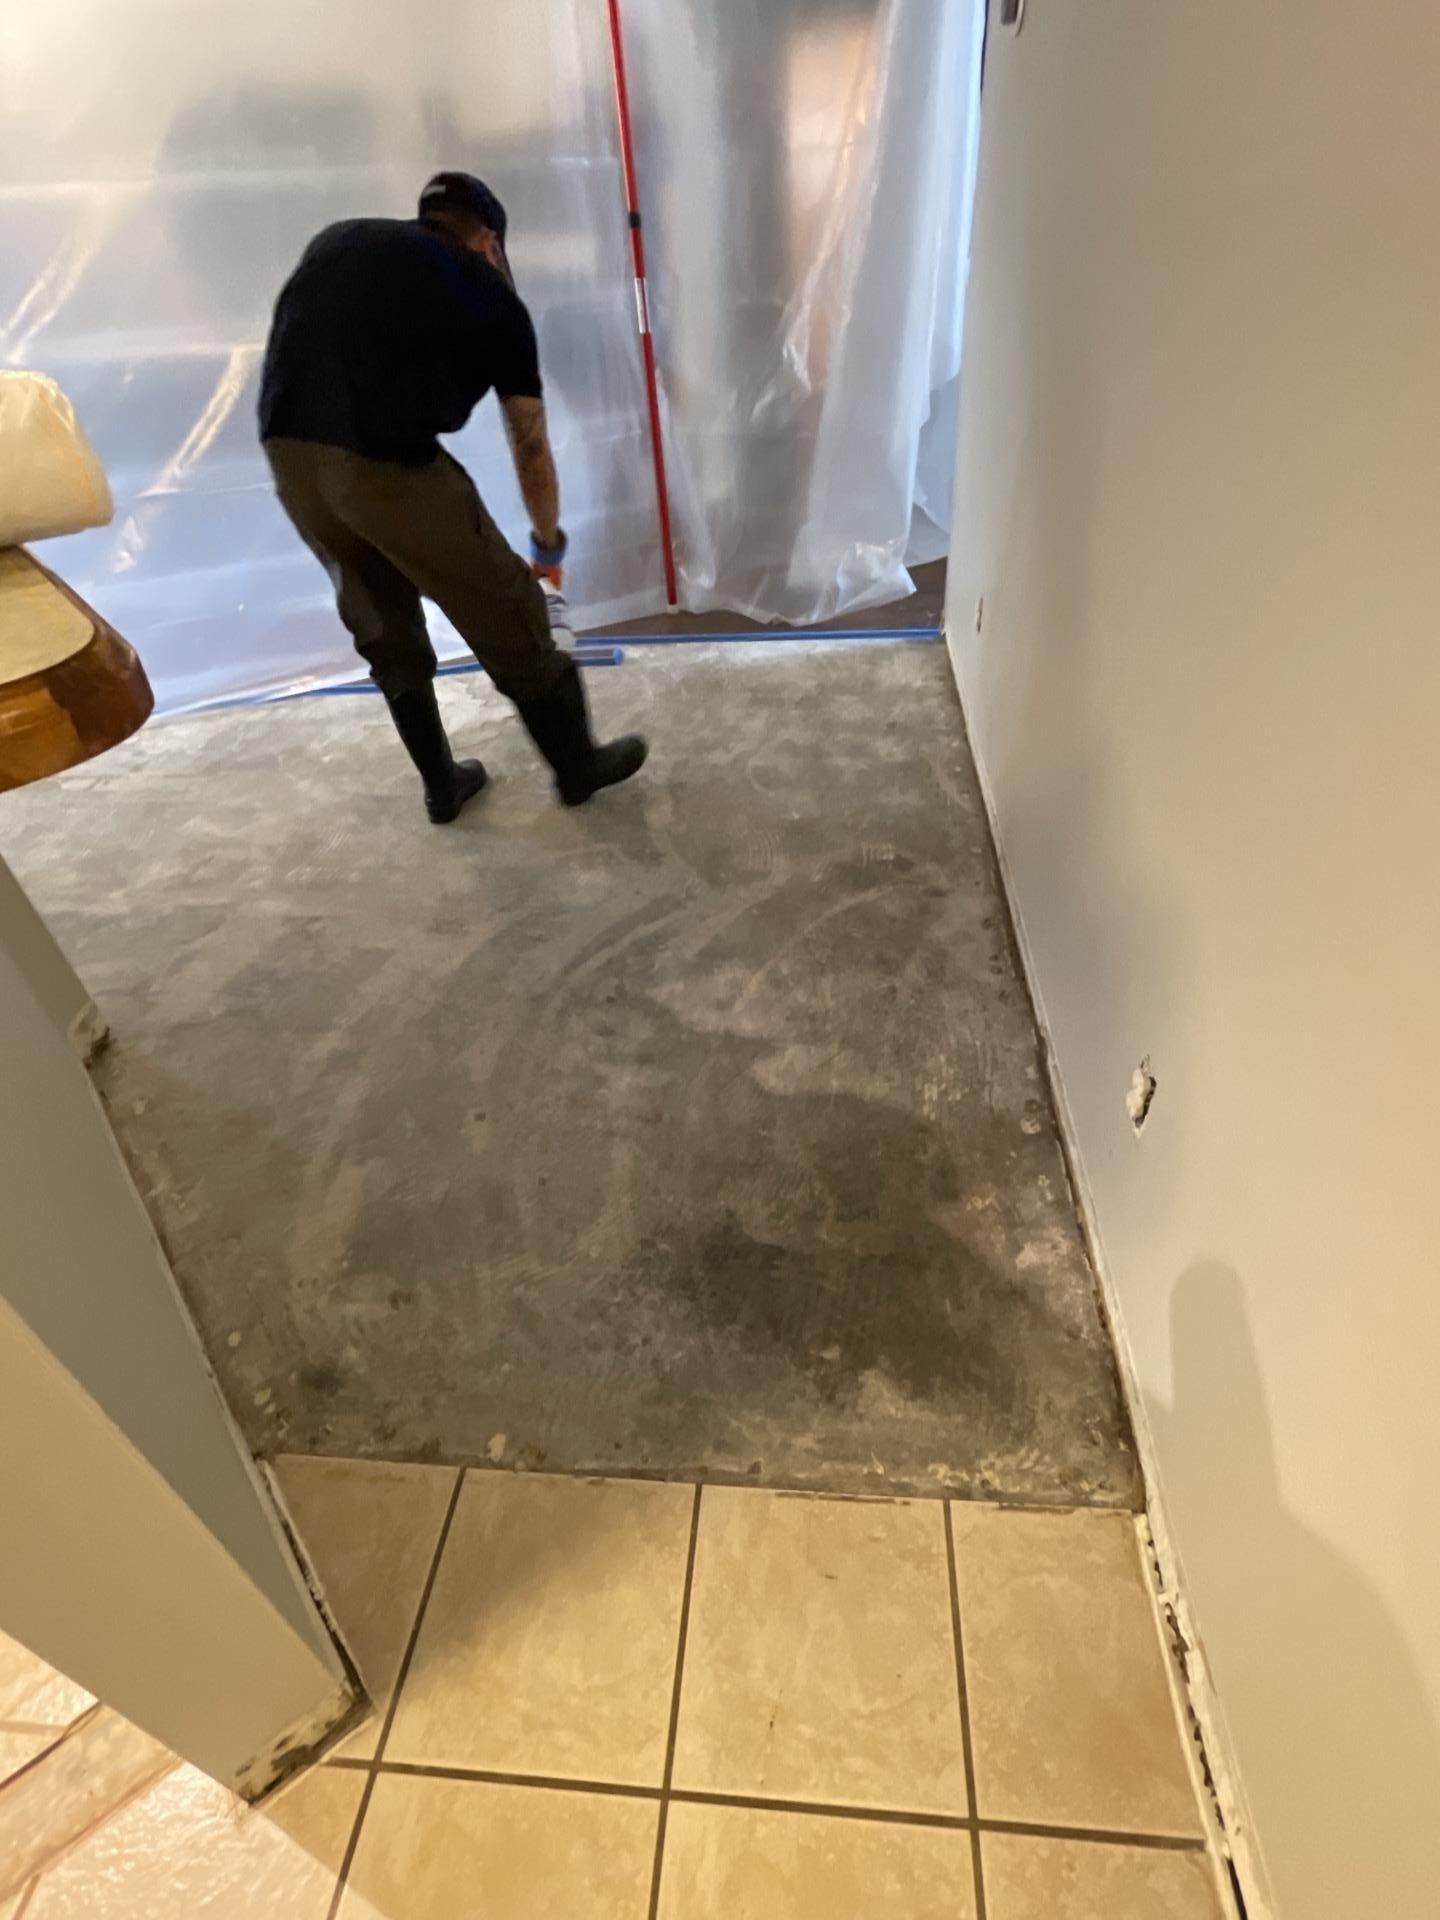
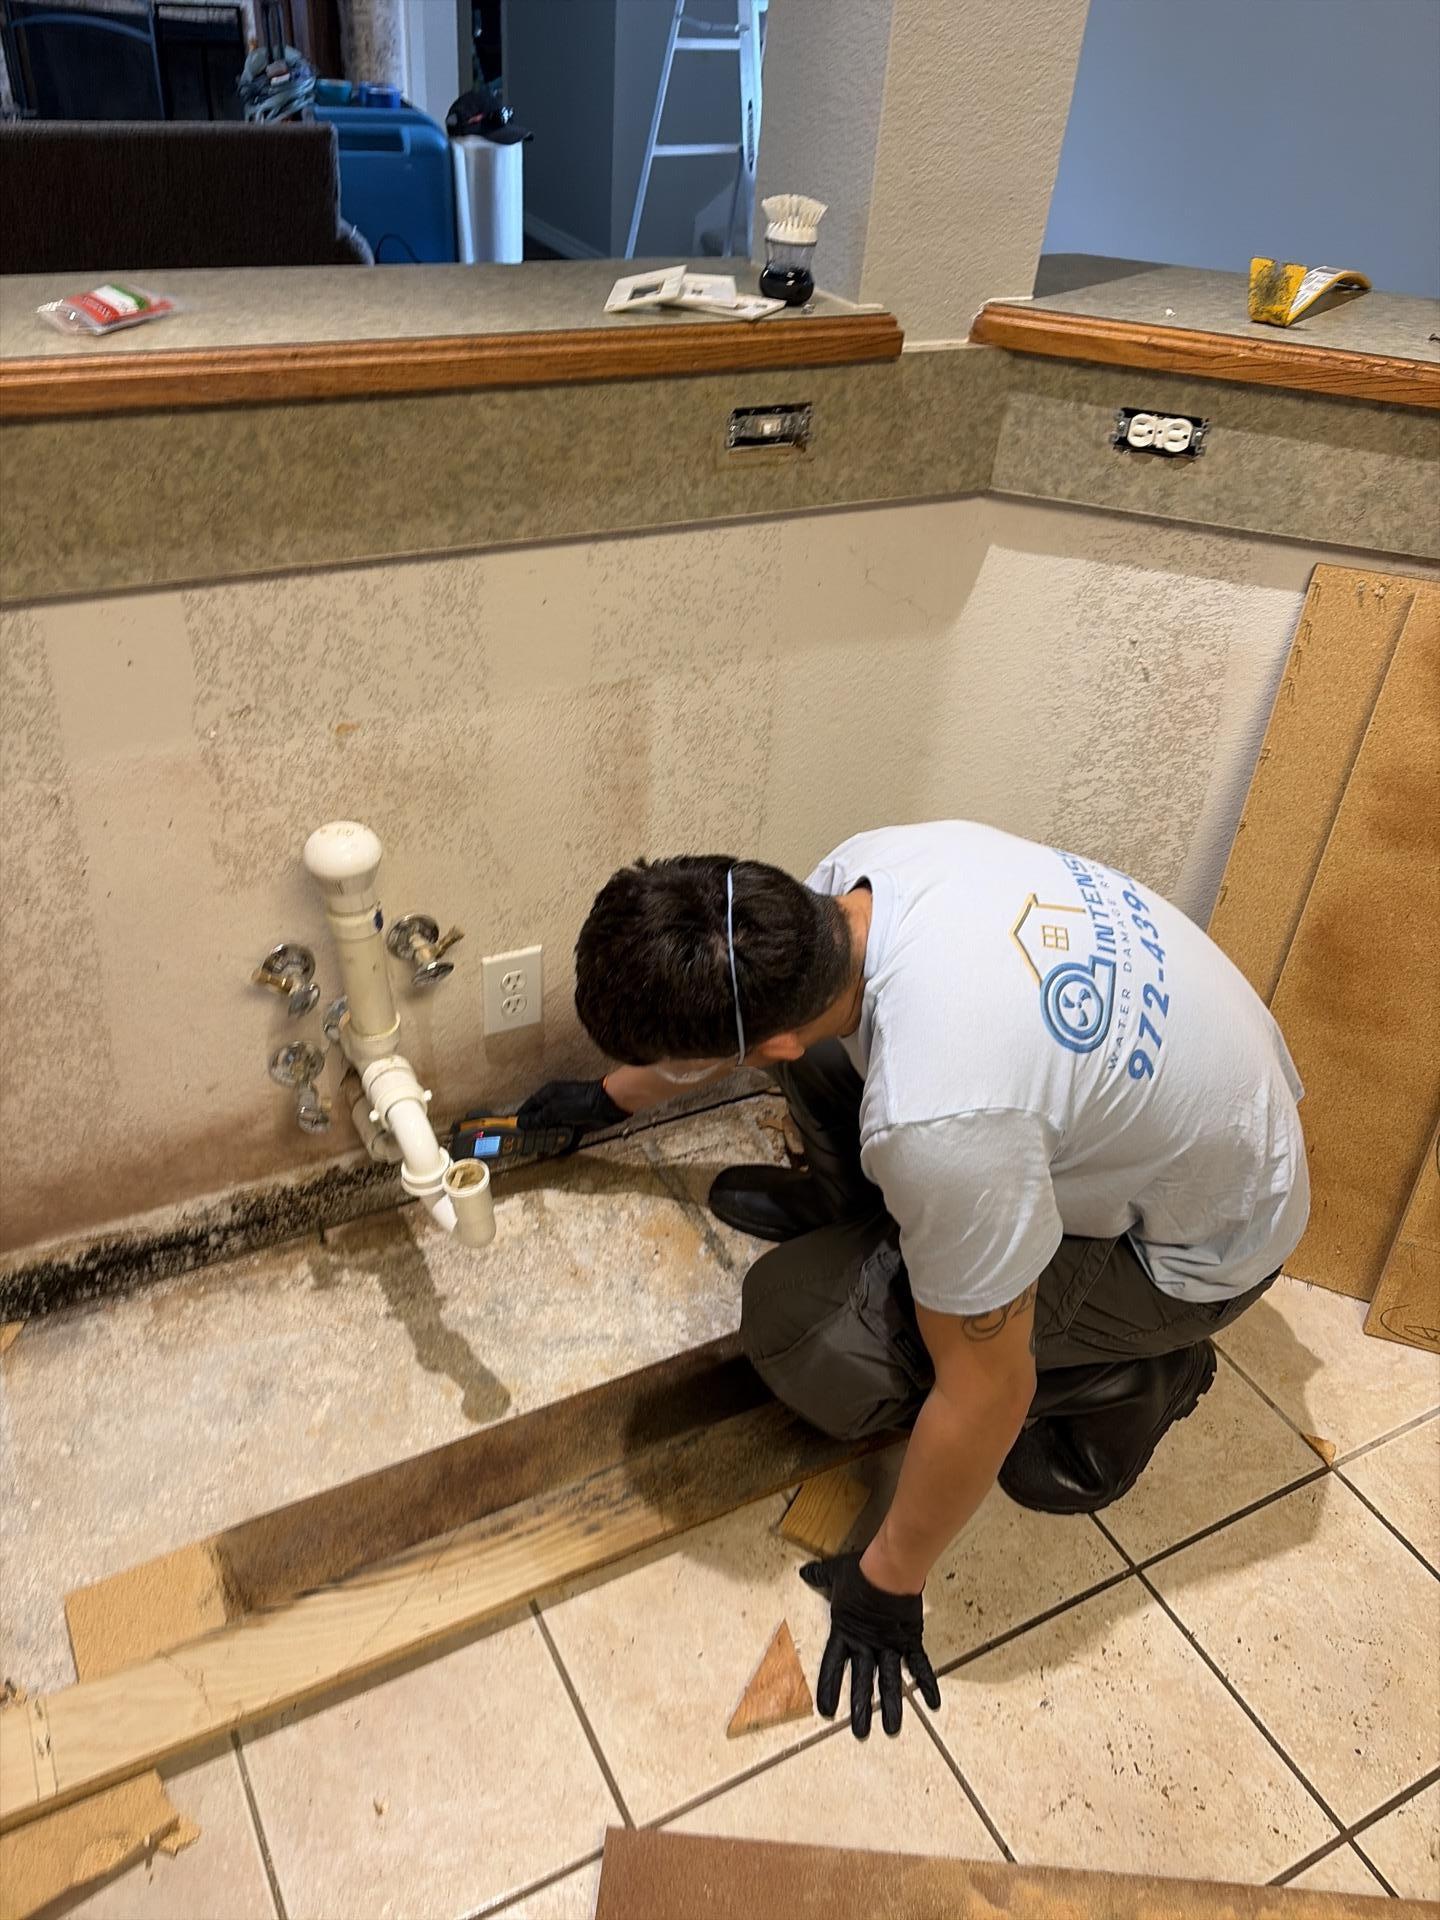
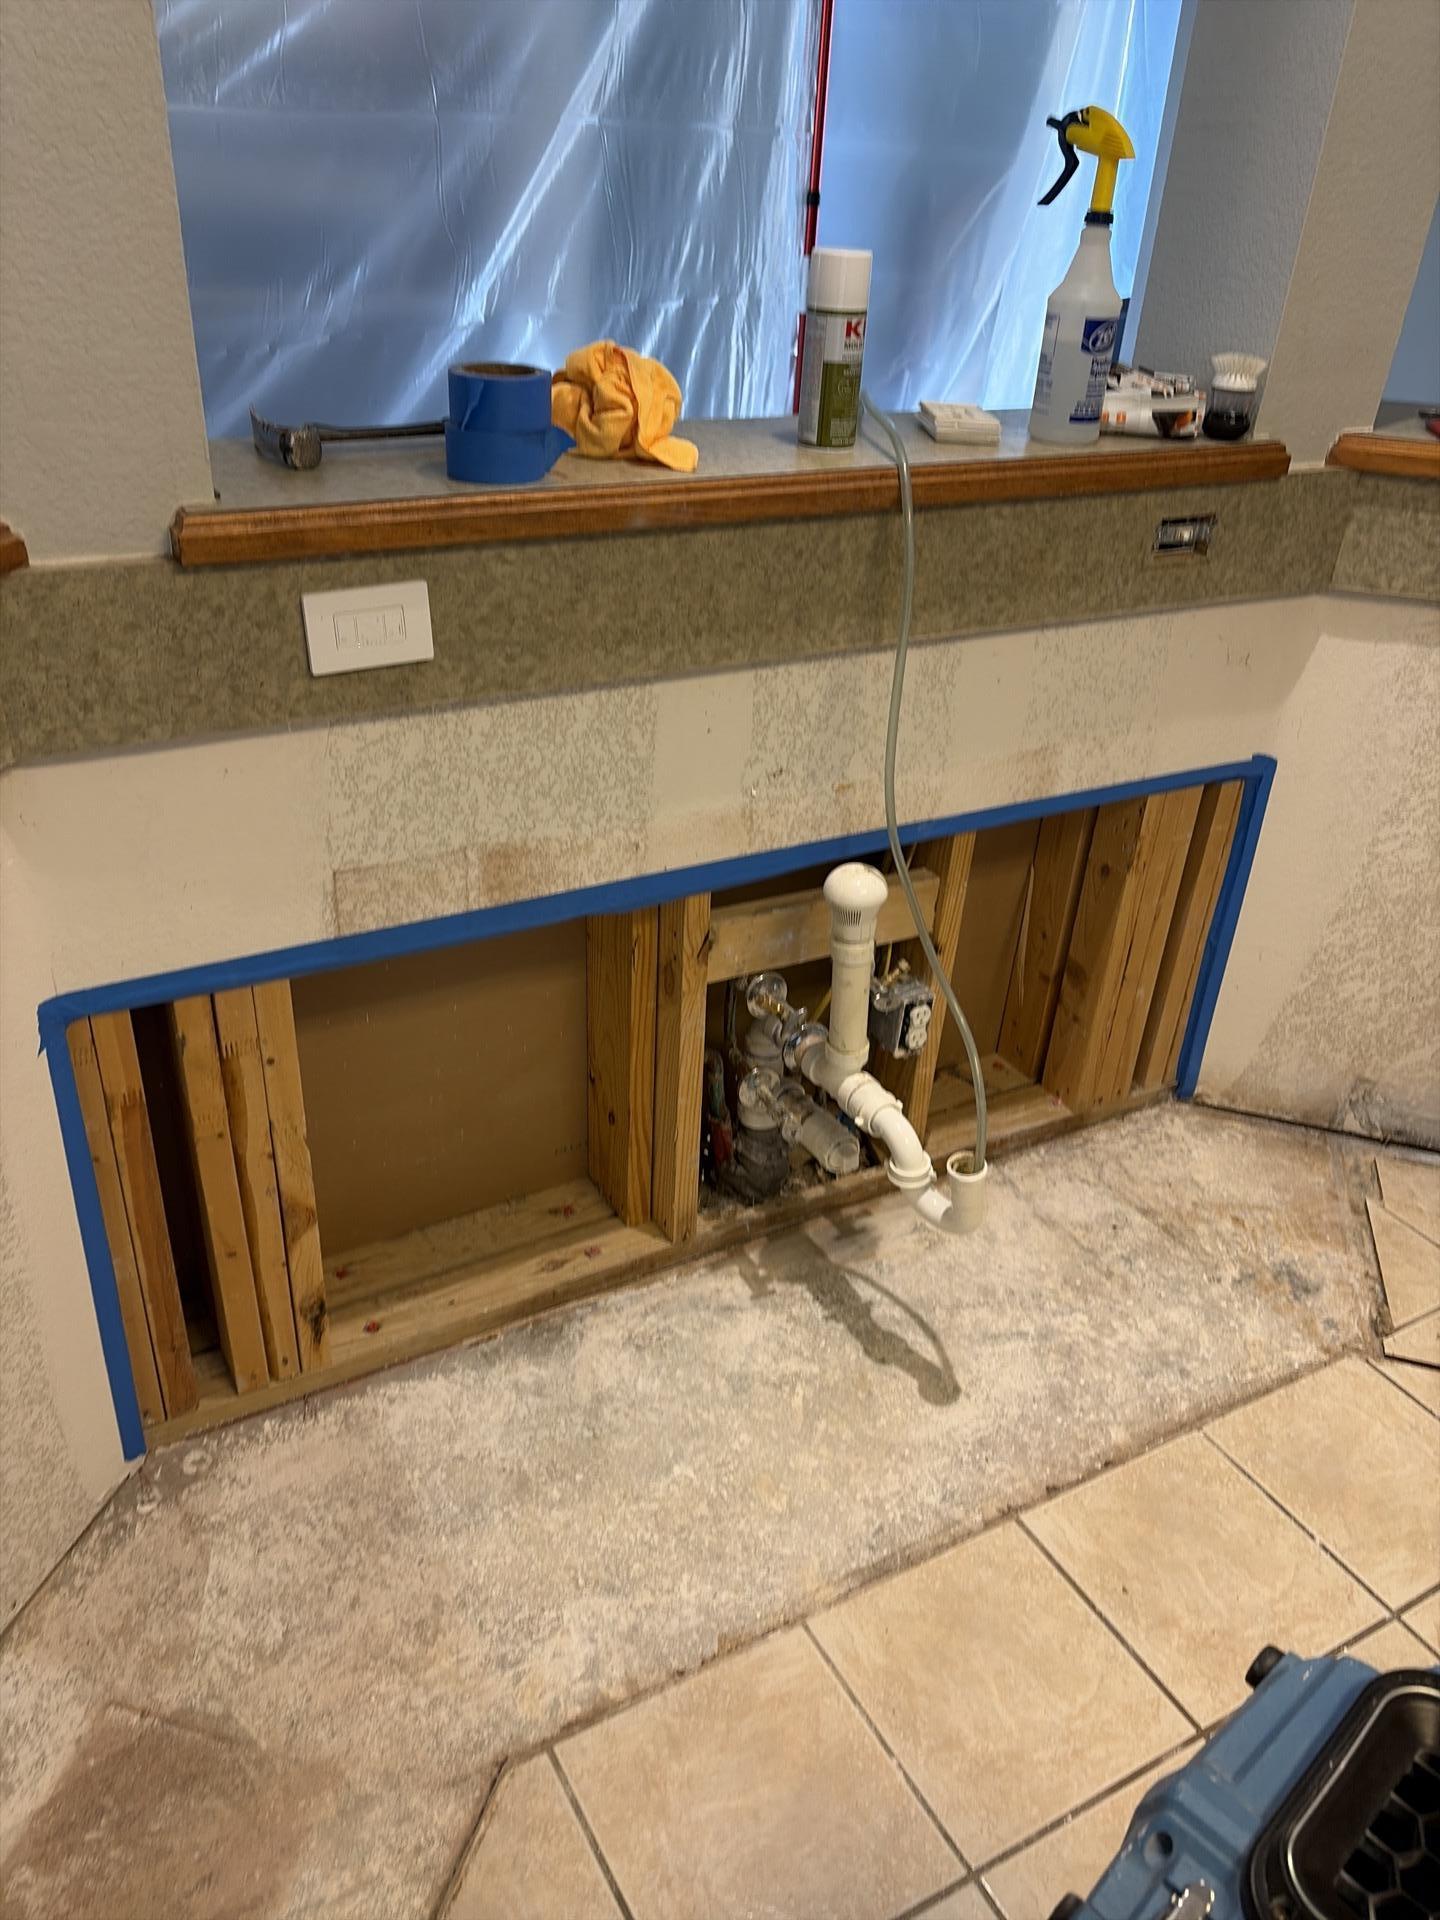
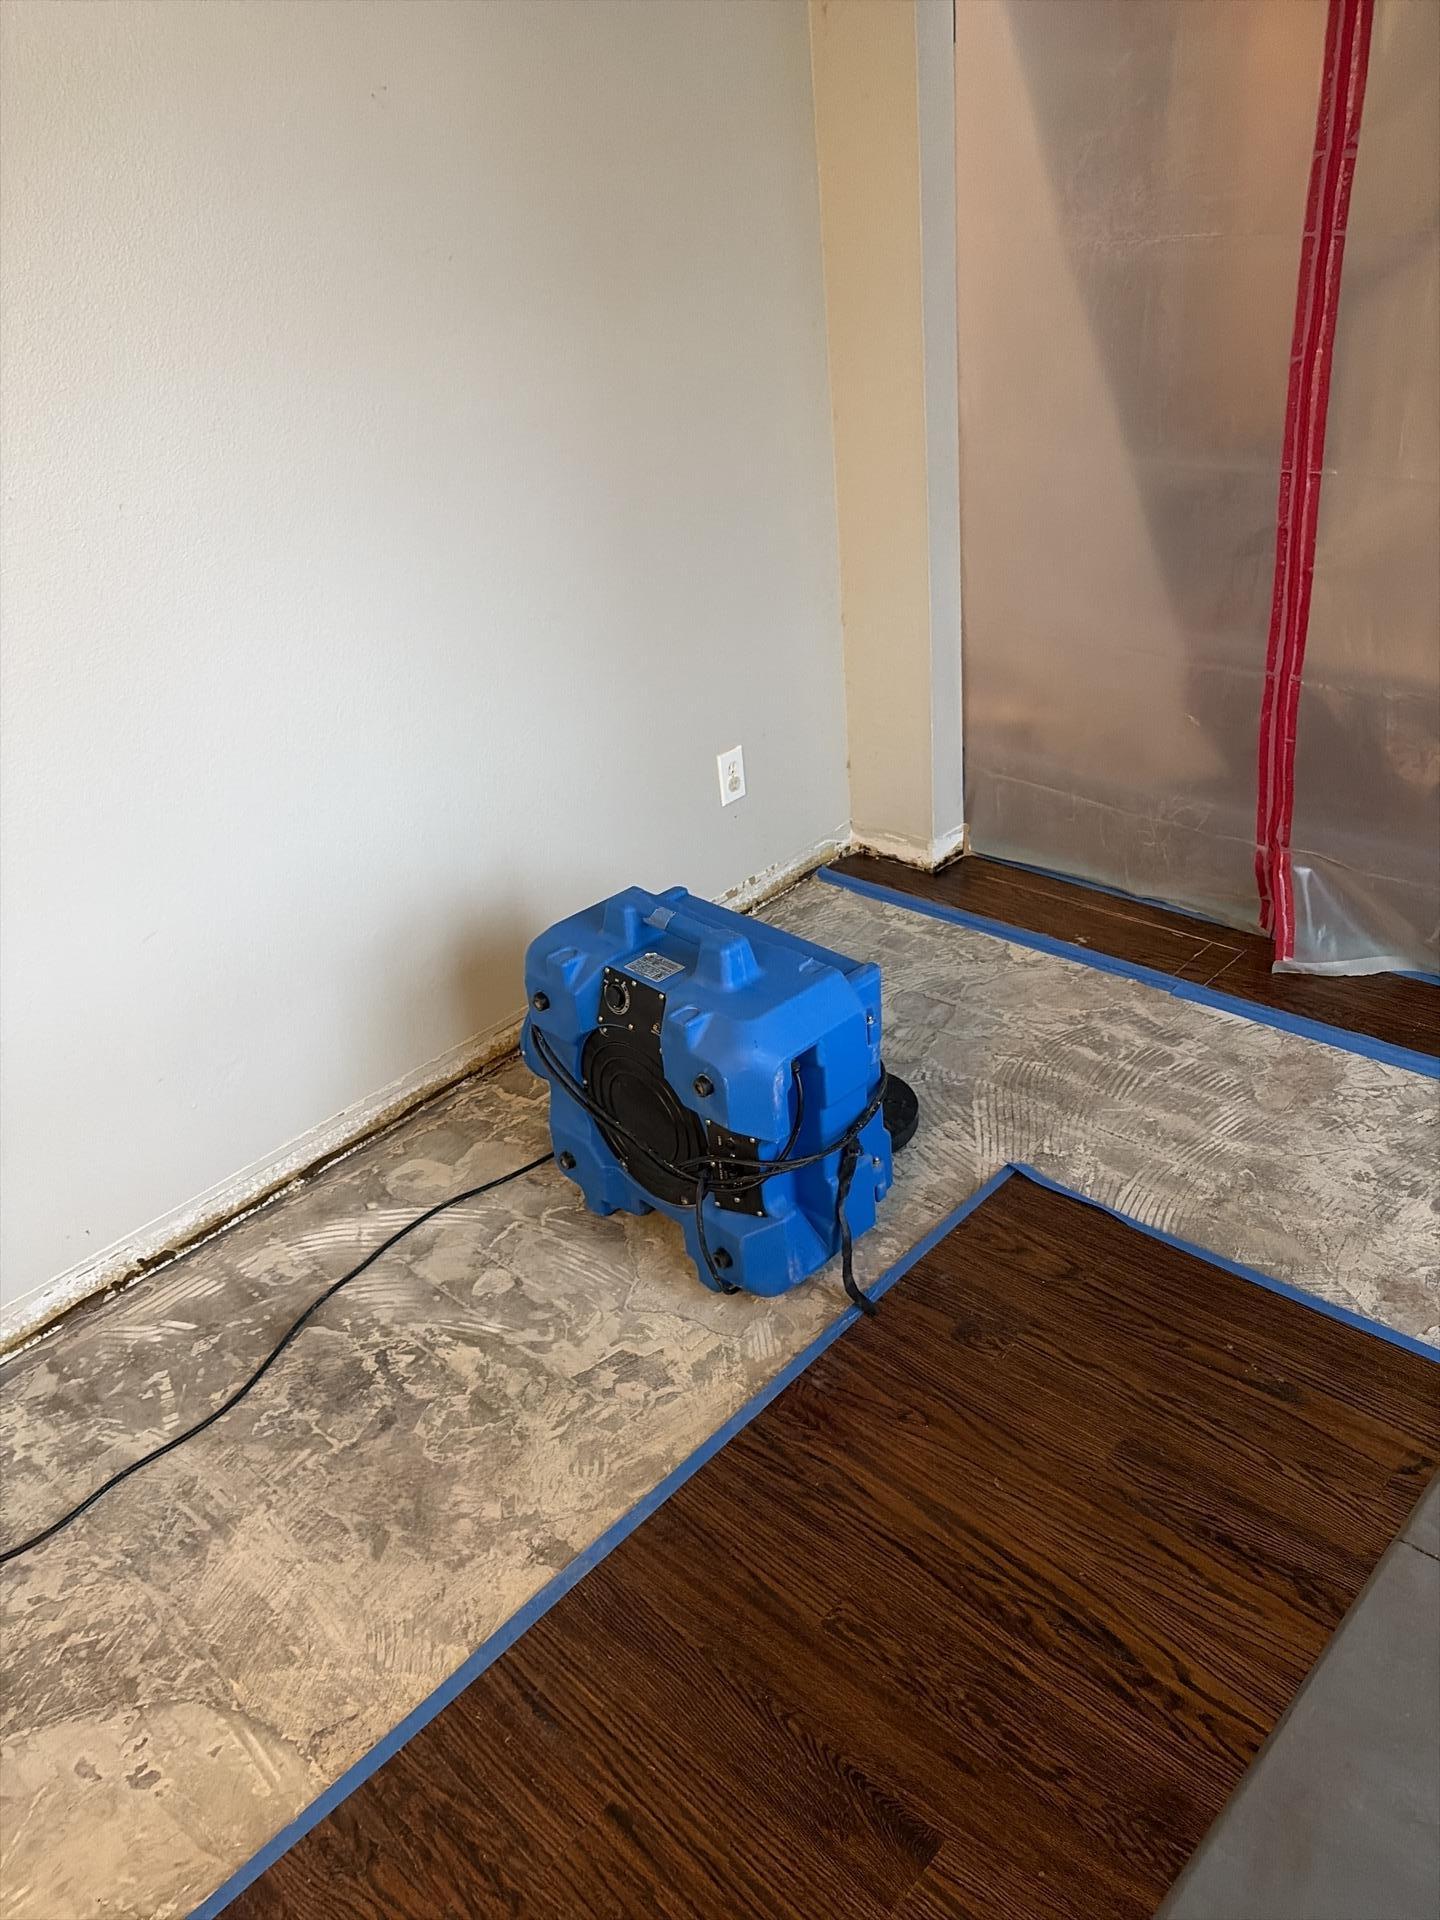
Flooring removal, containment setup, and cabinet demo in progress.
 |  |  |
 |  |  |
 |  |  |
Working With the Insurance Adjuster
This job was covered under a homeowner’s insurance policy. Our team stayed involved through the adjuster walkthrough, answering questions and making sure the documentation we’d gathered, daily moisture logs, photos, and equipment reports, actually supported the claim properly.
That’s something we take seriously. A restoration company’s job isn’t just drying out a house. It’s helping homeowners navigate the full process, and that includes the insurance side. We use the Encircle platform to document every job digitally, which makes the adjuster conversation much smoother. Everything is timestamped, measured, and backed up.
If you’re curious about what that claims process typically looks like, our post on requesting insurance help before water damage repair covers the basics well.
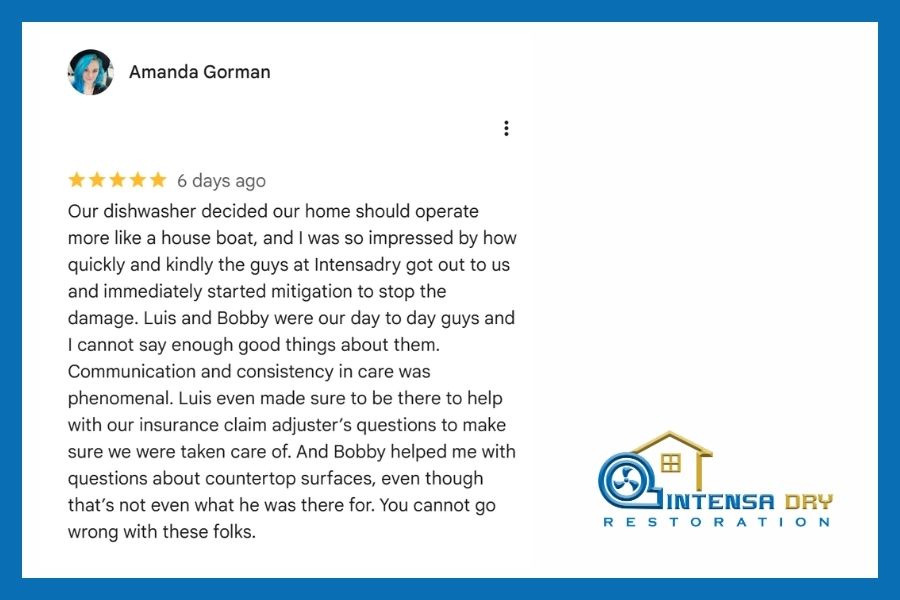
What the Homeowner Had to Say
This family had a lot going on during this job. Kids, a household turned upside down, an insurance claim to manage. They were great to work with, and the feeling was mutual. They left us a wonderful review that honestly made our whole team smile. If you want to read it for yourself, click that link. We’re proud of it.
 |
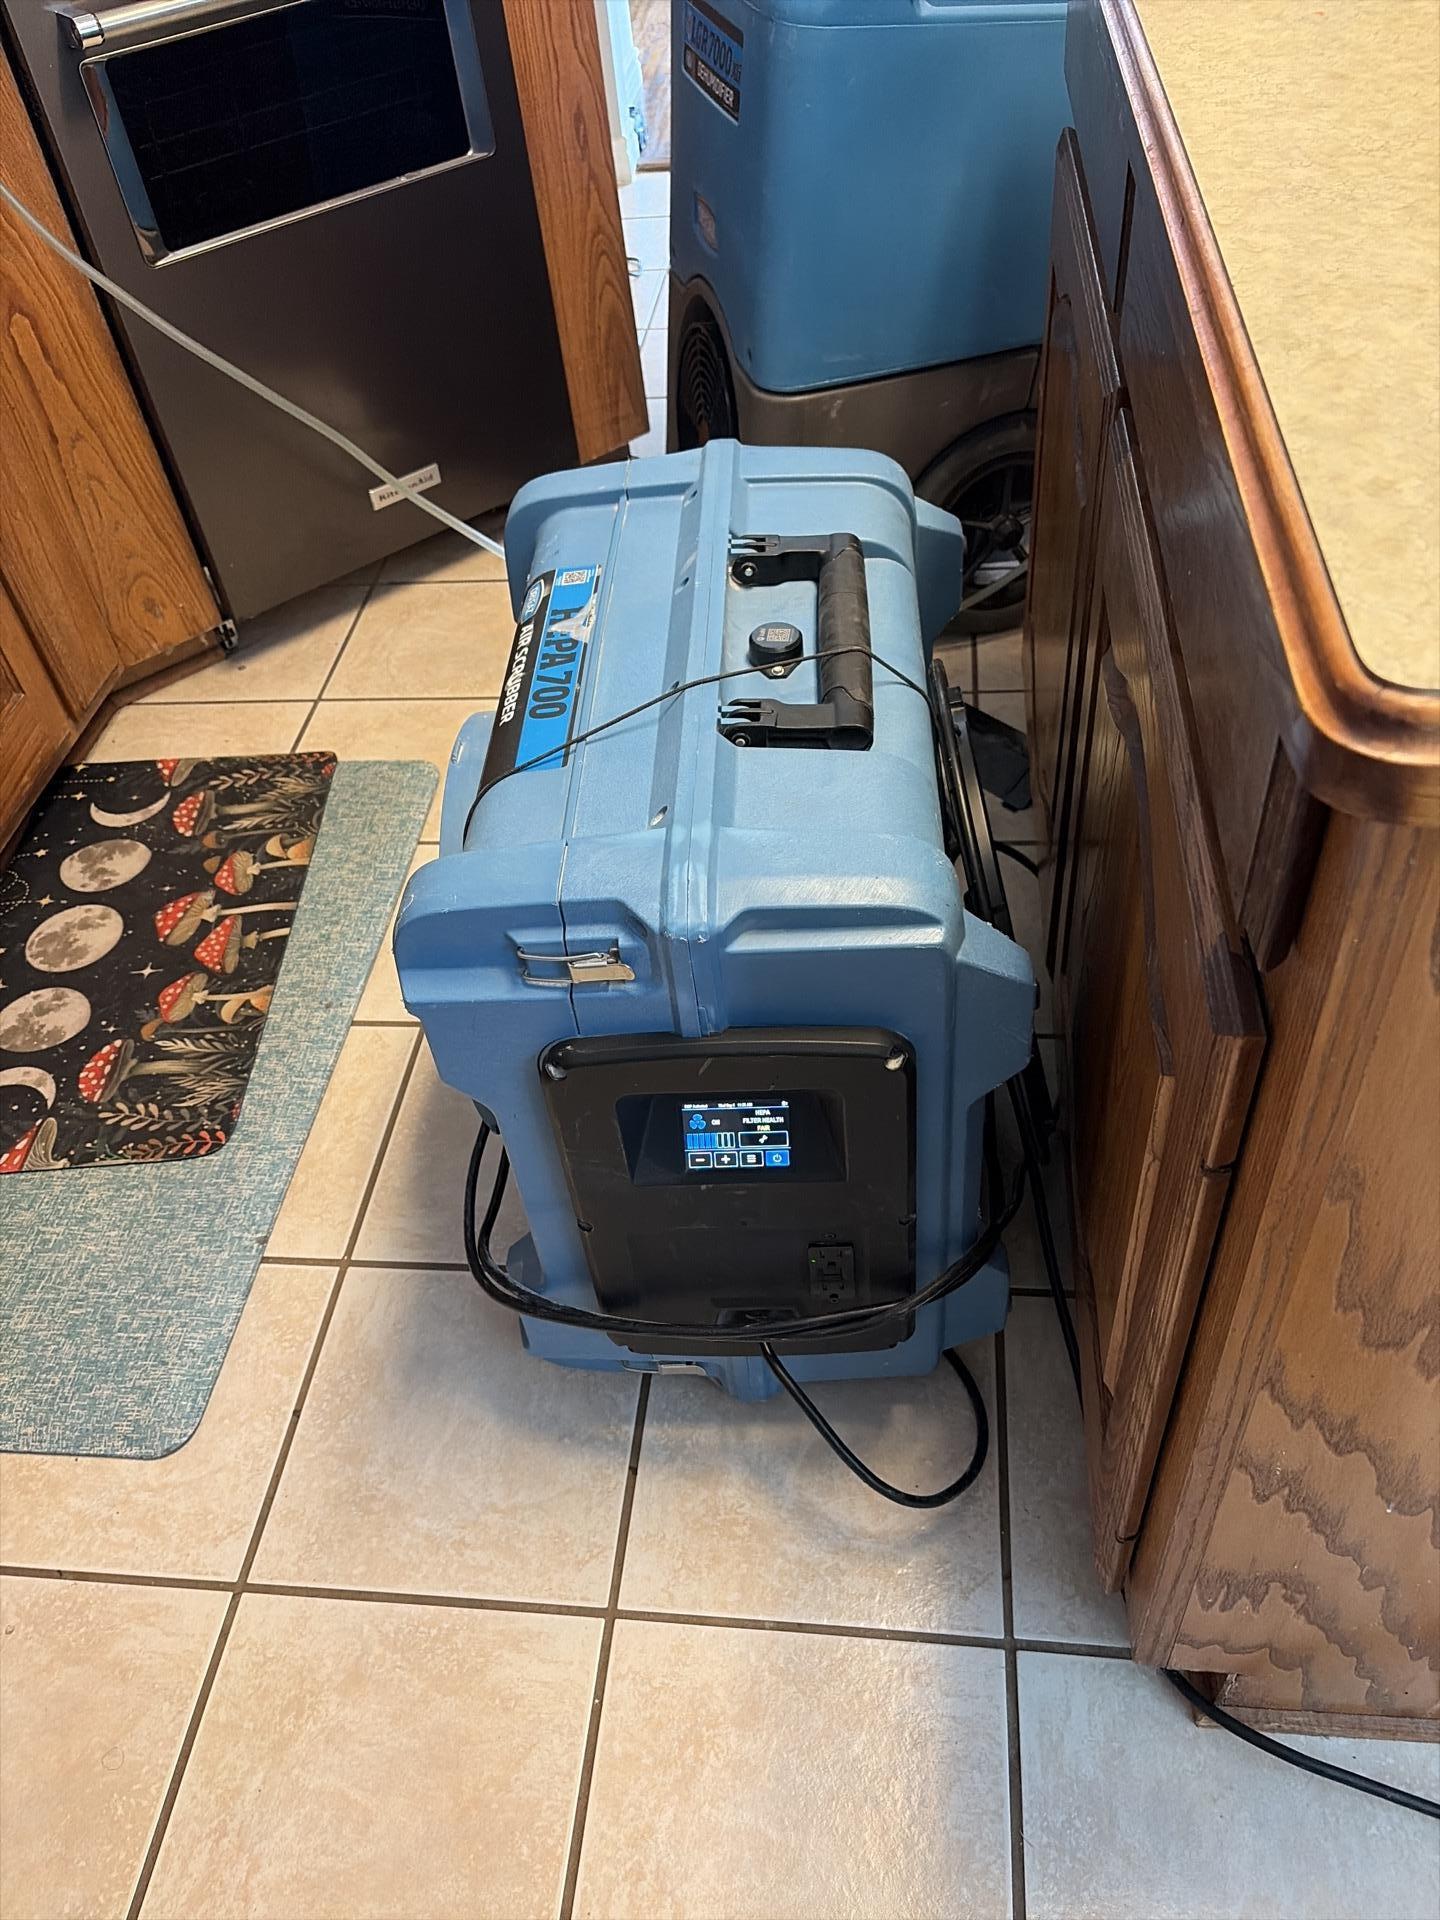
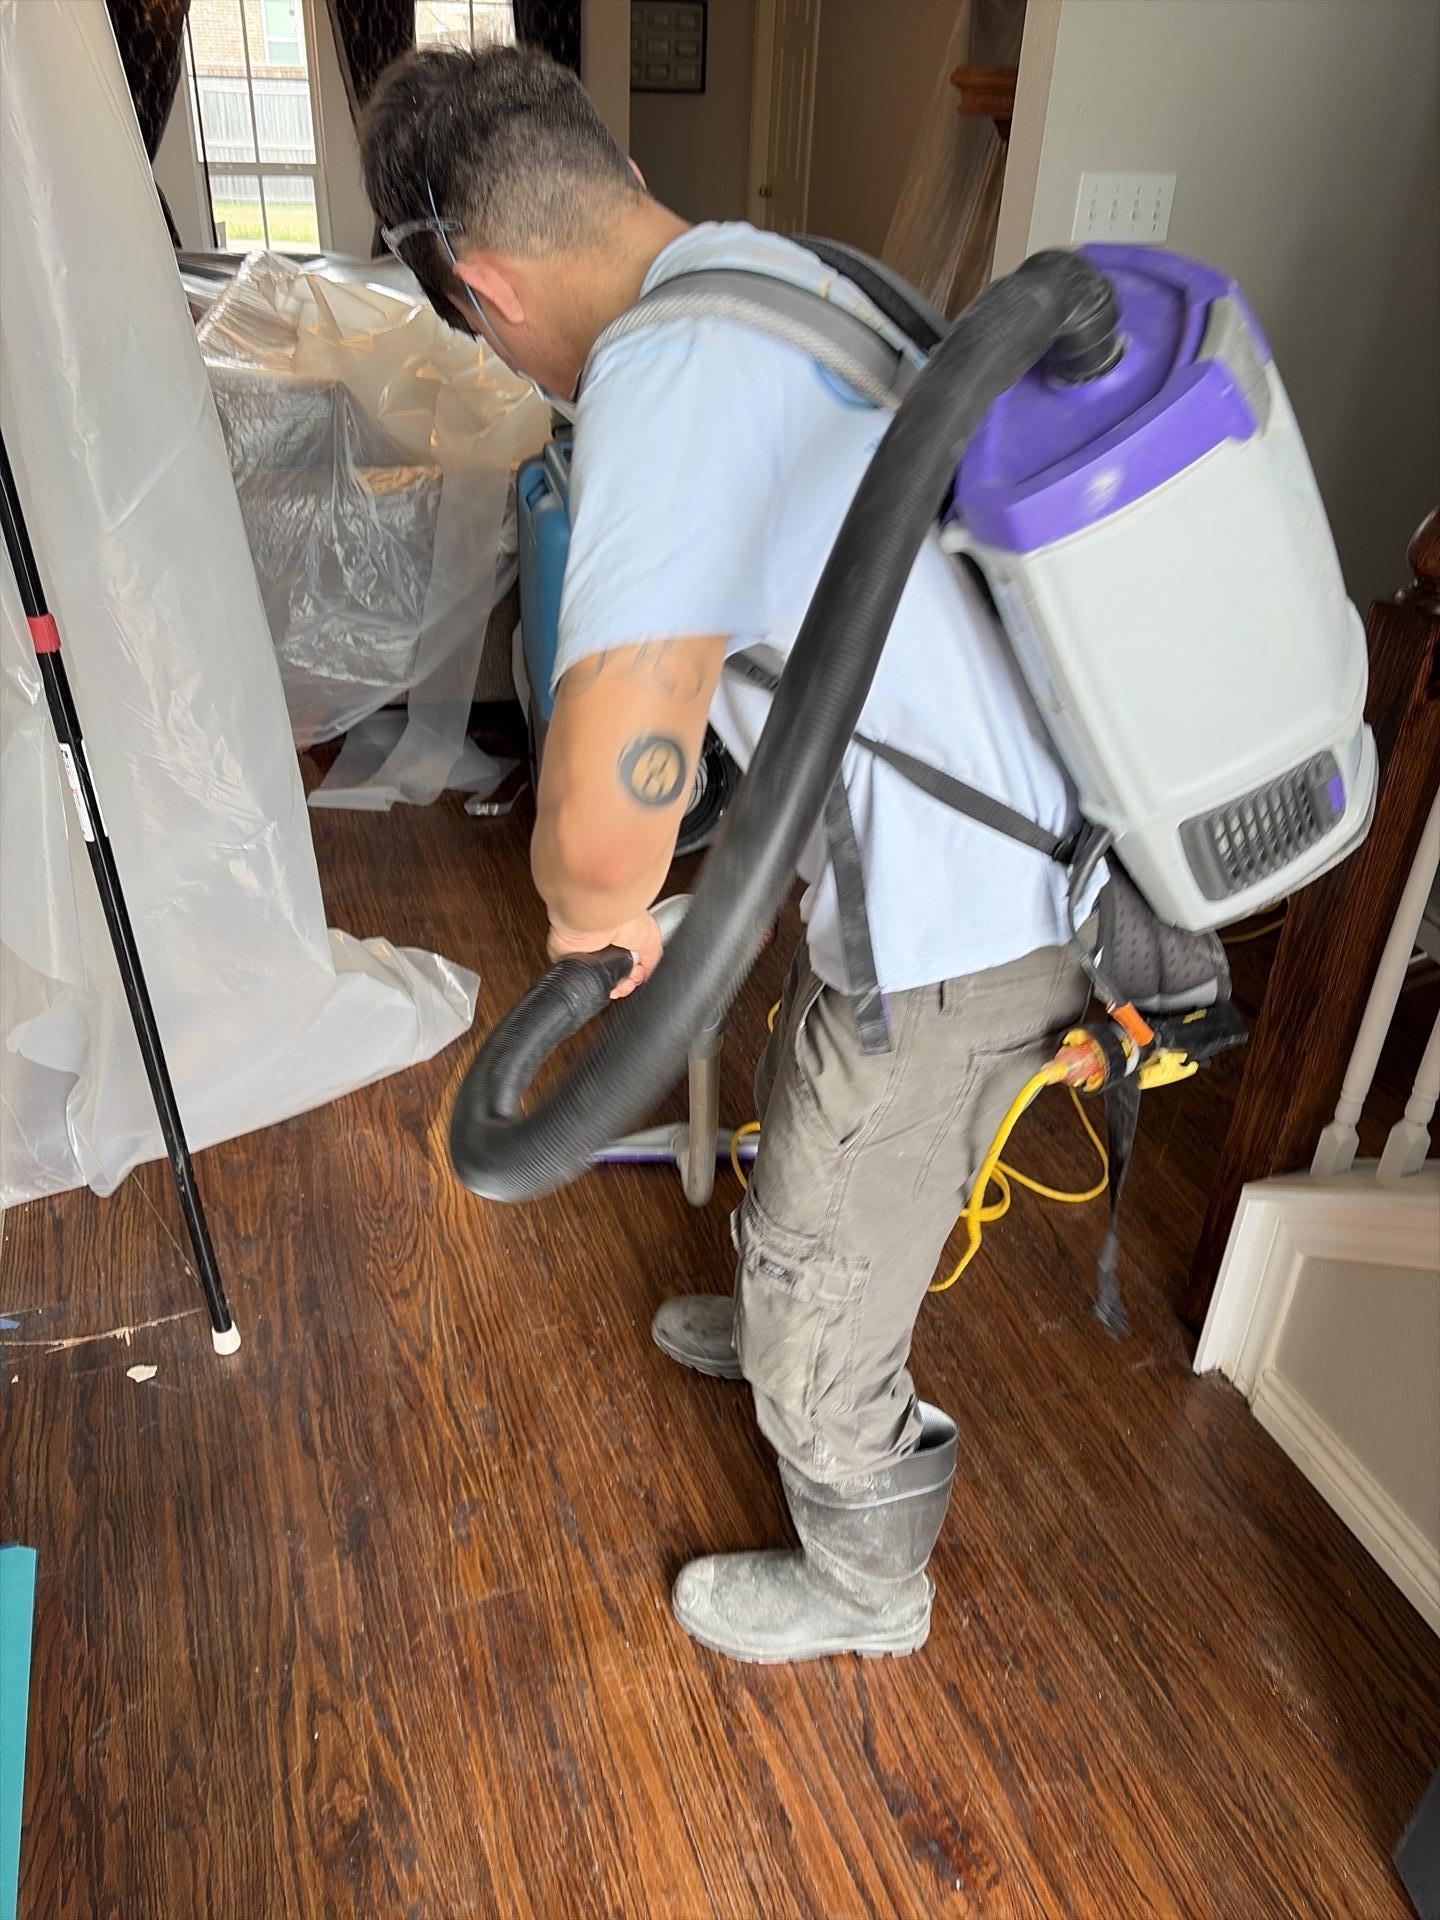
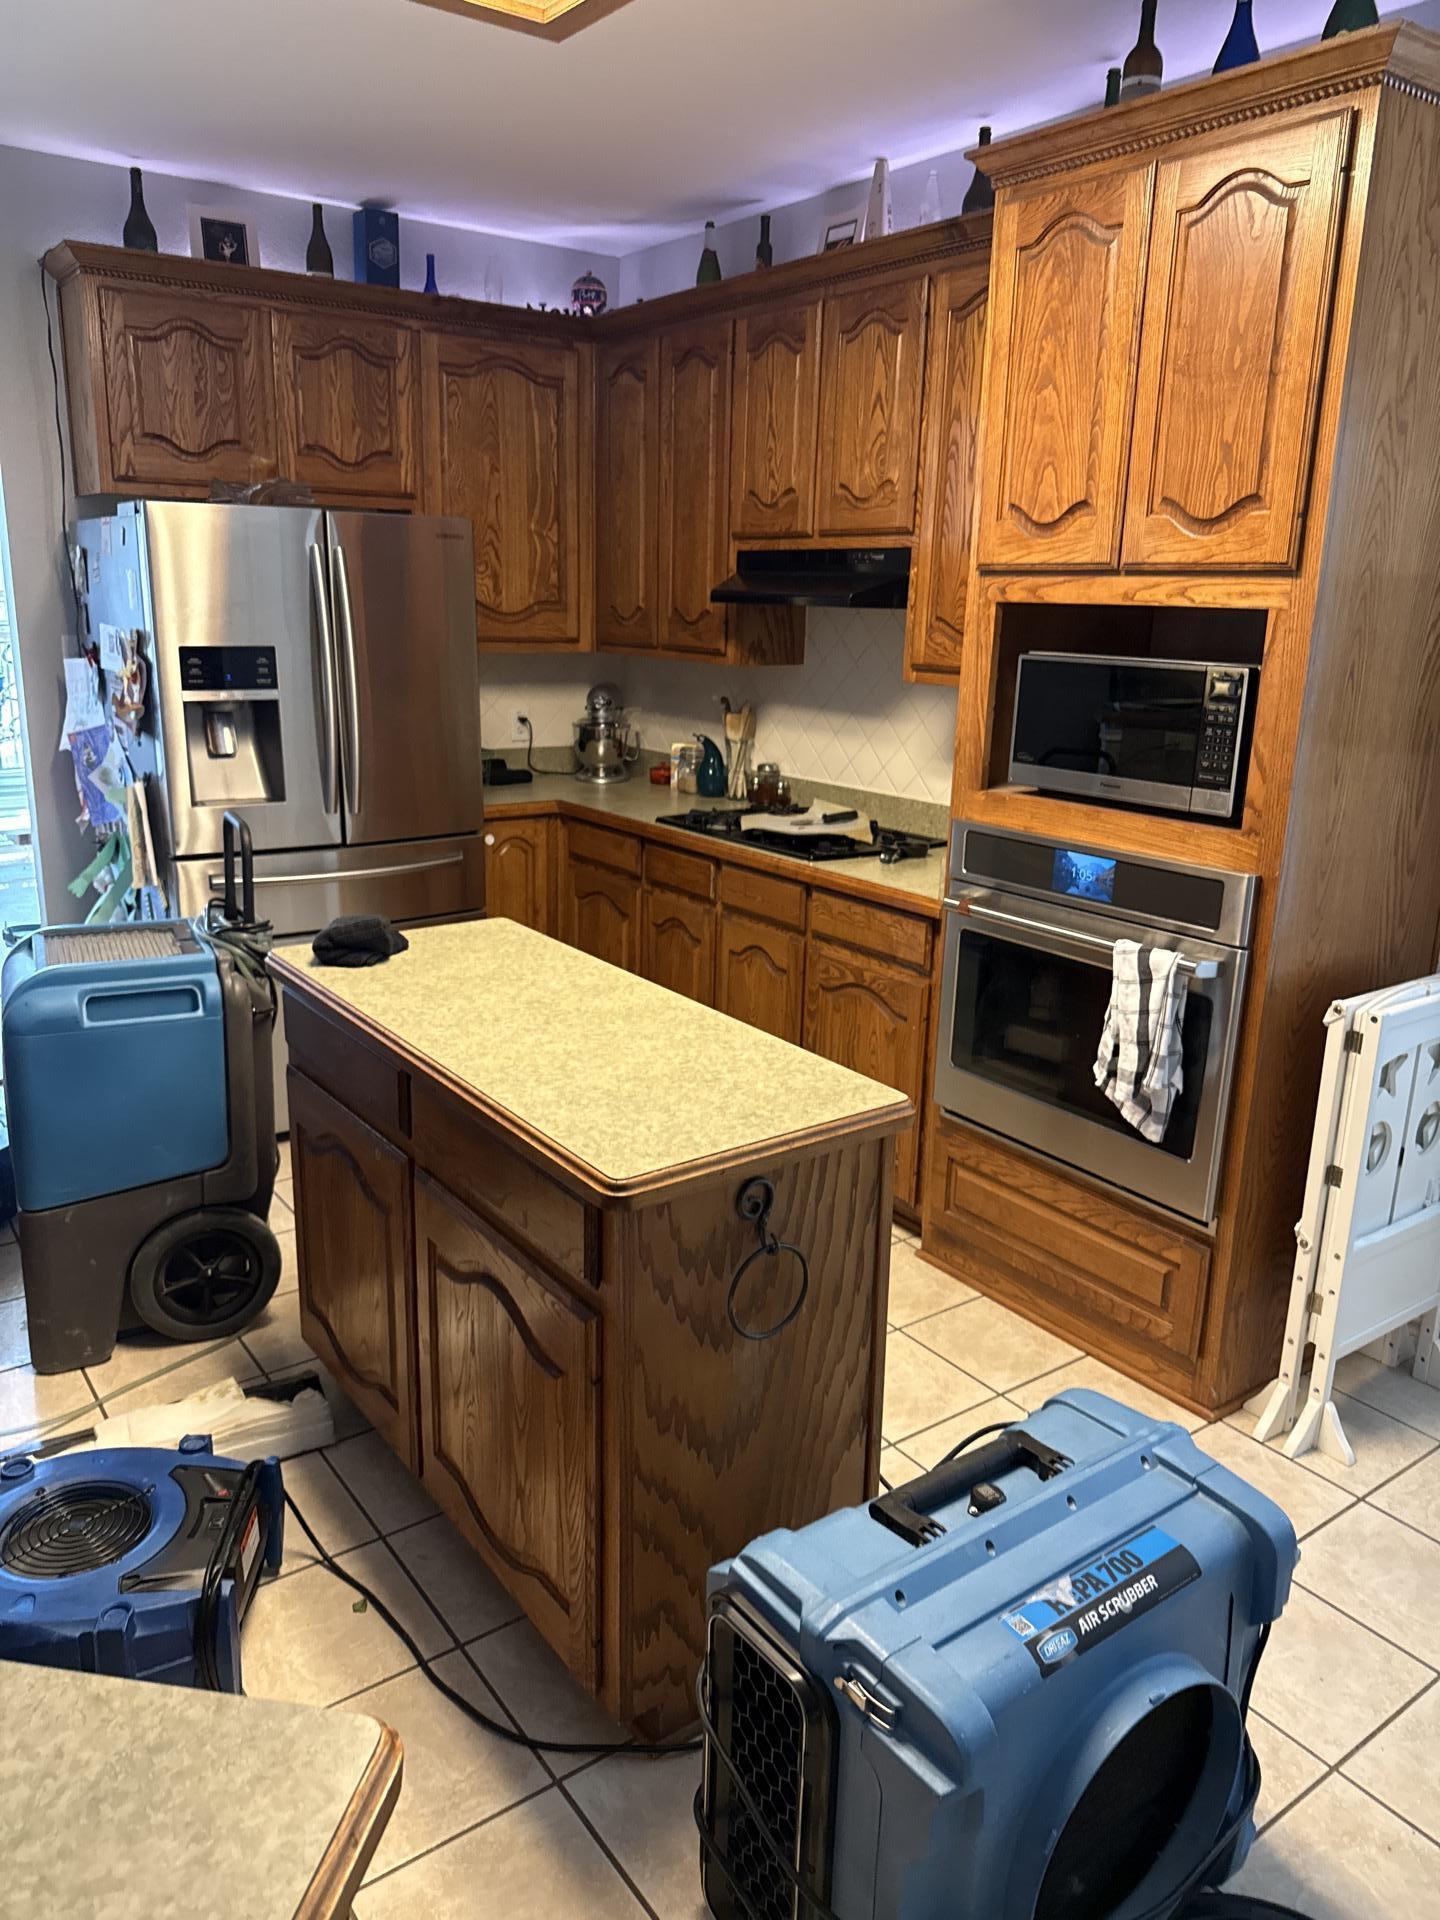
Active drying, HEPA air filtration, and final stages of the restoration process.
 |  |  |
 |  |
Key Takeaways From This Job
- Dishwasher leaks spread fast and far. Water follows the path of least resistance, and that path often leads under flooring and into adjacent rooms before you realize anything’s wrong.
- Category 1 water can still cause major damage. “Clean water” just means the source is clean. Once it’s in your subfloor and walls, the damage and mold risk are the same.
- Document everything. Daily moisture logs made a real difference in how smoothly the insurance claim went.
- Speed matters. The faster you call, the more you can save, and the less the overall scope grows.
For more context on what professional water damage restoration actually involves from start to finish, our guide on the four phases of water damage restoration is a good read. And if you’re wondering about what our crews have handled recently, check out our Frisco water heater overflow case study for another example of how we work.
Dealing With Water Damage in Allen, TX or Nearby?
We’re Ready When You Need Us
Intensa Dry Restoration is available 24/7 for emergency water damage situations throughout the DFW area, including Allen, Plano, Frisco, McKinney, and surrounding communities. Our average response time is under 40 minutes.
- IICRC certified team
- Full insurance claim support and documentation
- Daily moisture monitoring and reporting
- Free consultations and inspections
- Family-owned and locally operated
Don’t wait on water damage. The longer it sits, the more it spreads.
Frequently Asked Questions
How do I know if my dishwasher is leaking behind the walls?
Warped or soft flooring near the dishwasher, bubbling paint or drywall, a musty smell, or water stains on cabinets can all signal a slow leak. Many dishwasher leaks go undetected for weeks because the water travels underneath flooring before surfacing.
Does homeowner’s insurance cover dishwasher leaks?
Most standard homeowner’s insurance policies cover sudden and accidental water damage from appliance leaks, including dishwashers. Slow, ongoing leaks that were neglected may be treated differently. A restoration company that documents the damage thoroughly can help support your claim.
How long does water damage restoration take for a dishwasher leak?
Drying typically takes 5-10 days depending on the materials affected and the extent of saturation. Hardwood floors and subfloor plywood take longer than tile or drywall. Your restoration team should be monitoring readings daily and adjusting equipment as needed.
Can mold grow from a dishwasher leak?
Yes. Even Category 1 clean water can lead to mold growth if materials aren’t dried within 24-48 hours. Mold thrives in wet, enclosed spaces like wall cavities and under-floor assemblies. Professional drying and air scrubbing significantly reduce the risk.