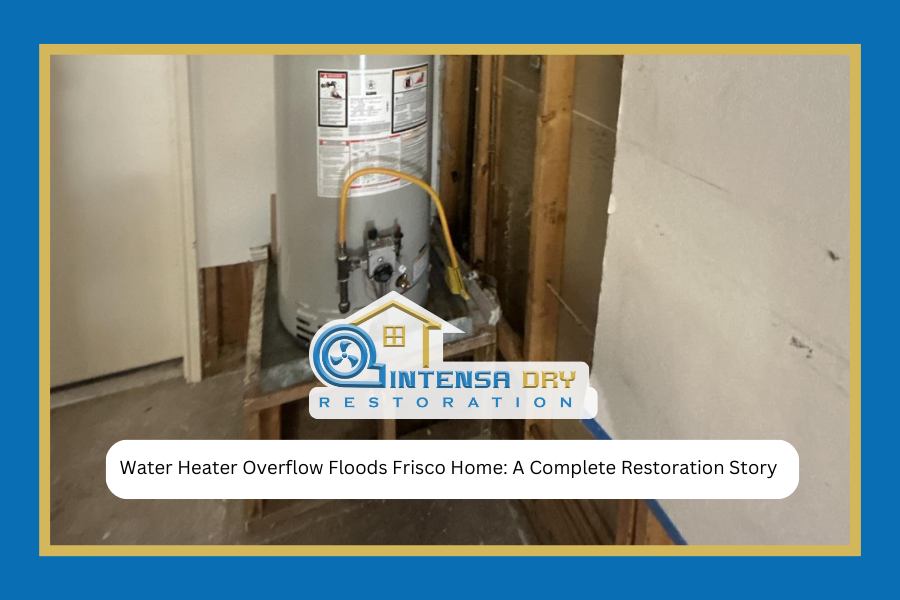
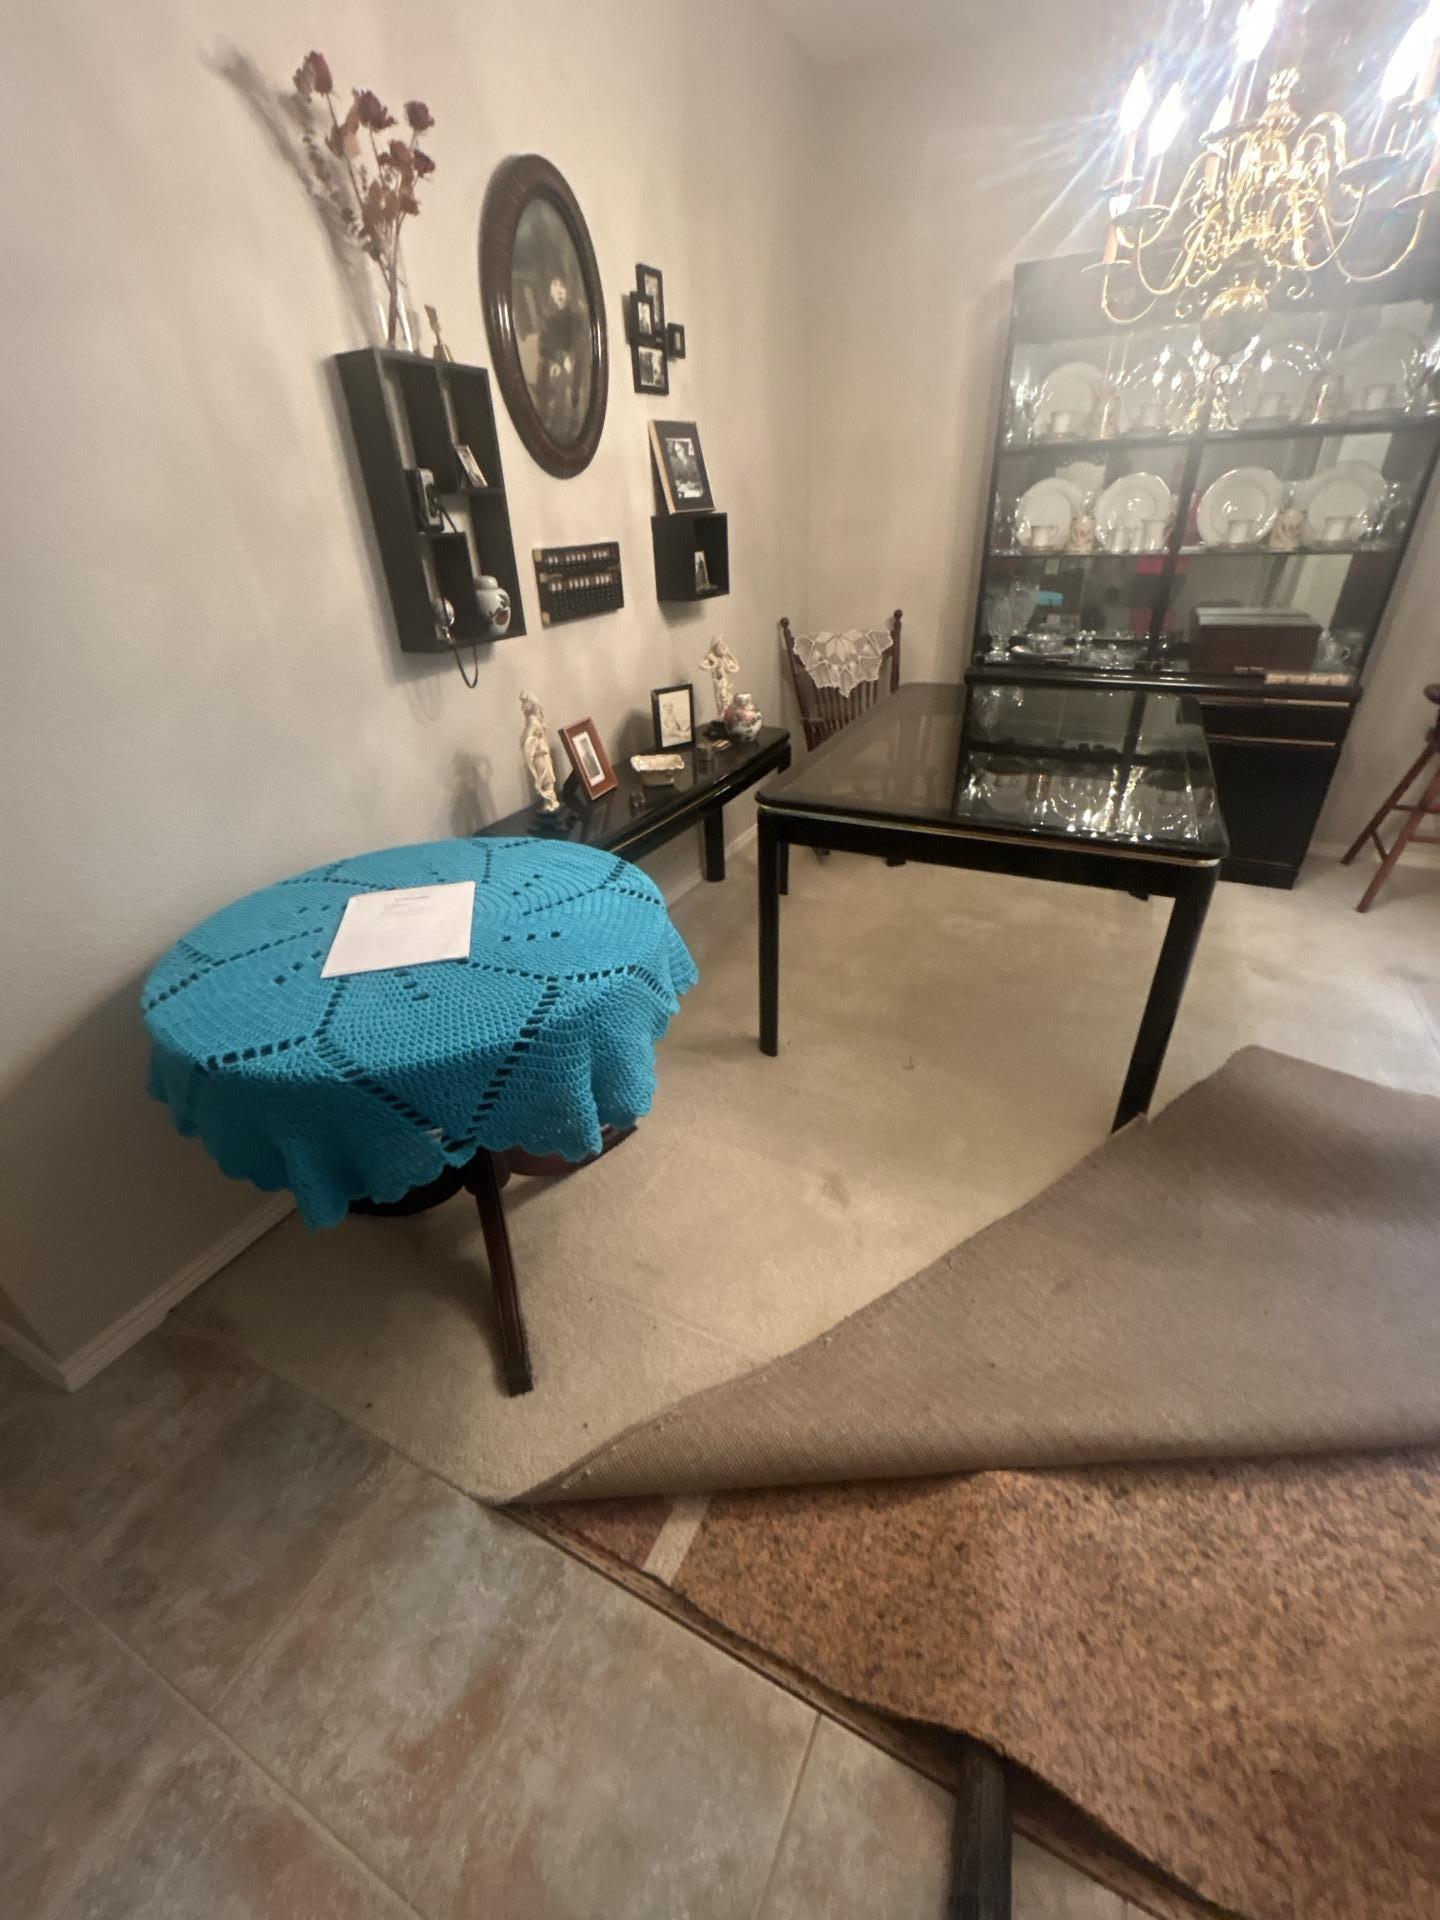
When a water heater’s overflow tank fails, it doesn’t always announce itself with a dramatic burst. Sometimes it’s just a steady leak that turns into a flood. For one Frisco family, what started as a small malfunction became a multi-room disaster that required immediate professional intervention.
By the time they discovered it, water had already soaked into the entry hall, dining room, garage, and even the upstairs master closet. Carpet, drywall, tile, nothing was spared. And in Texas humidity? The clock was already ticking toward mold.
That’s when they called us for water damage restoration in Frisco. Within 40 minutes, our team was on-site, ready to stop the damage from getting worse.
Why Water Heater Overflows Are More Serious Than They Look
Water heaters are workhorses. They run quietly in the background until something goes wrong. When an overflow tank fails or a connection loosens, it doesn’t always announce itself with a dramatic burst. Sometimes it’s just a steady leak that pools, spreads, and seeps into places you can’t see right away.
In this case, the water traveled fast. The garage floor was soaked. The dining room carpet held gallons of water like a sponge. Drywall in the entry hall had started wicking moisture up from the baseboards. And upstairs? The master closet showed signs of moisture intrusion, likely from water traveling through wall cavities.
The homeowner did the right thing. They shut off the water source and called for help immediately. That quick action made all the difference.
Day One: Containment, Extraction, and Assessment
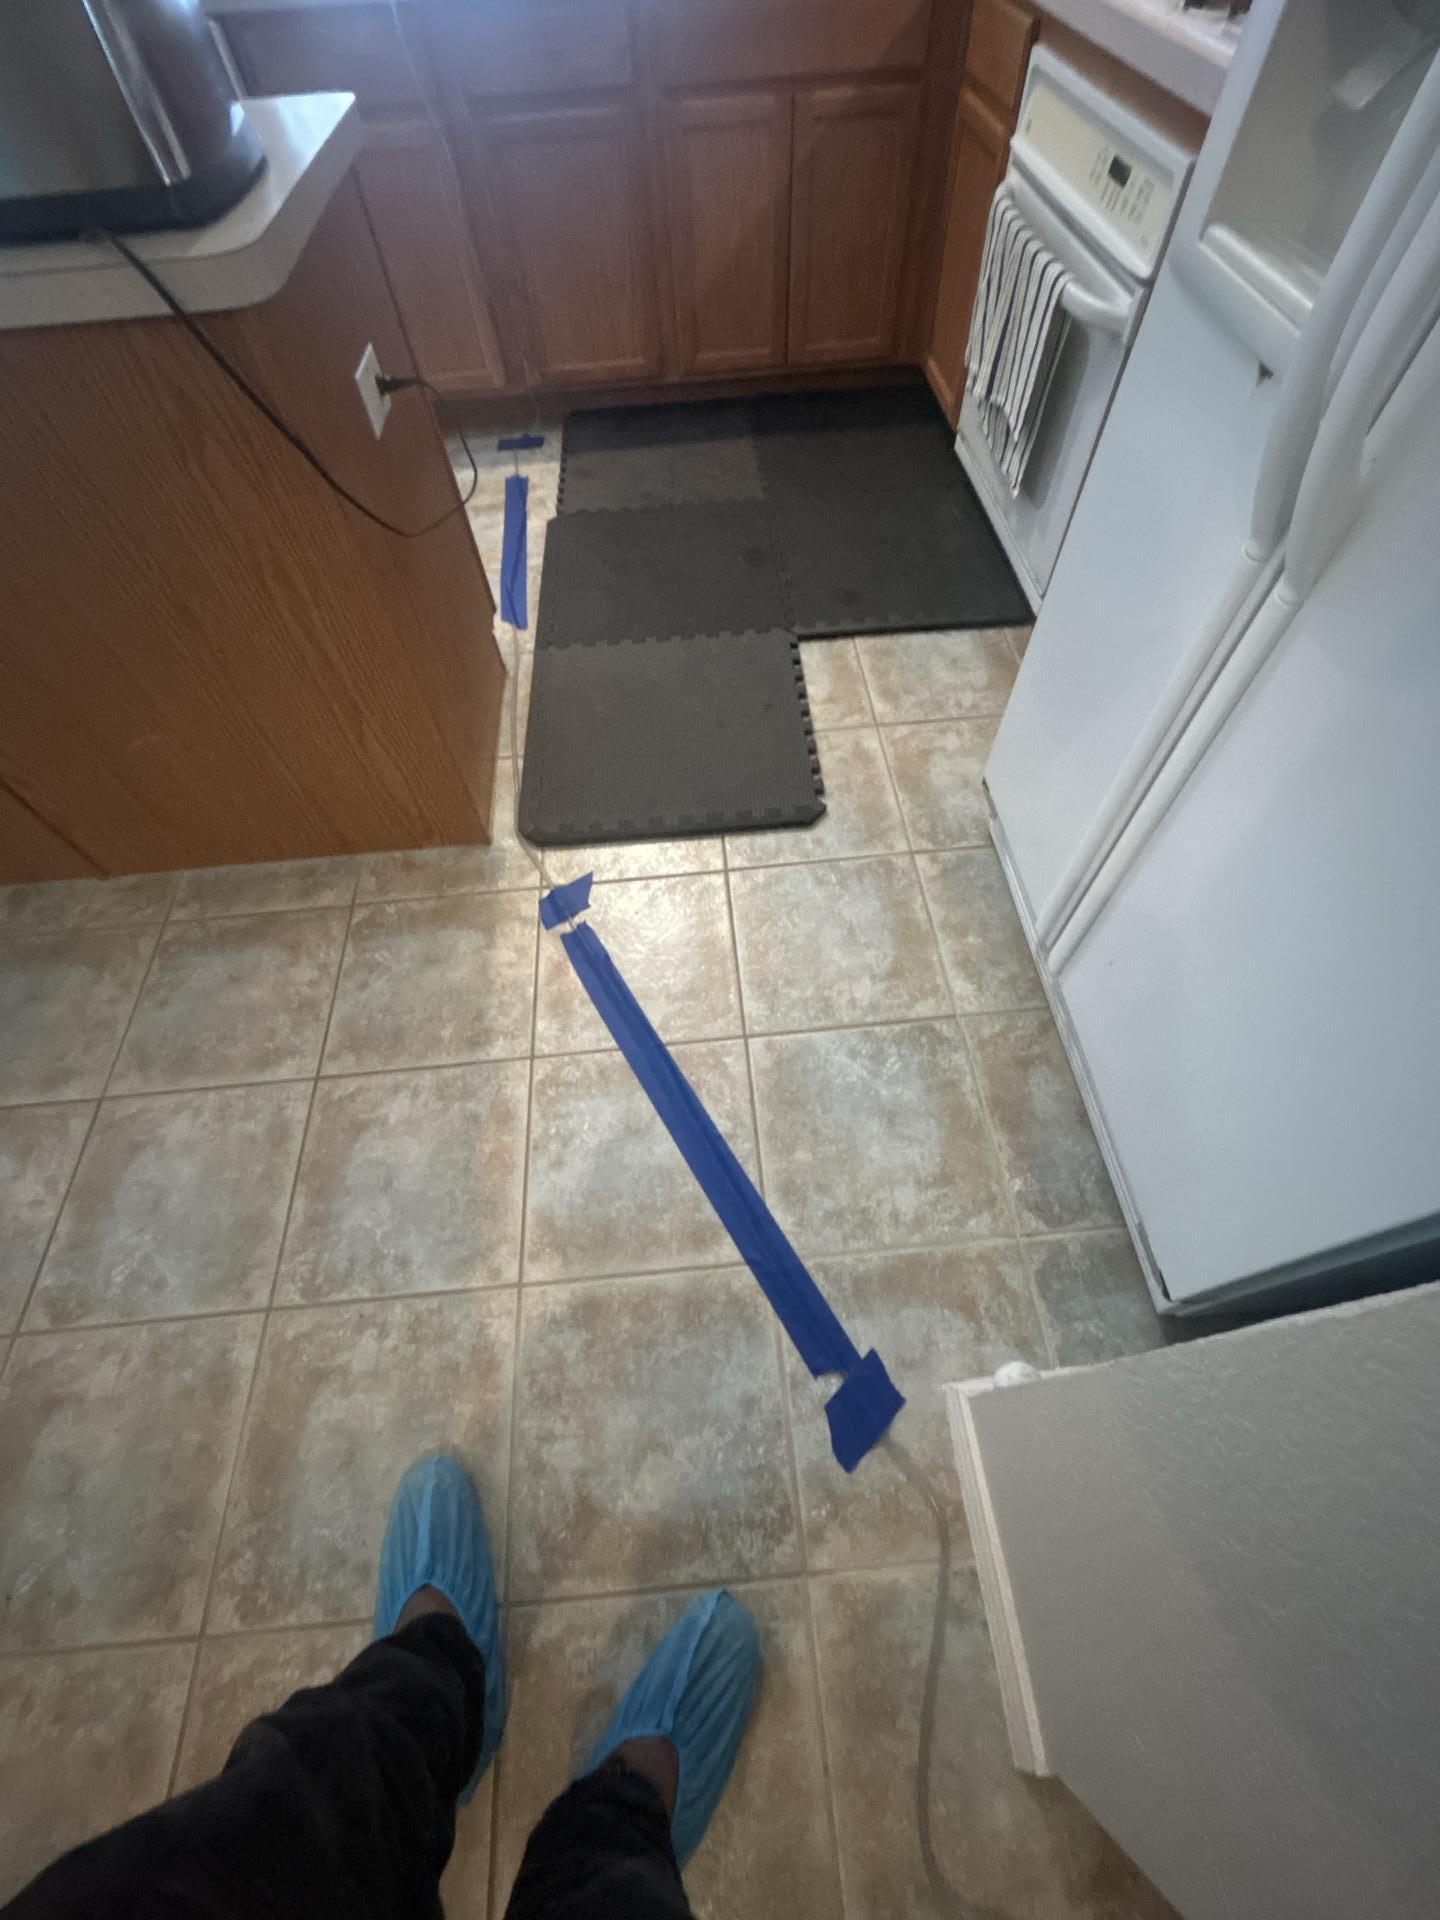
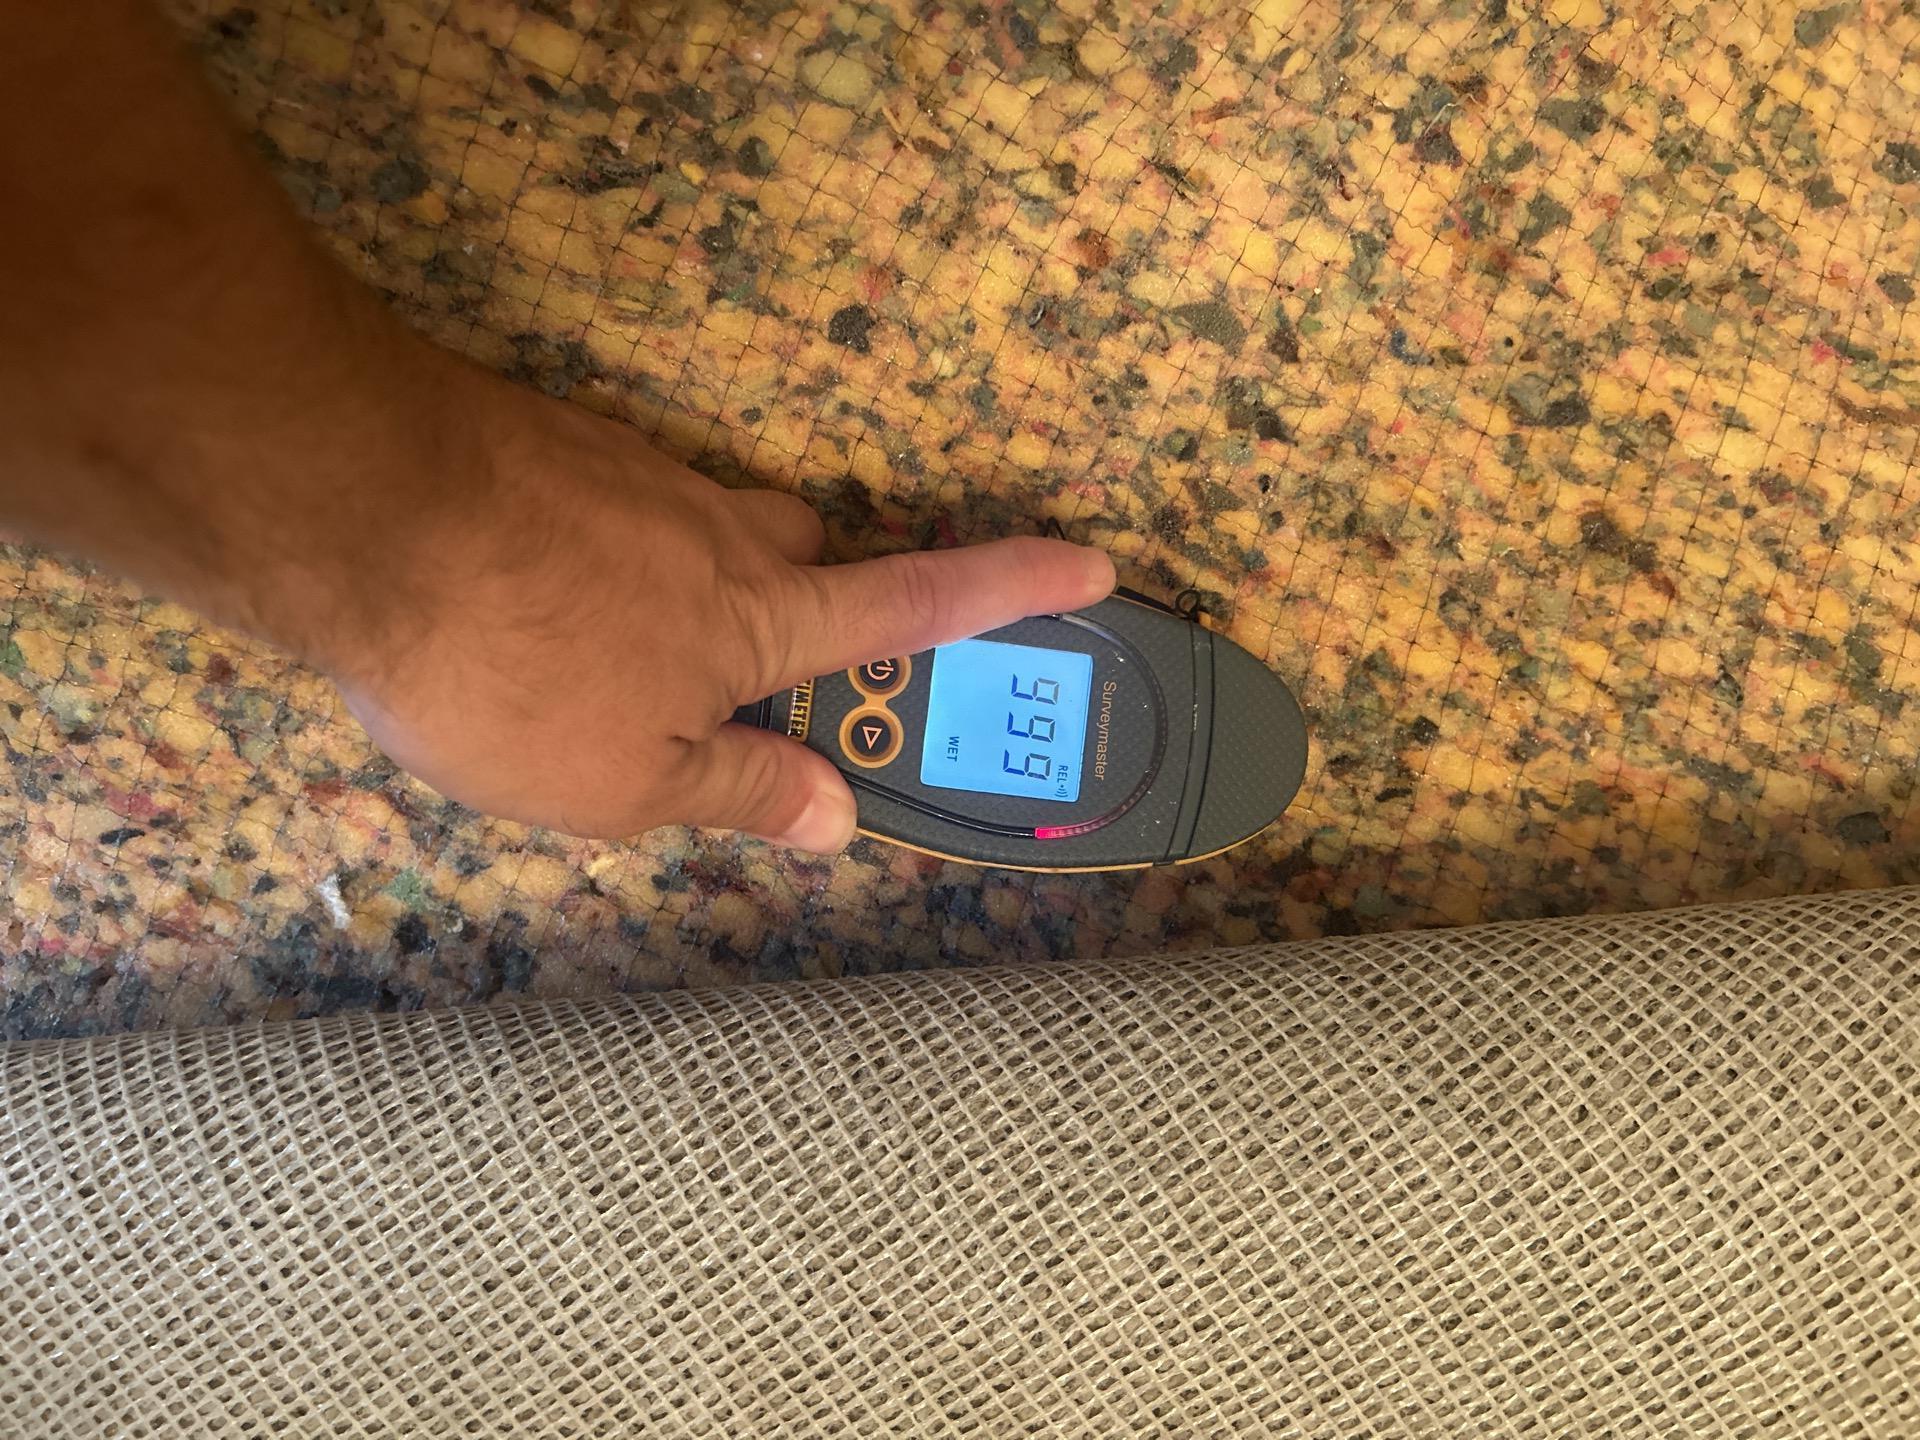
When we arrived, the first priority was stopping further damage. We started with a full water damage inspection to map out where the water had gone and how deep it had penetrated.
Using moisture meters and thermal imaging, we identified:
- Saturated carpet and padding in the entry hall and dining room
- Wet drywall along baseboards and up the lower walls
- Standing water in the garage and around the water heater
- Hidden moisture in wall cavities near the master closet
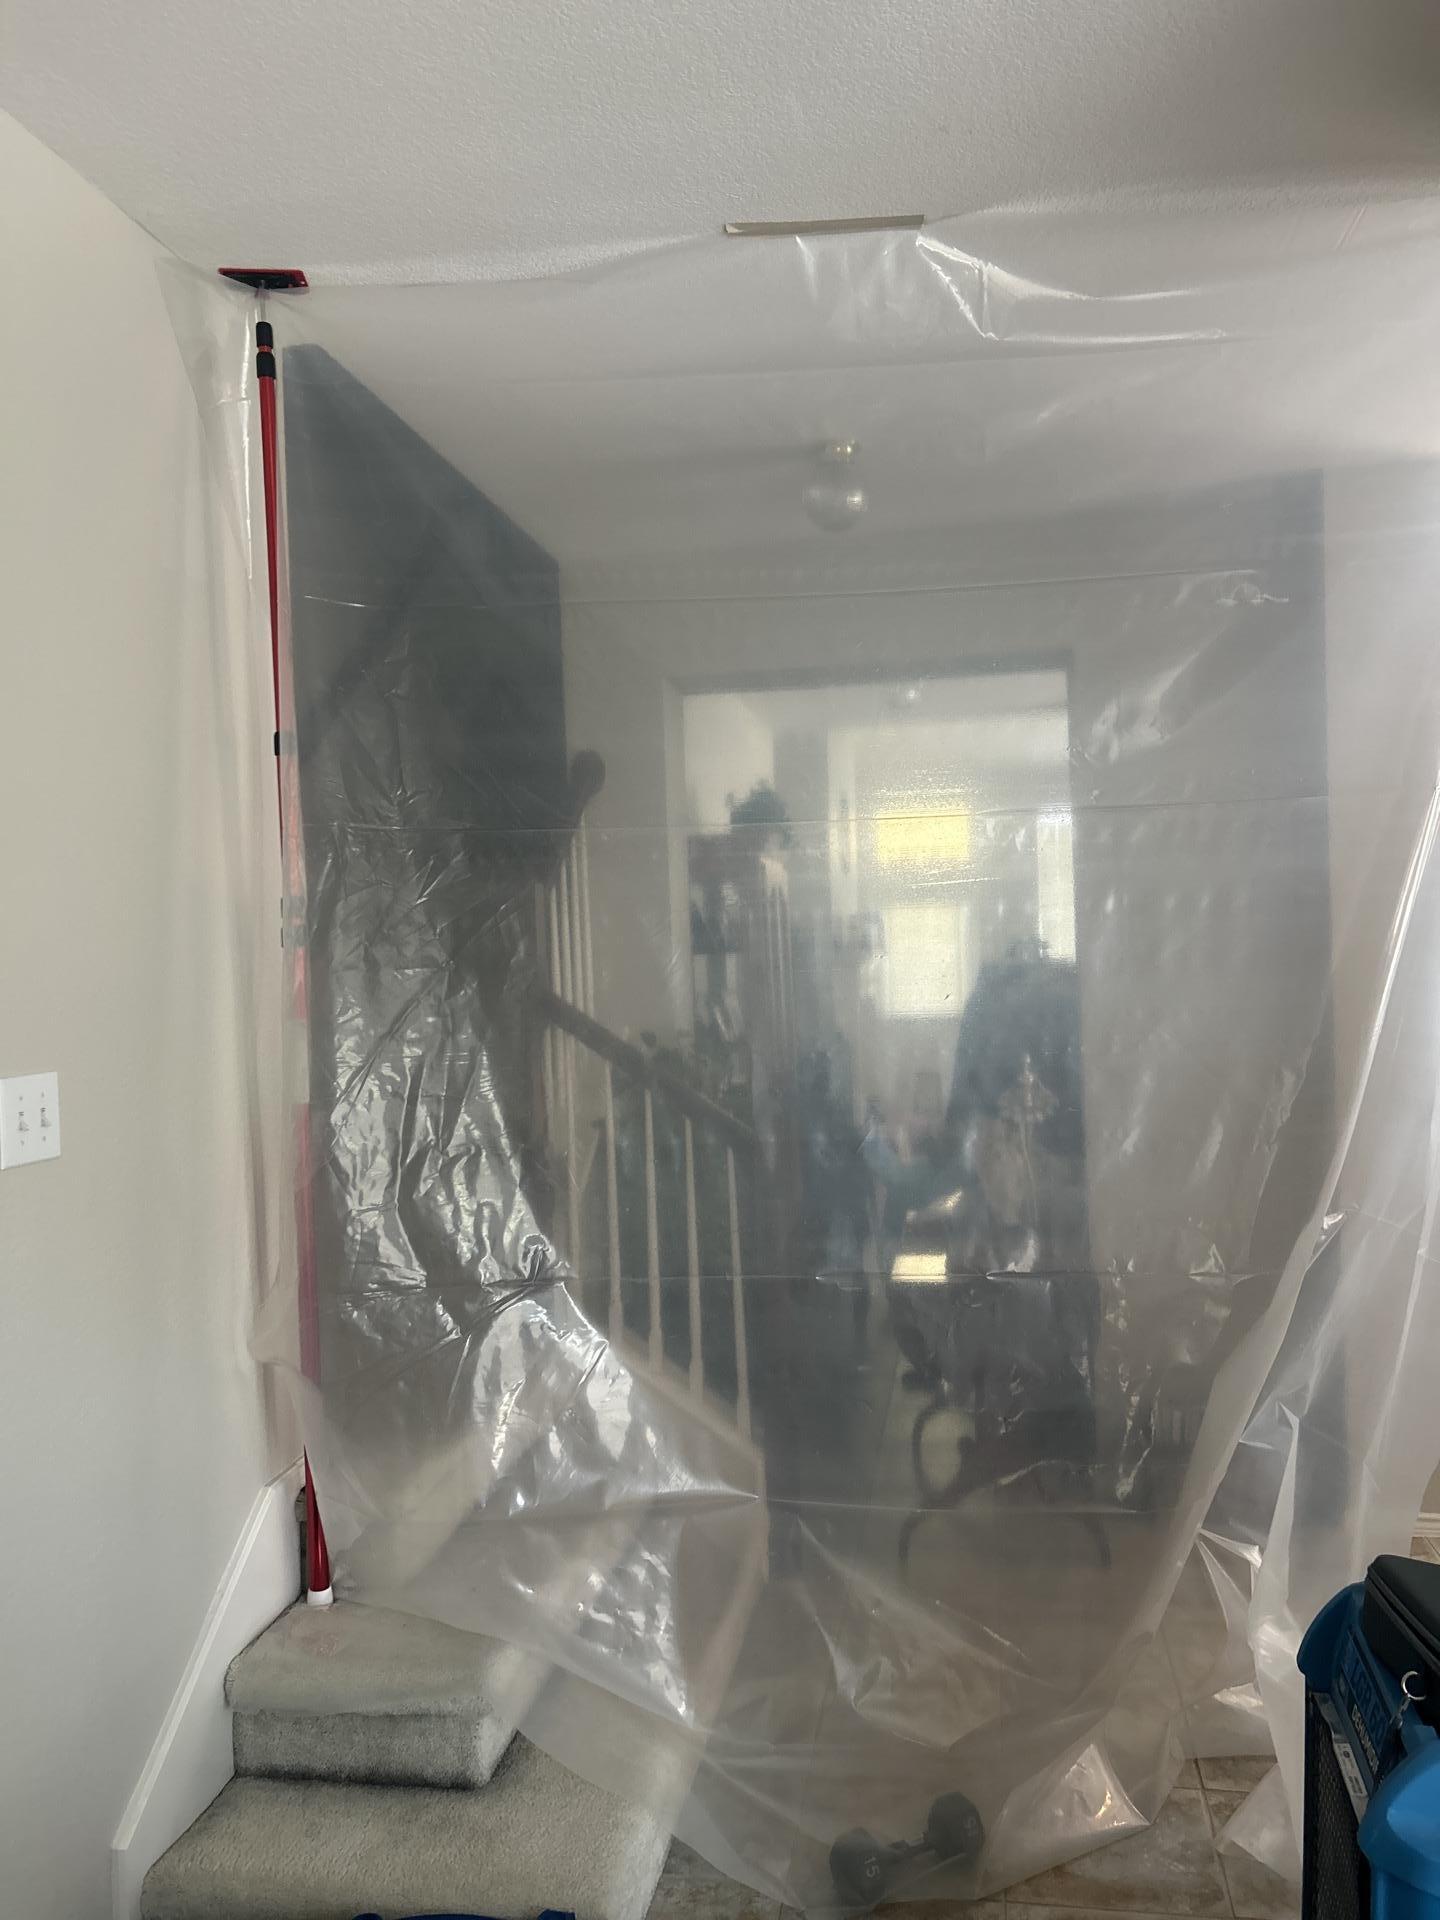
Initial Assessment & Moisture Detection

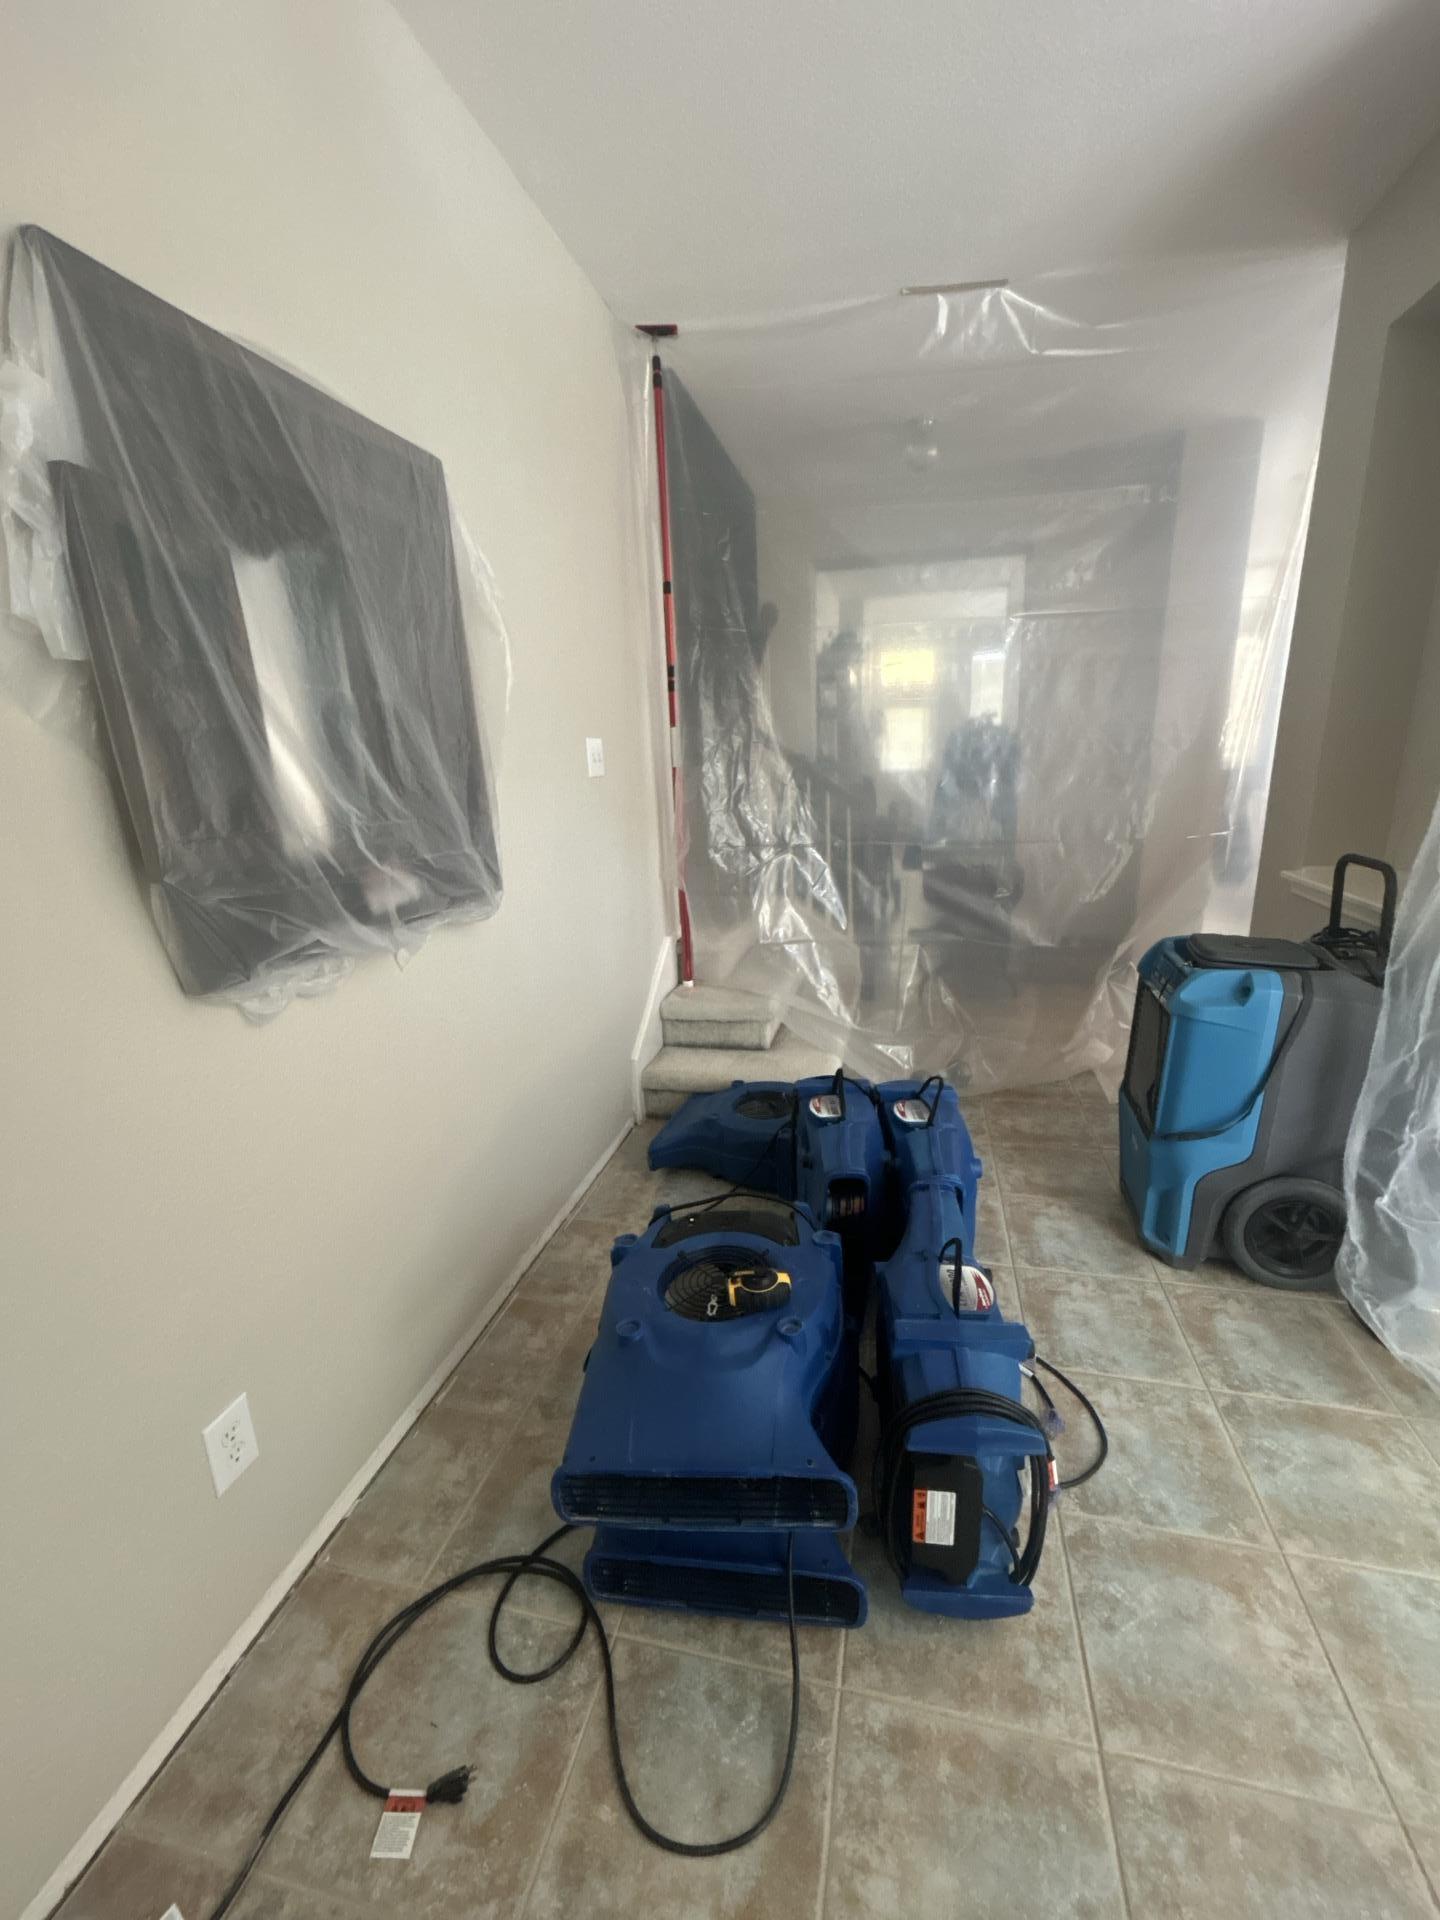
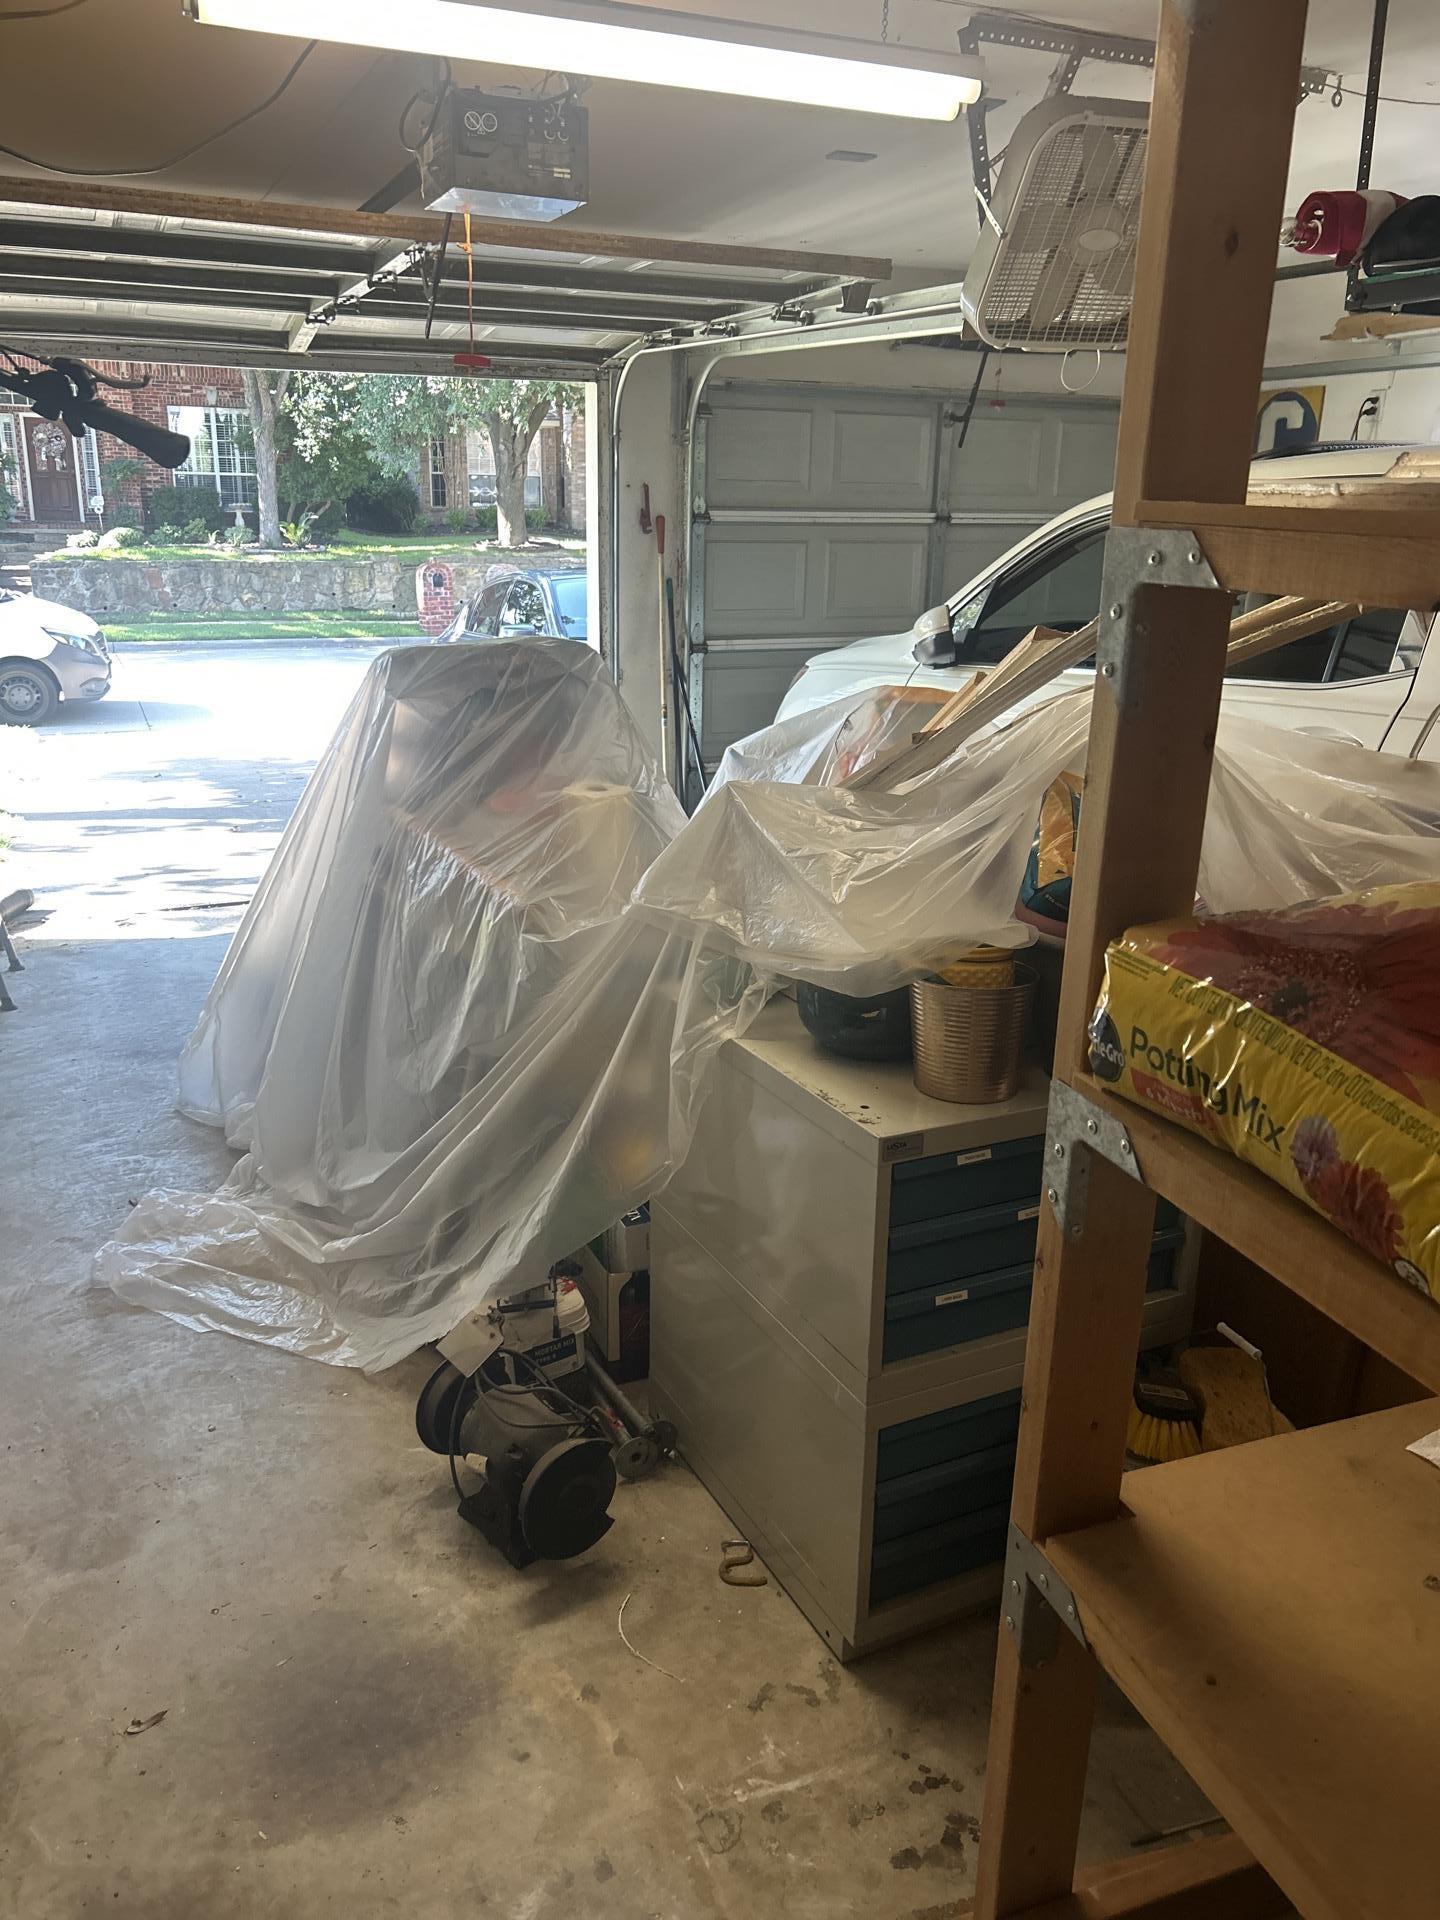
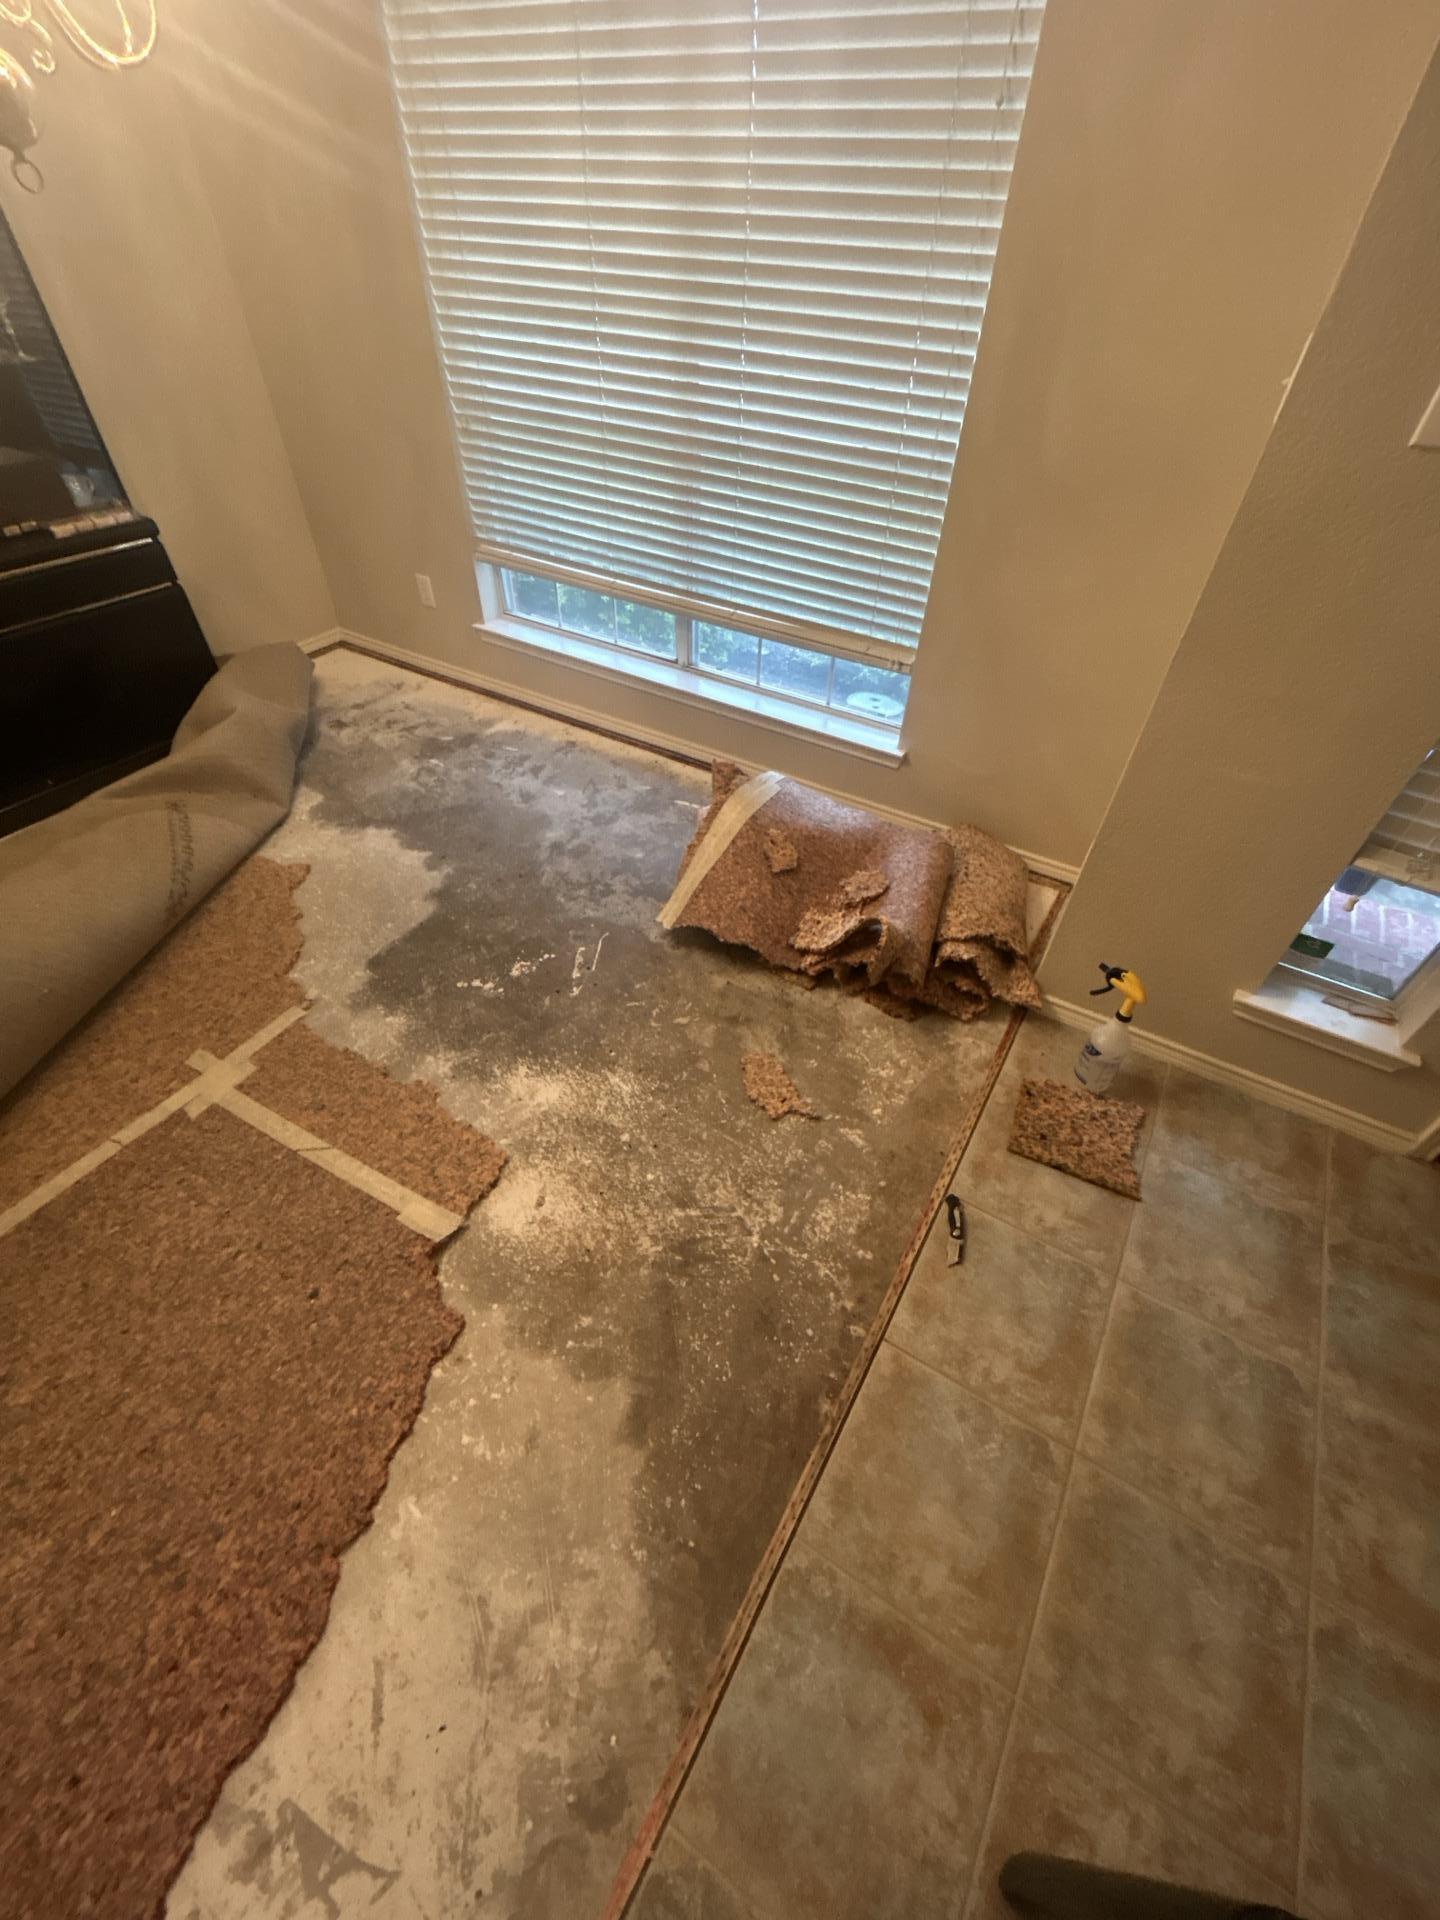
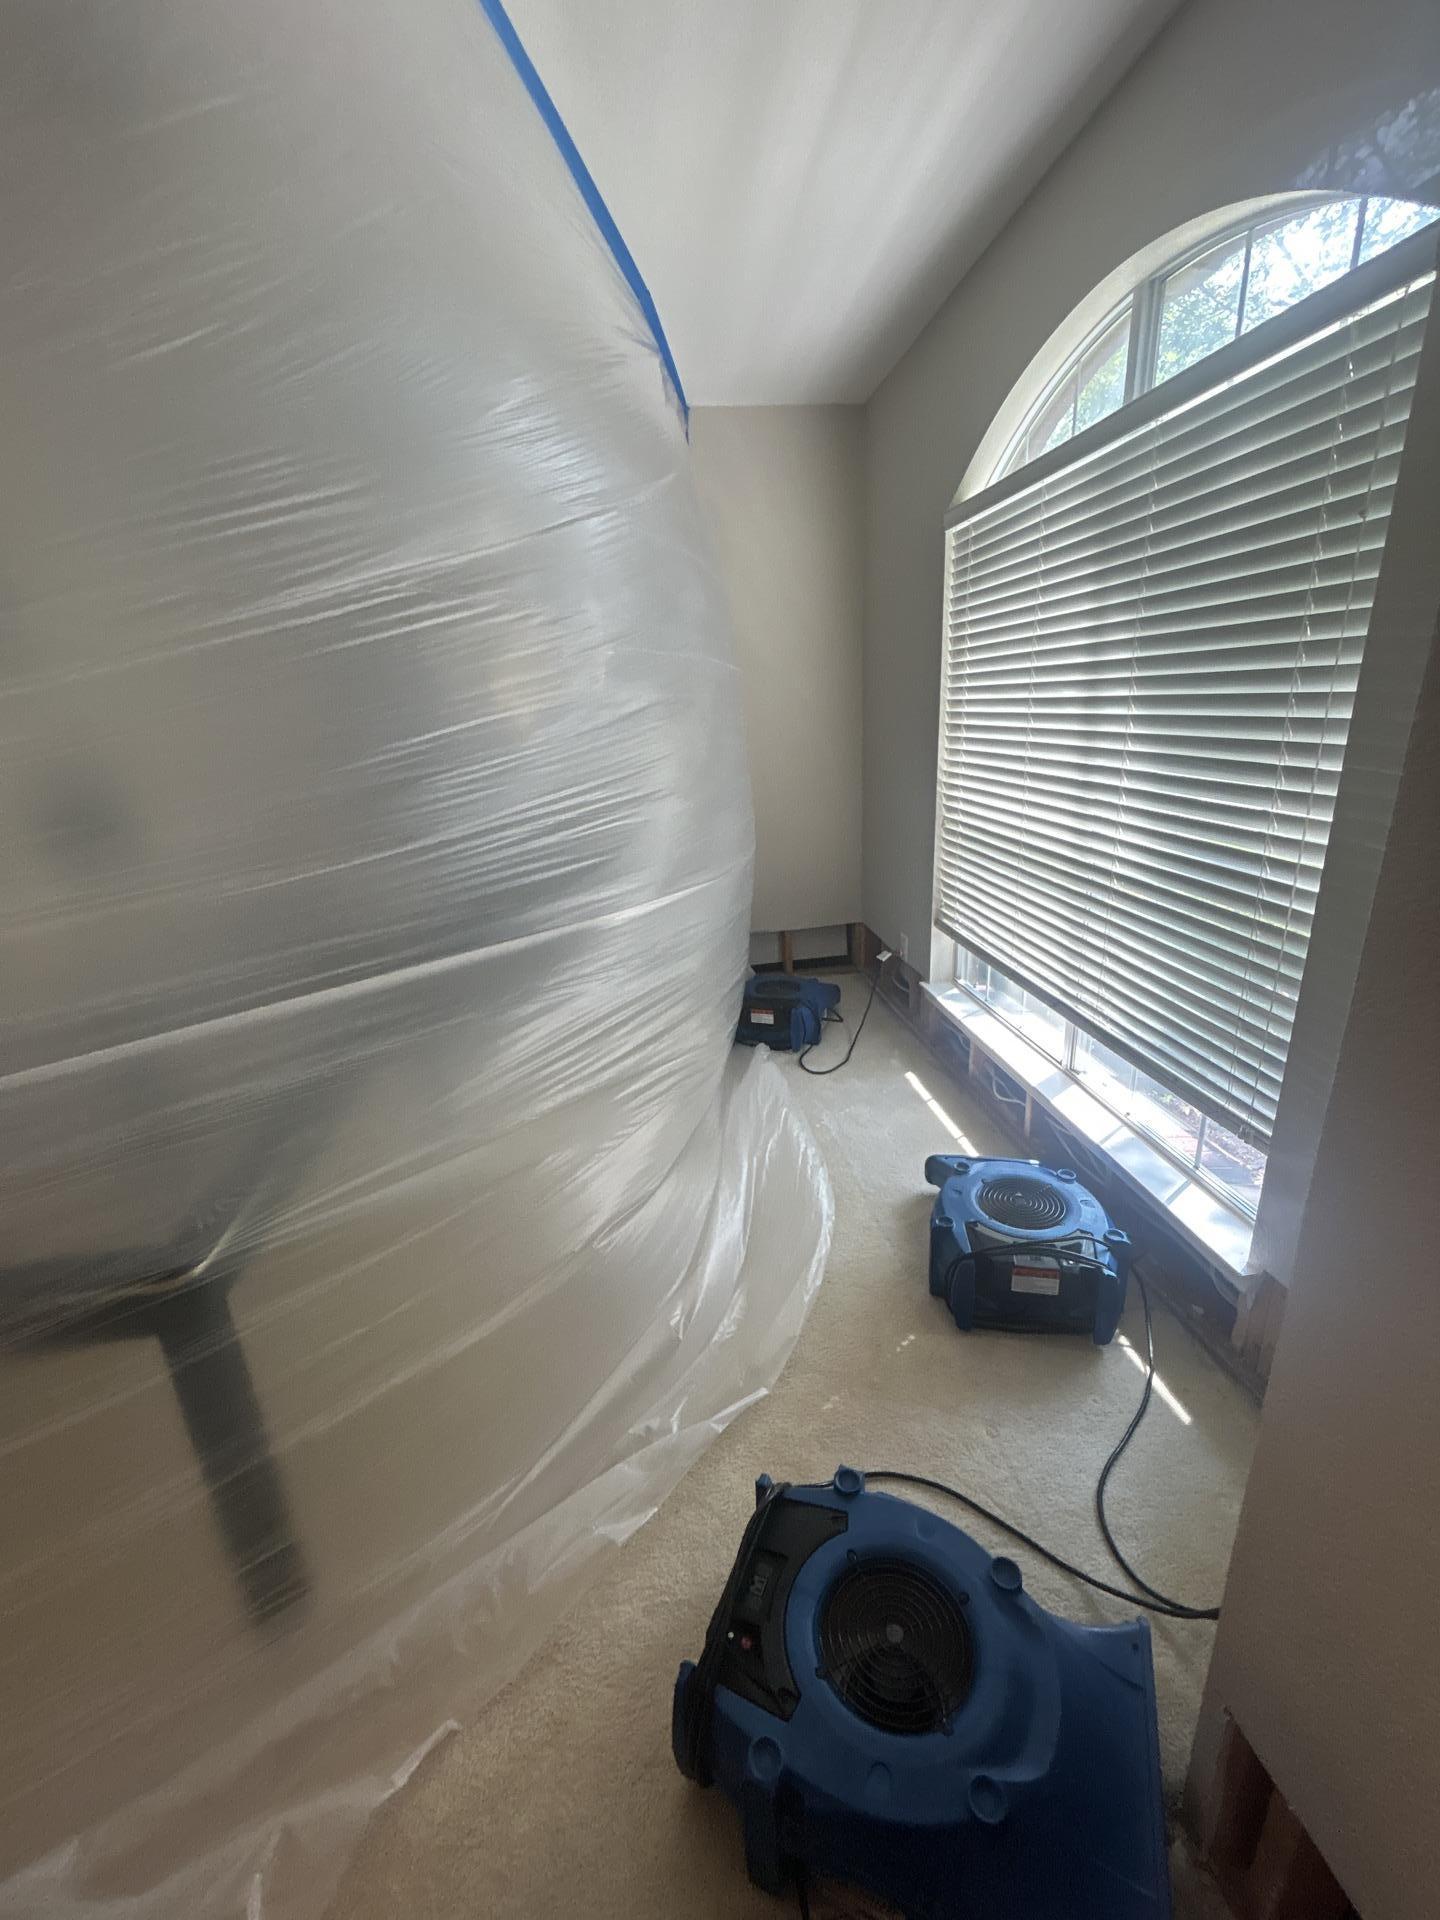
We set up containment barriers to isolate affected areas and prevent airborne moisture from spreading to unaffected rooms. Then came extraction, pulling out as much standing water as possible before it could sink deeper into the subfloor or insulation.
Within hours, we had:
- Removed standing water from all affected areas
- Pulled up saturated carpet and padding in the dining room
- Set up industrial dehumidifiers and air movers to start the drying process
- Applied antimicrobial treatments to prevent mold growth
The Science of Structural Drying
Water doesn’t just sit on surfaces, it migrates. It seeps into porous materials like drywall, wood framing, and insulation. If you don’t dry these materials properly, you’re setting the stage for mold, rot, and long-term structural problems.
That’s why we don’t just throw a few fans in a room and hope for the best. Structural drying is a science, and it requires the right equipment, the right placement, and daily monitoring.
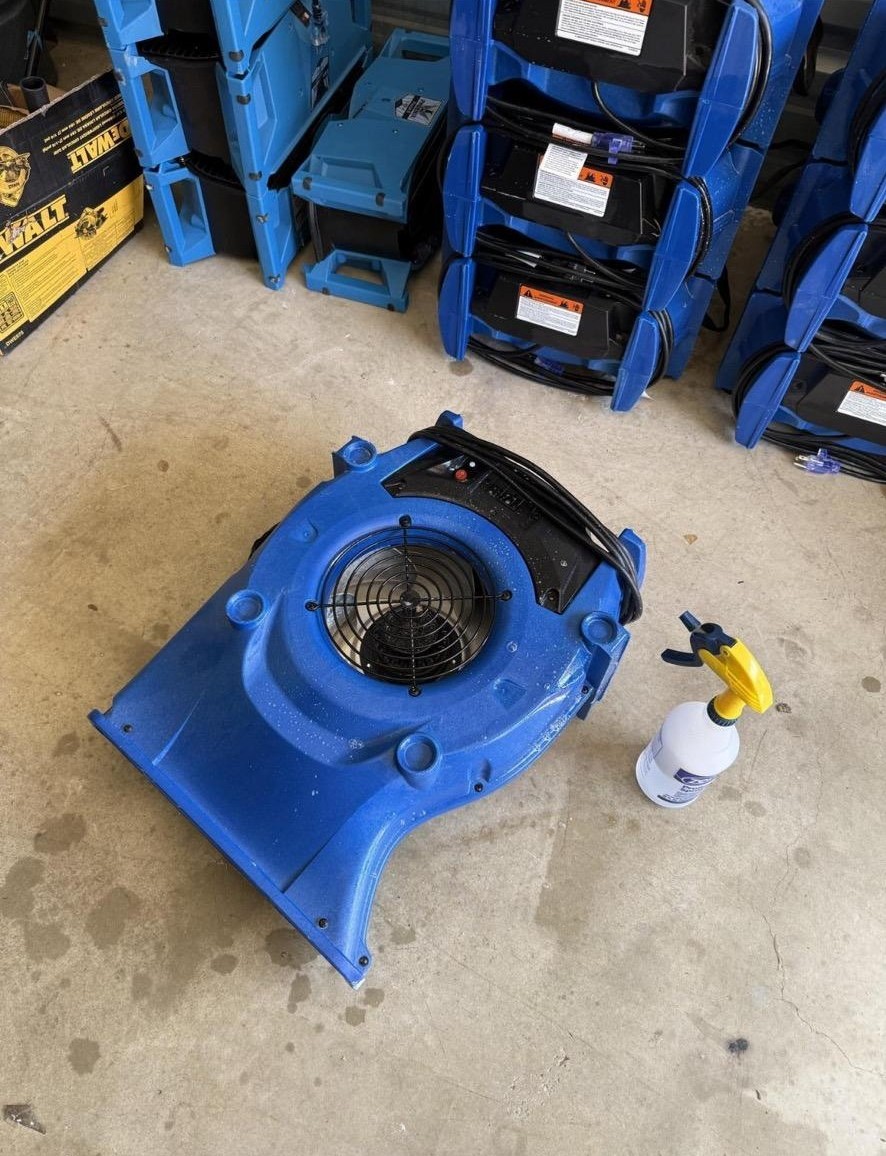
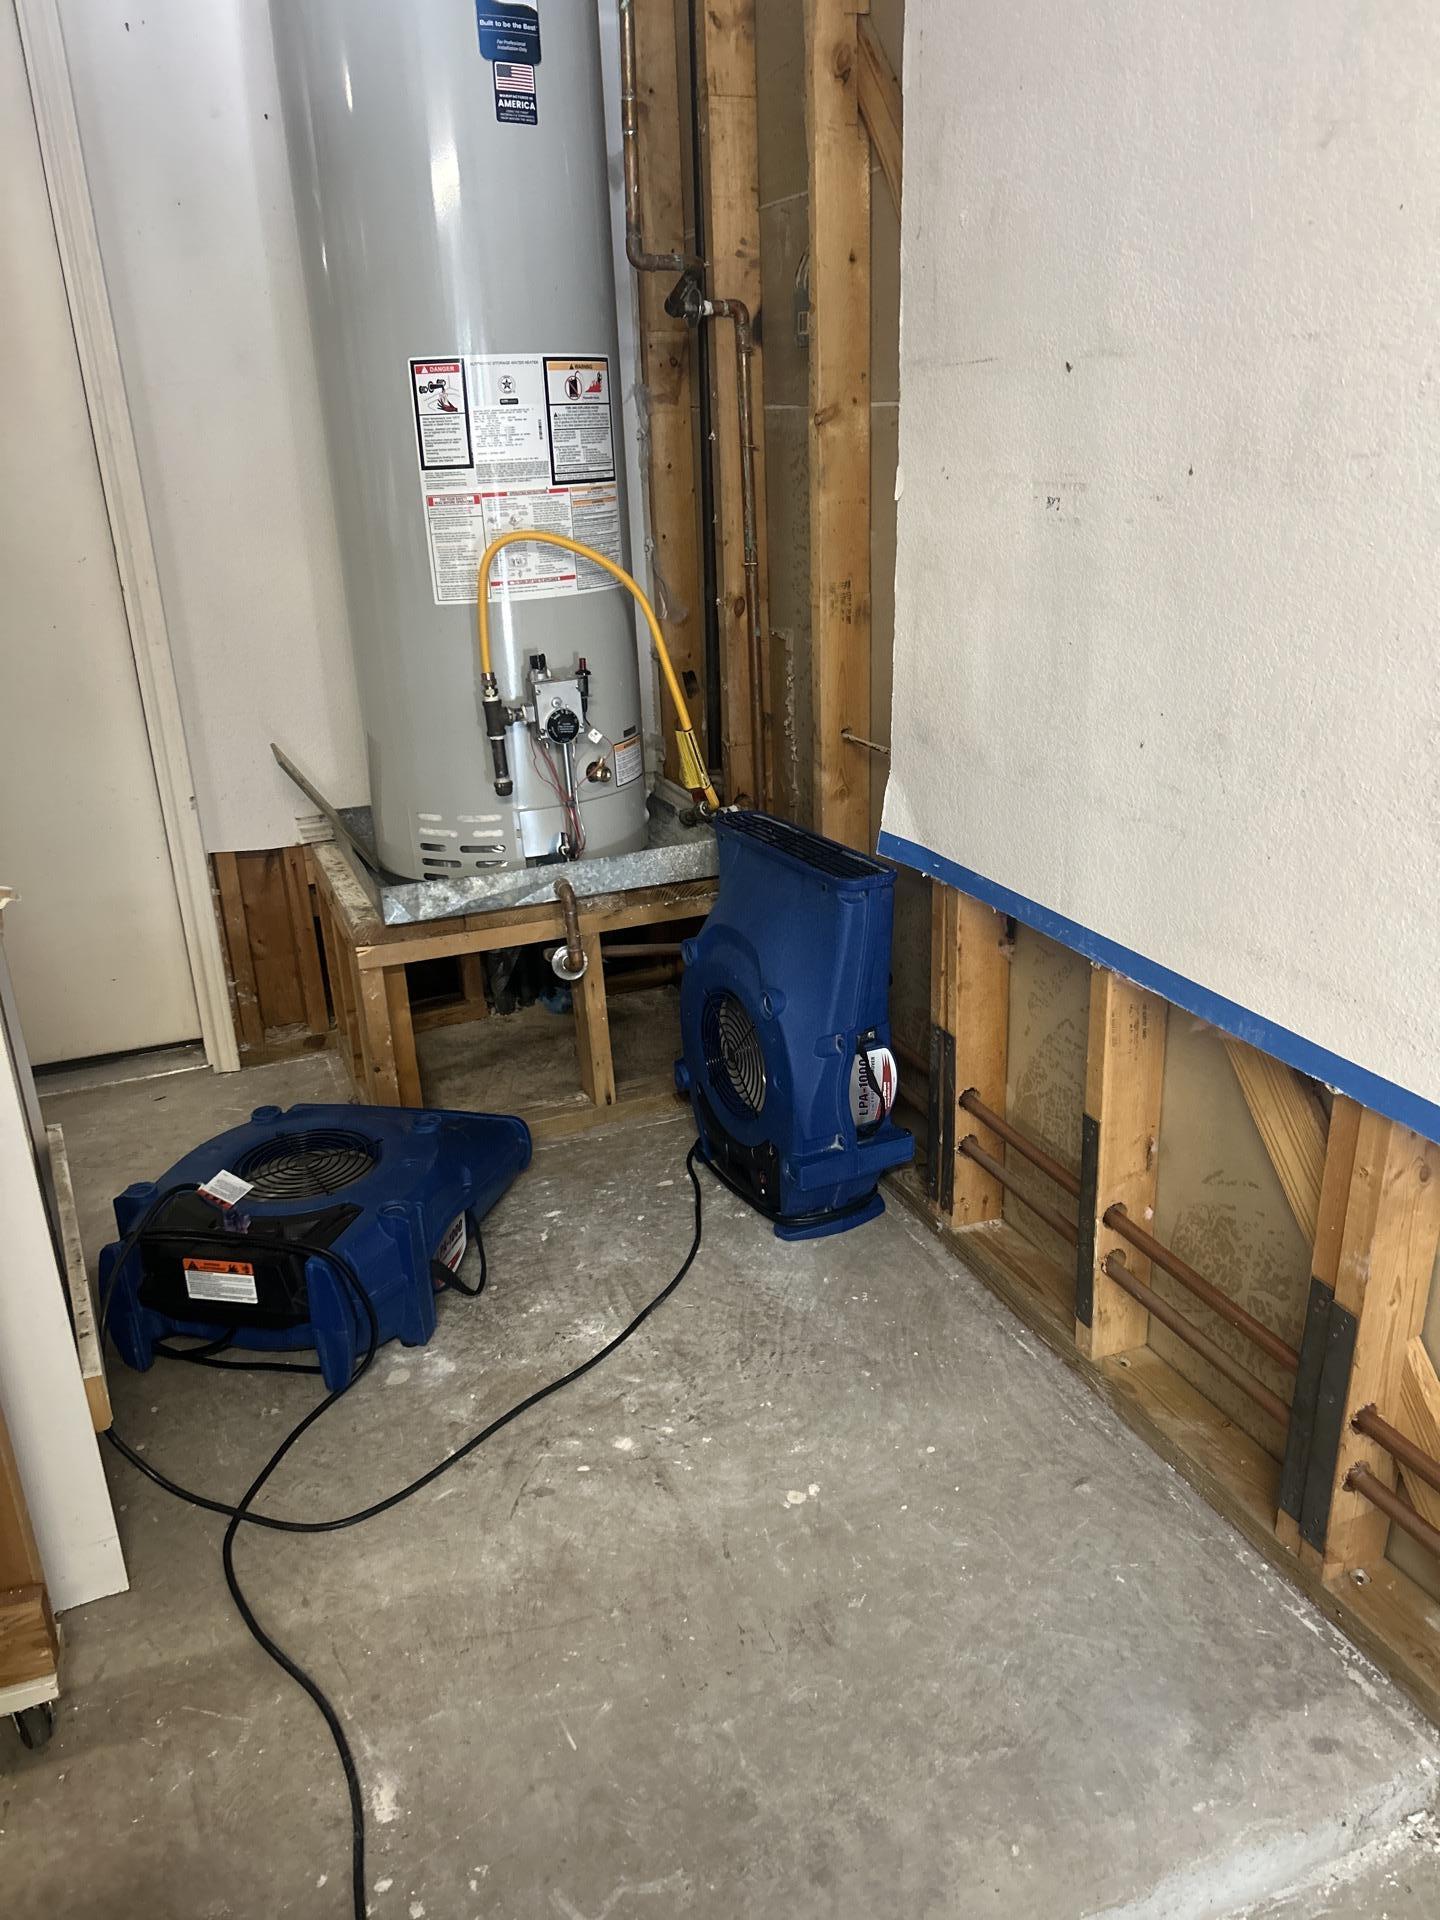
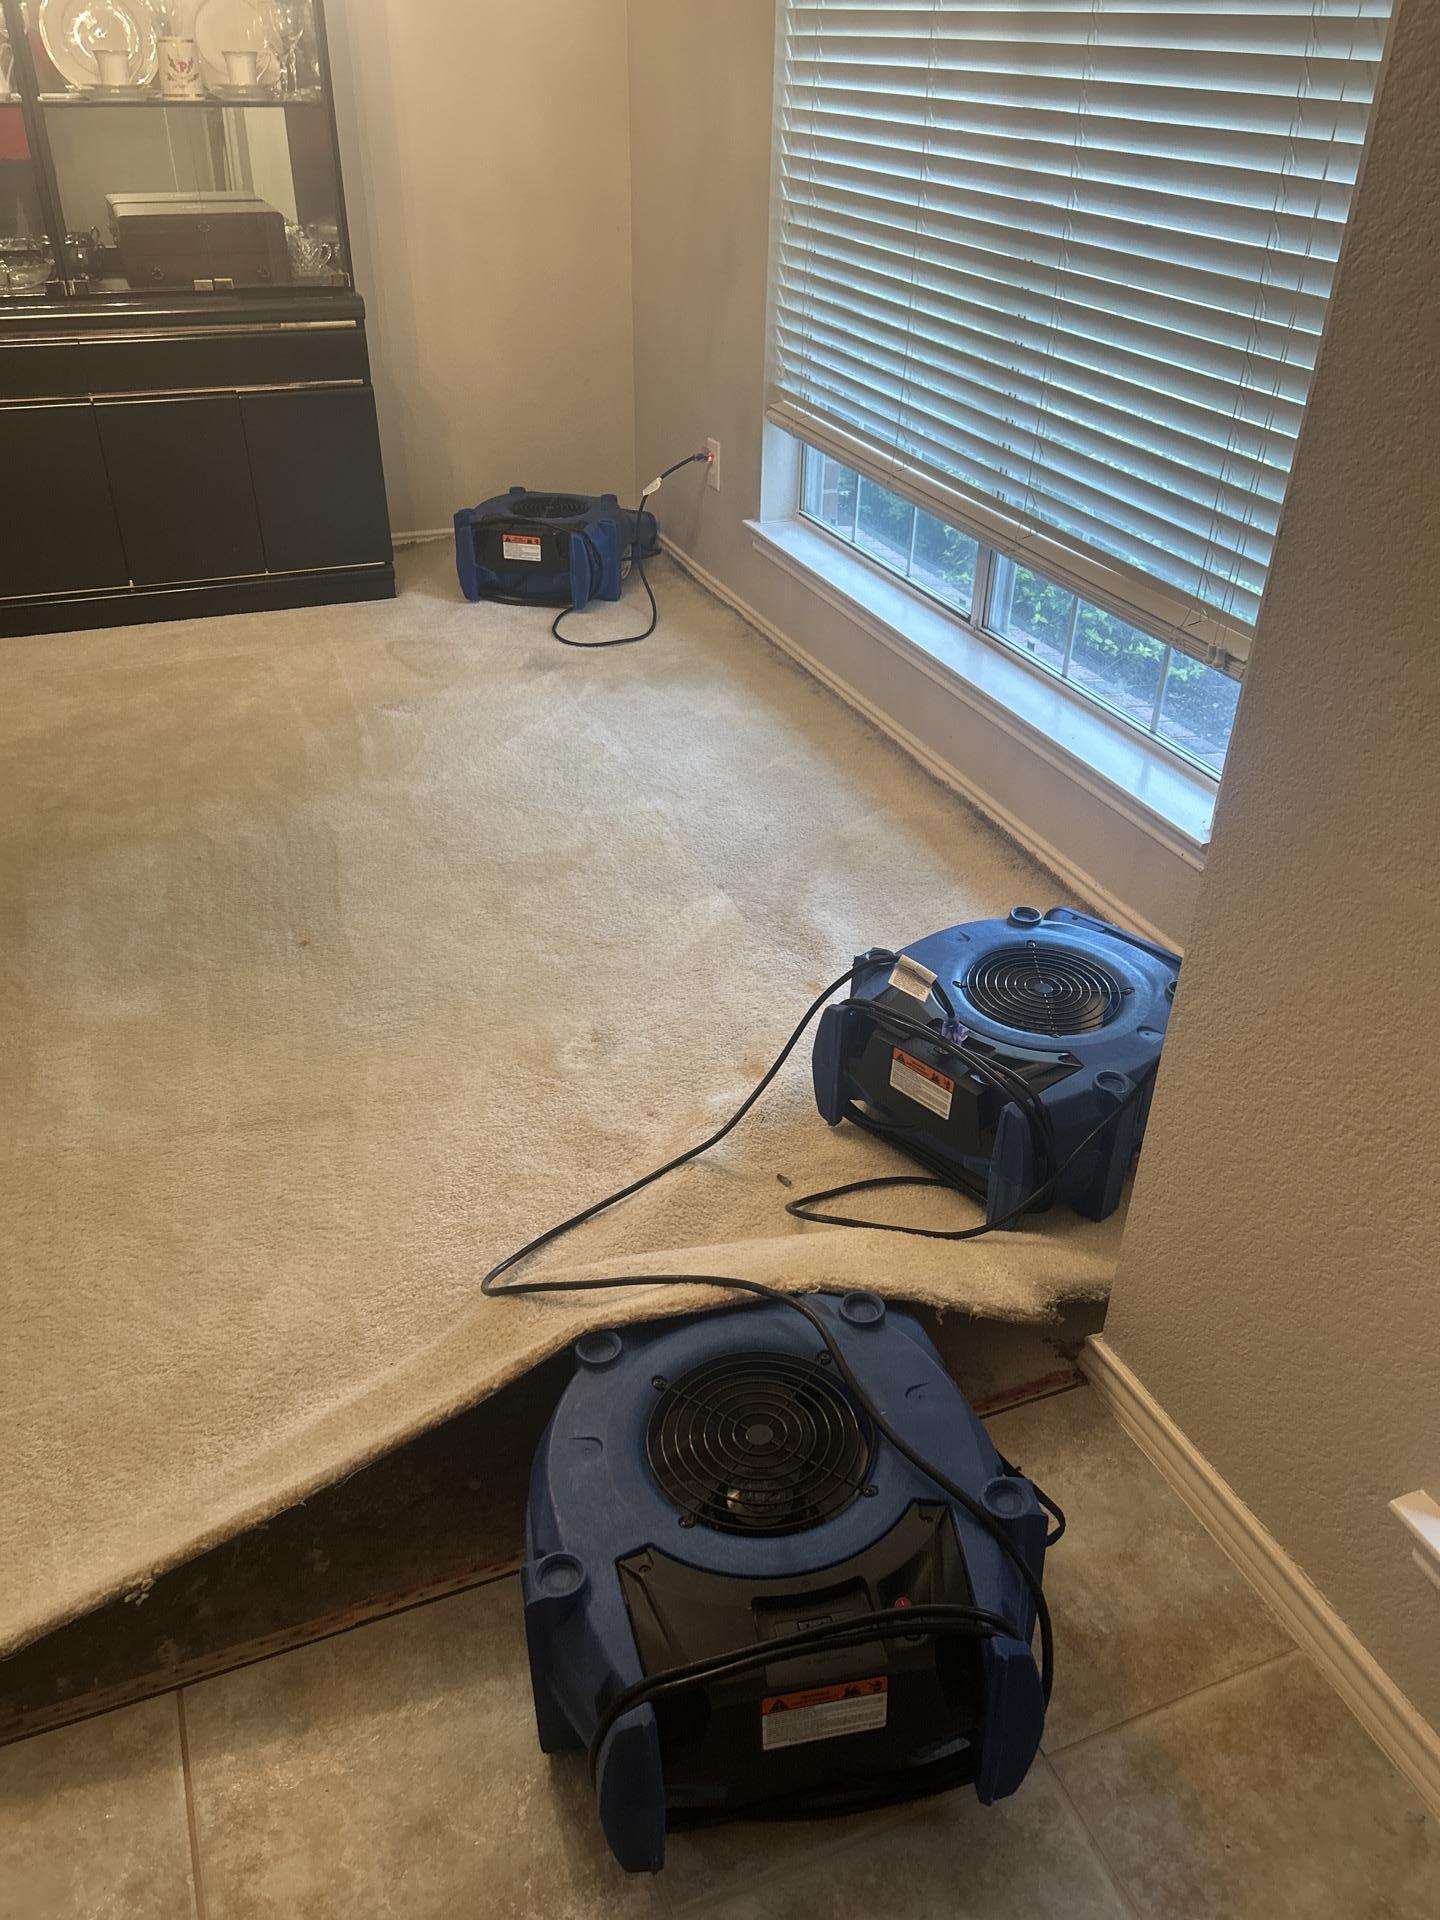
For this home, we deployed:
- LGR (Low Grain Refrigerant) dehumidifiers to pull moisture from the air faster than standard units
- Air movers positioned strategically to create airflow across wet surfaces
- Moisture monitoring twice daily to track progress and adjust equipment as needed
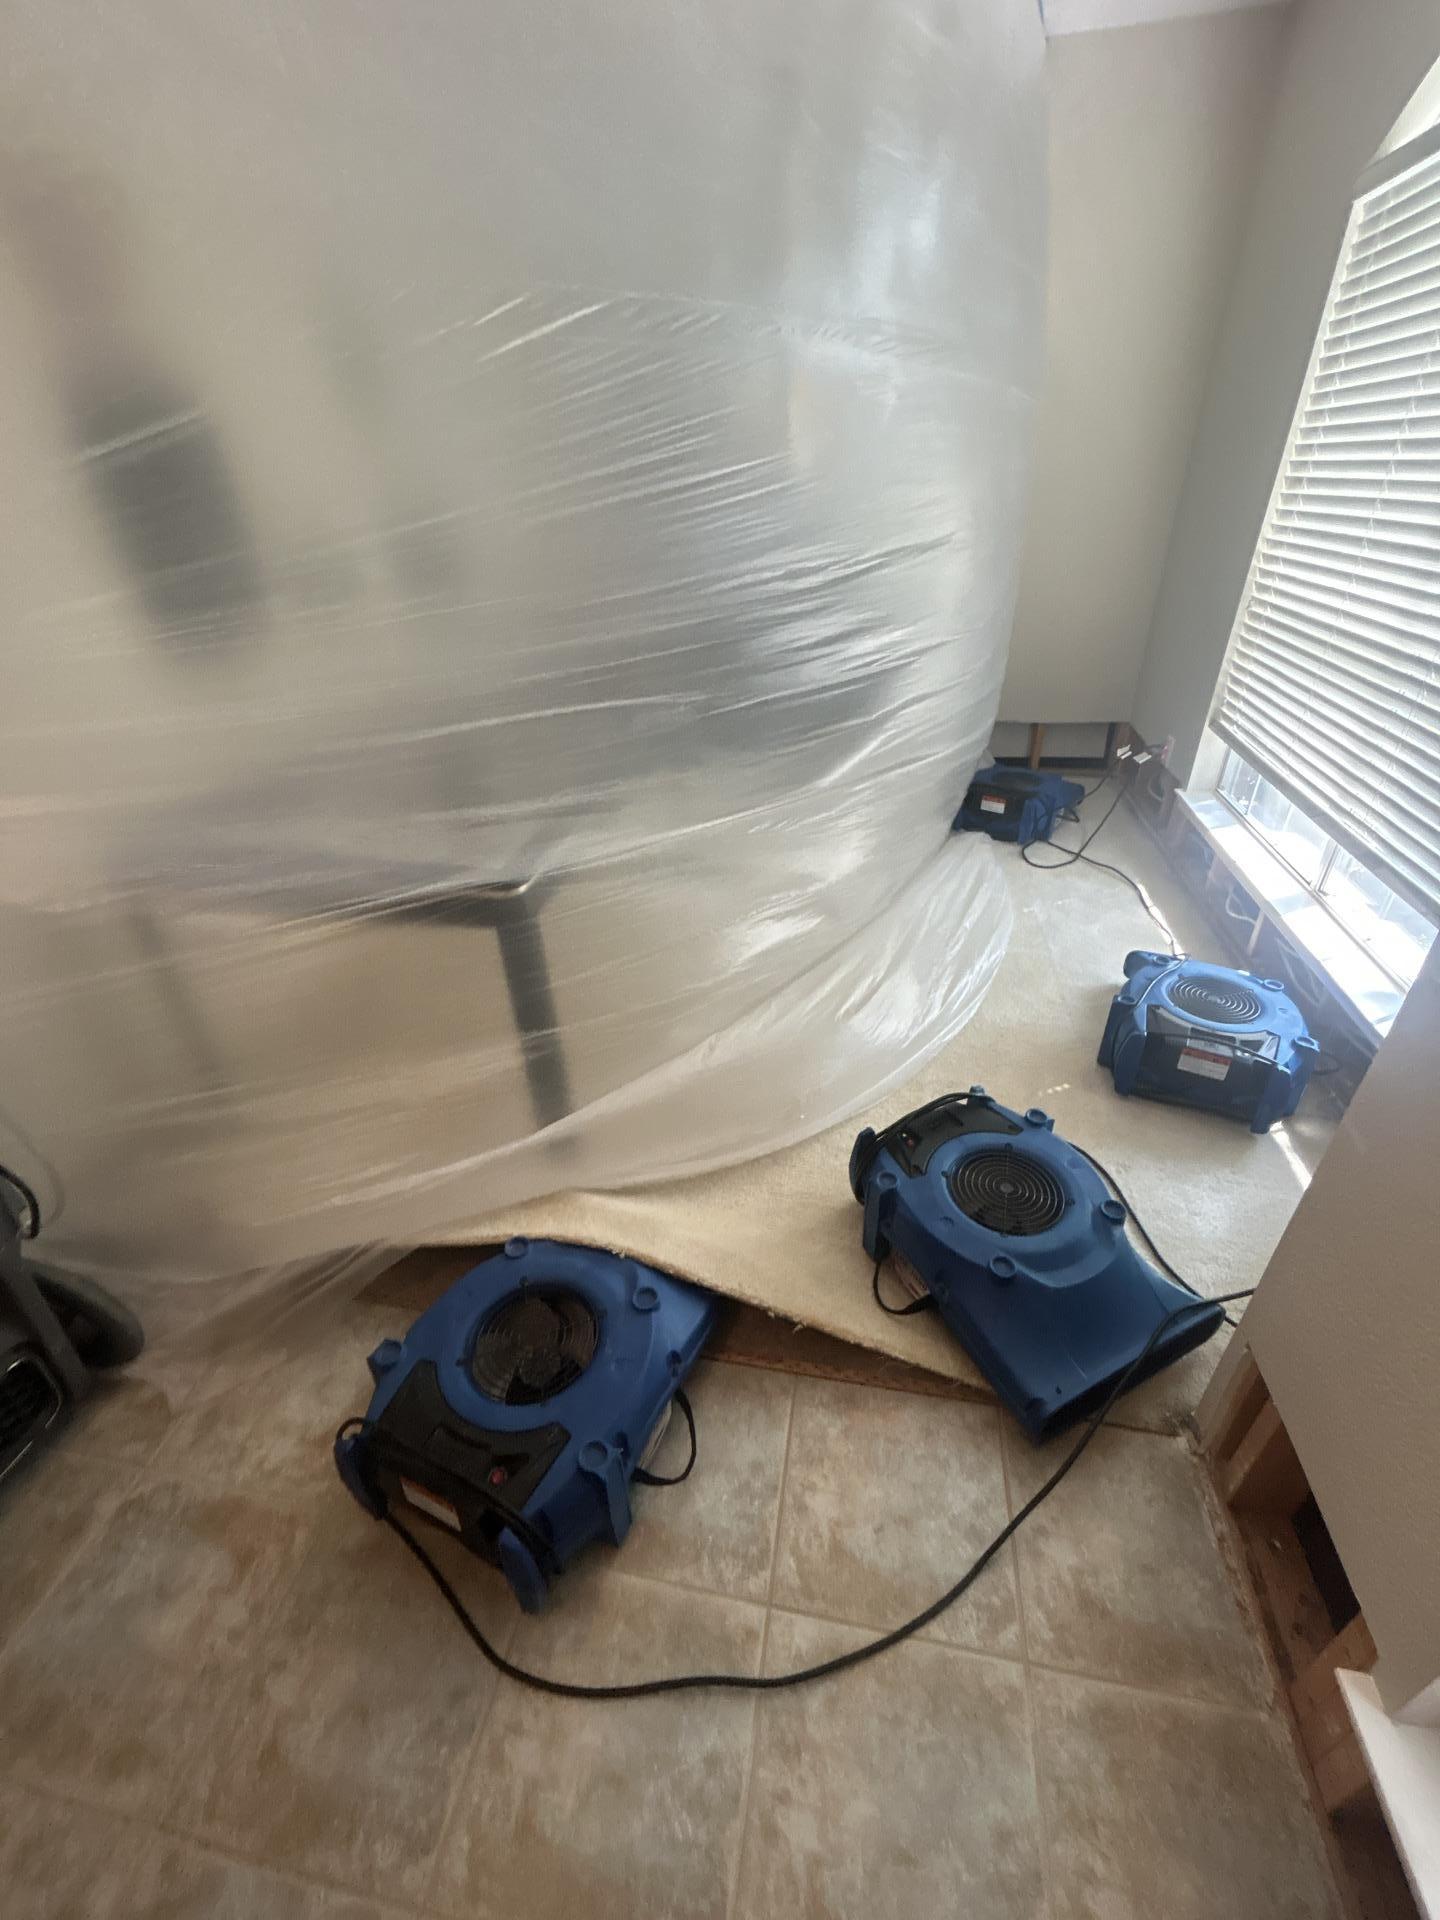
Containment & Professional Drying Equipment

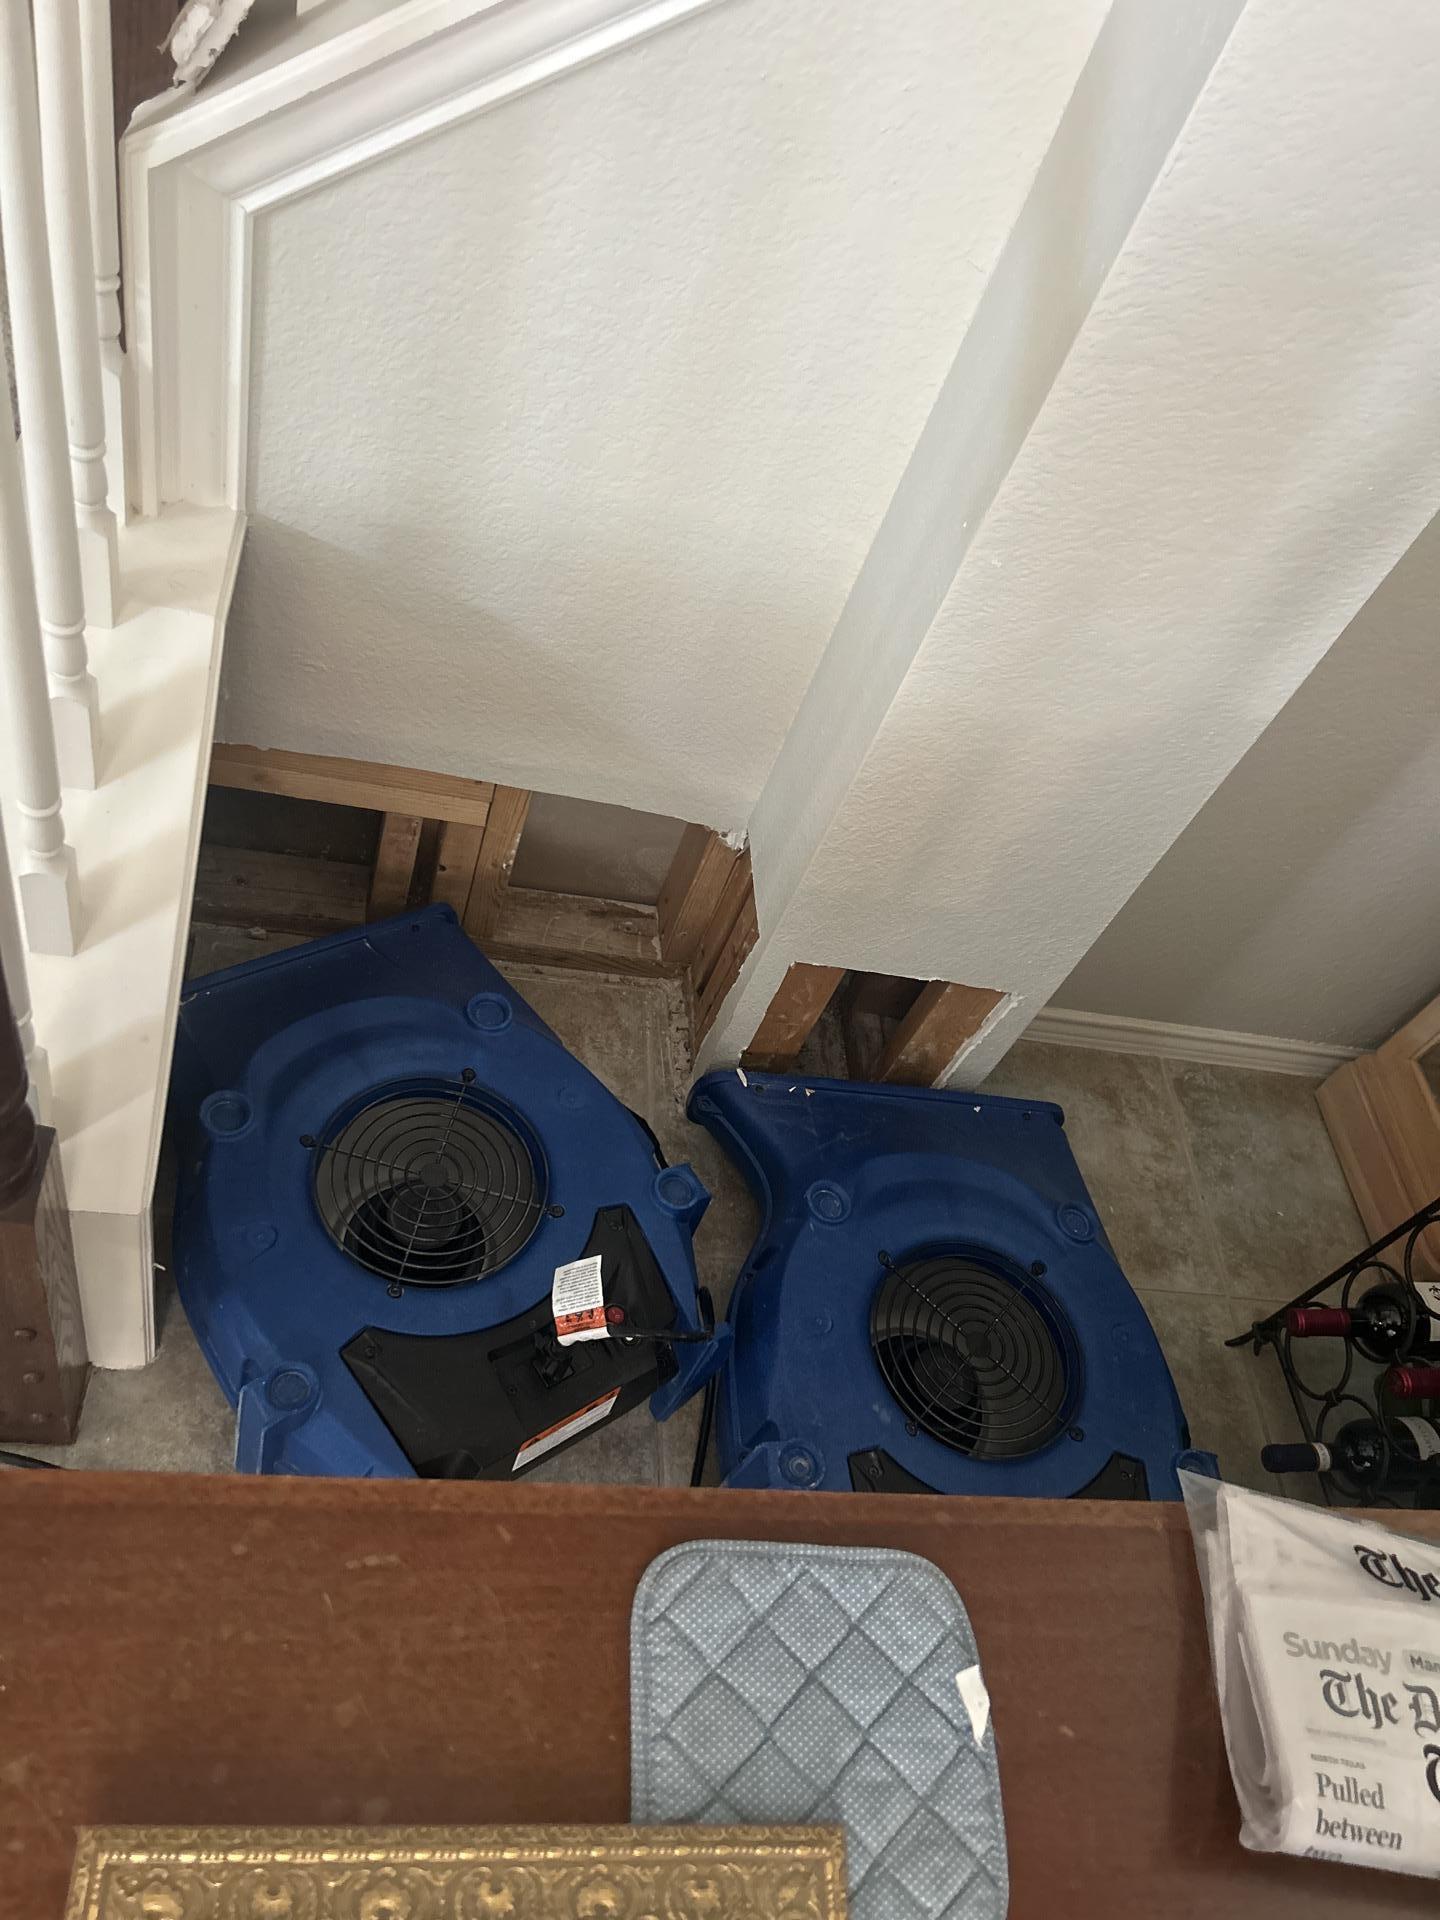
We also removed sections of drywall that had absorbed too much water to dry effectively. Trying to salvage heavily saturated drywall often leads to mold issues down the line. It’s not worth the risk.
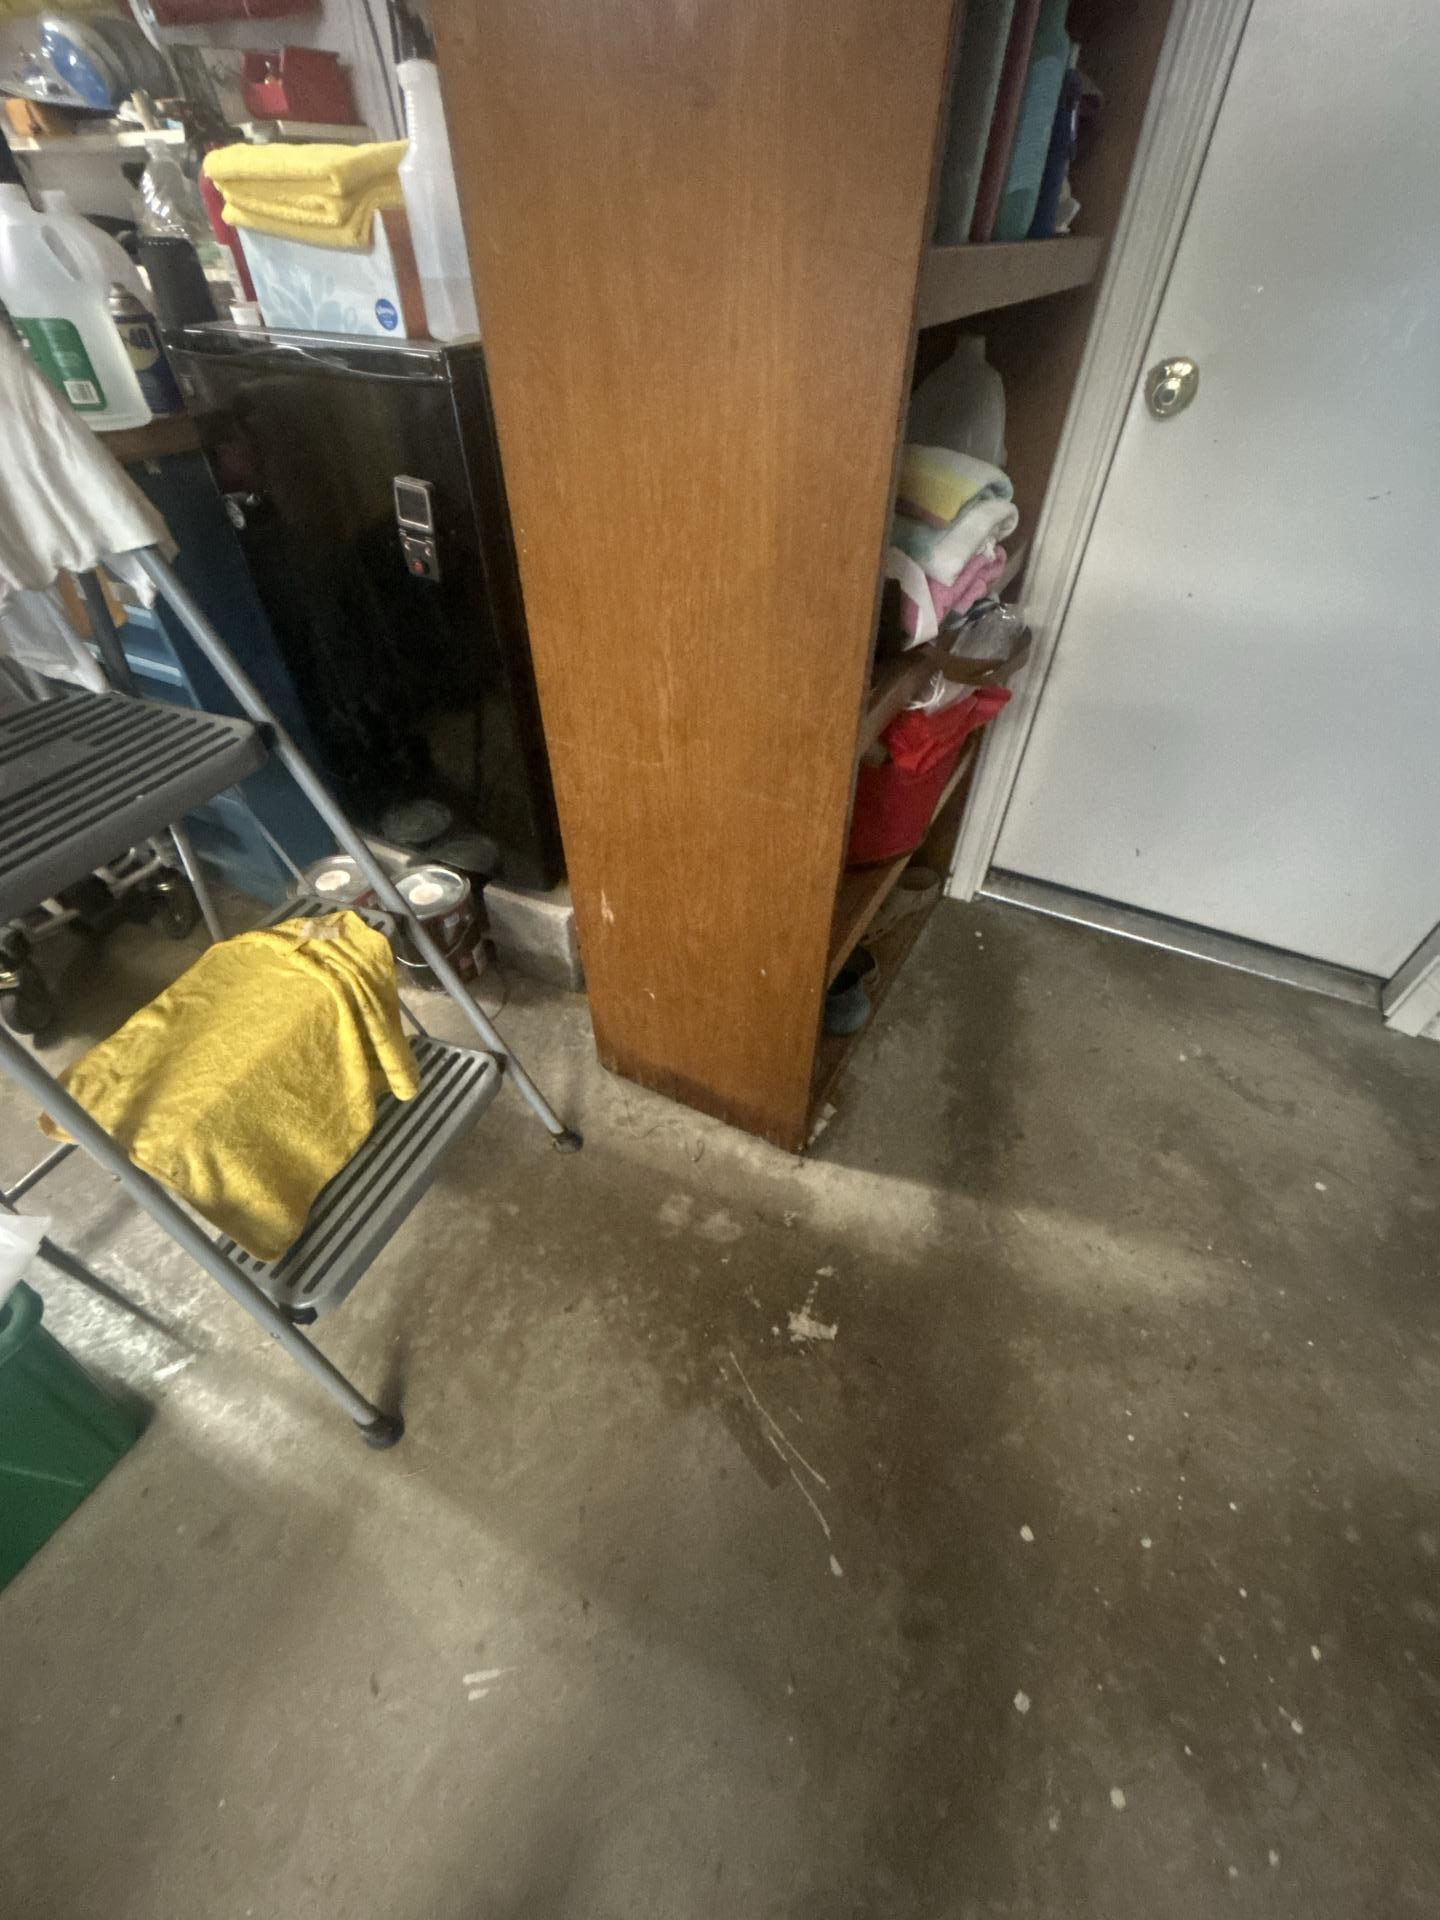
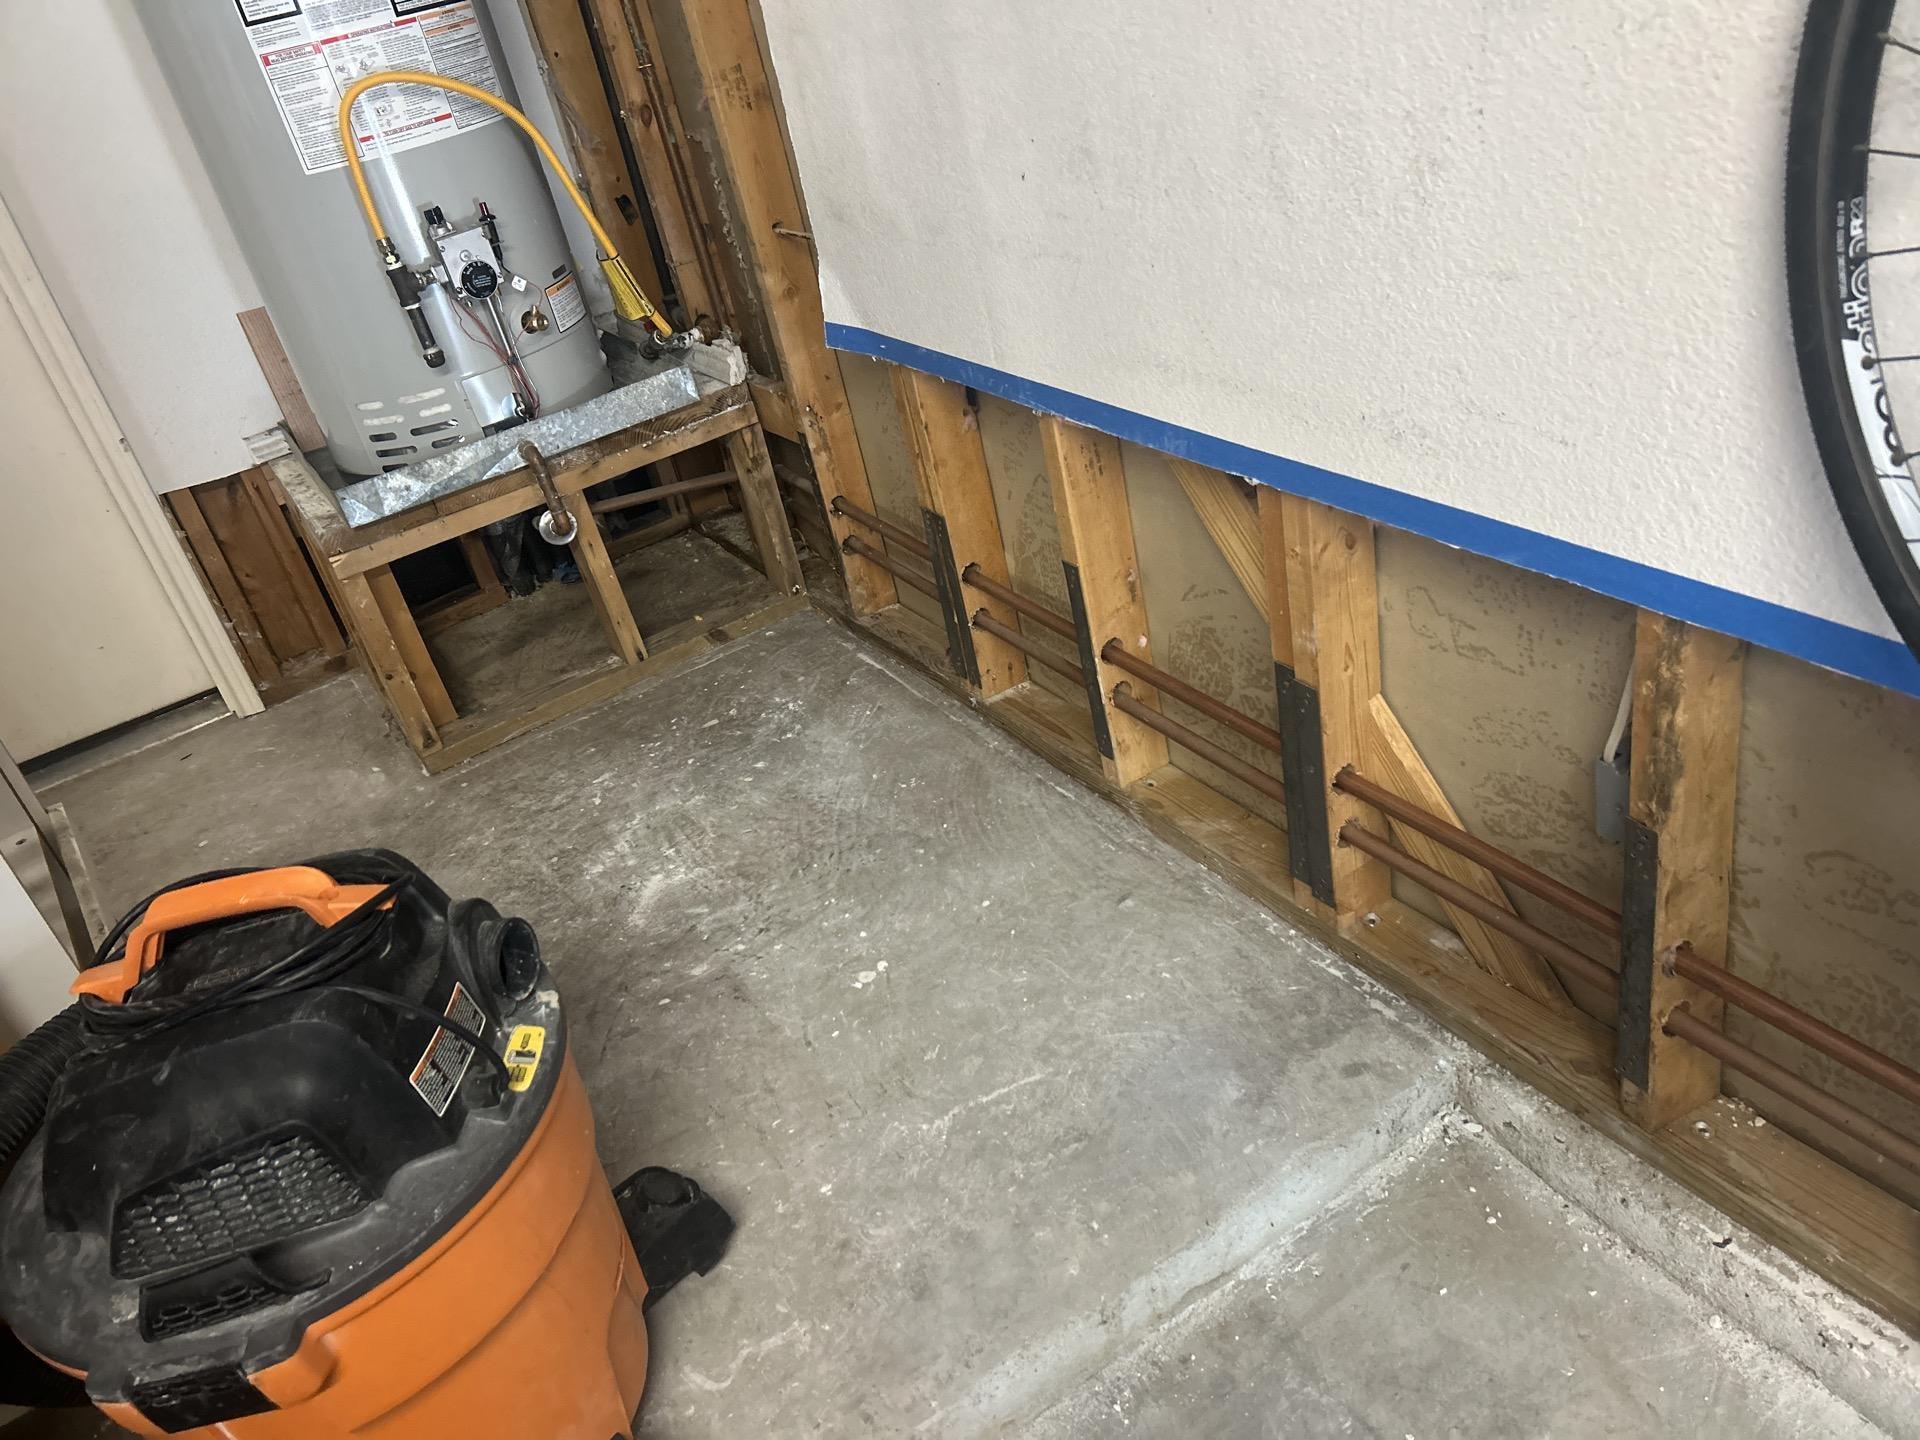
What Happened in the Garage
The garage presented its own challenges. Concrete floors might seem impervious to water damage, but when water sits on them for hours, it can wick into drywall, wood framing, and stored items.
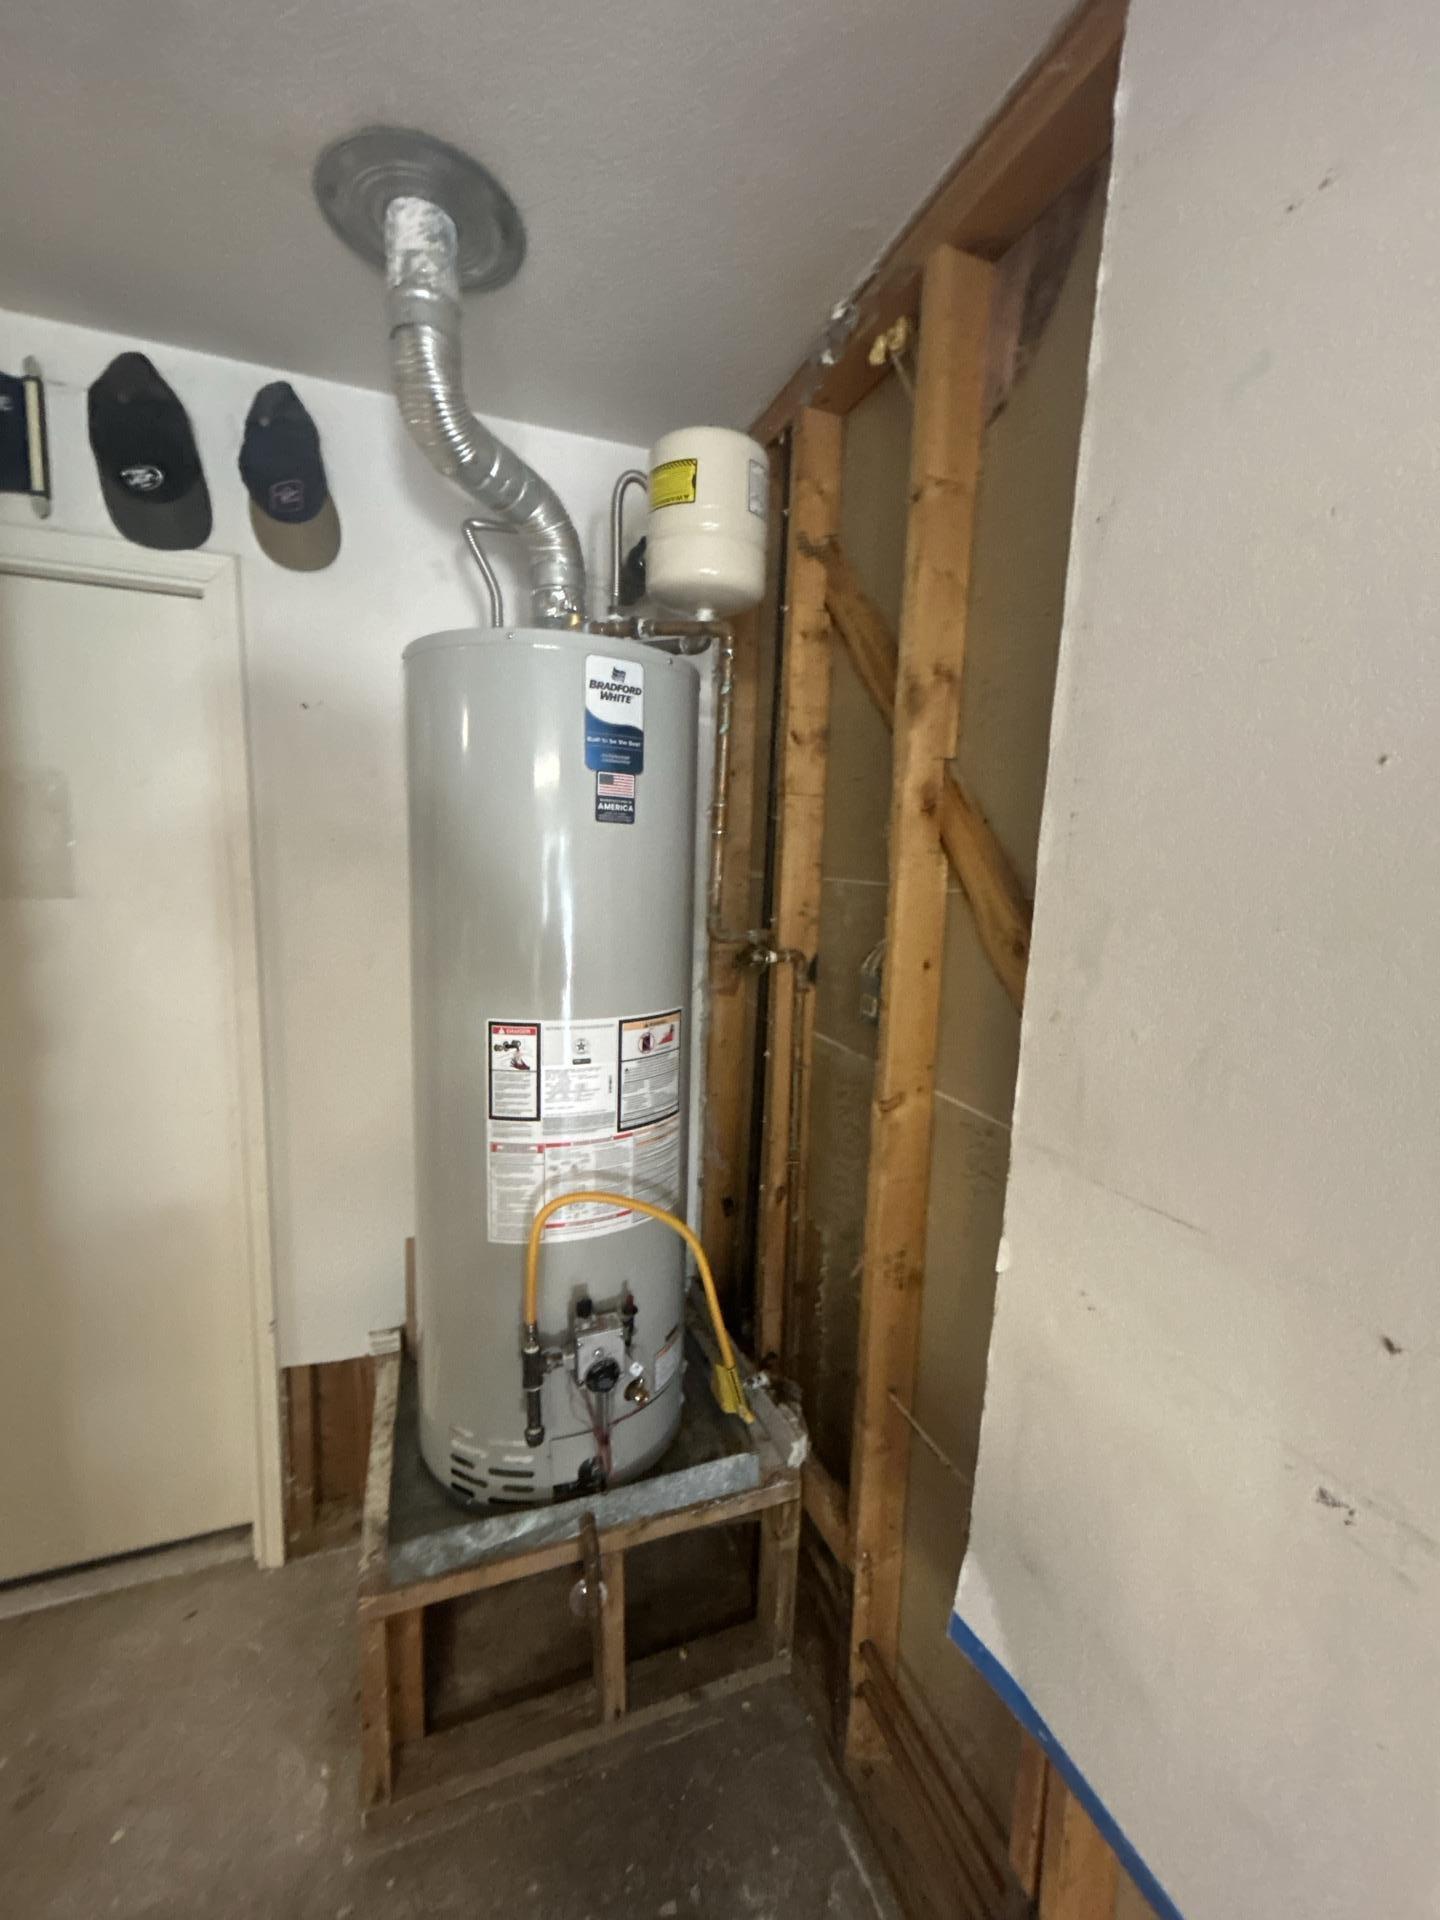
In this case, the water heater sat in a small utility closet within the garage. Water had pooled around the base and spread across the floor, soaking the drywall along the walls and baseboards.
We:
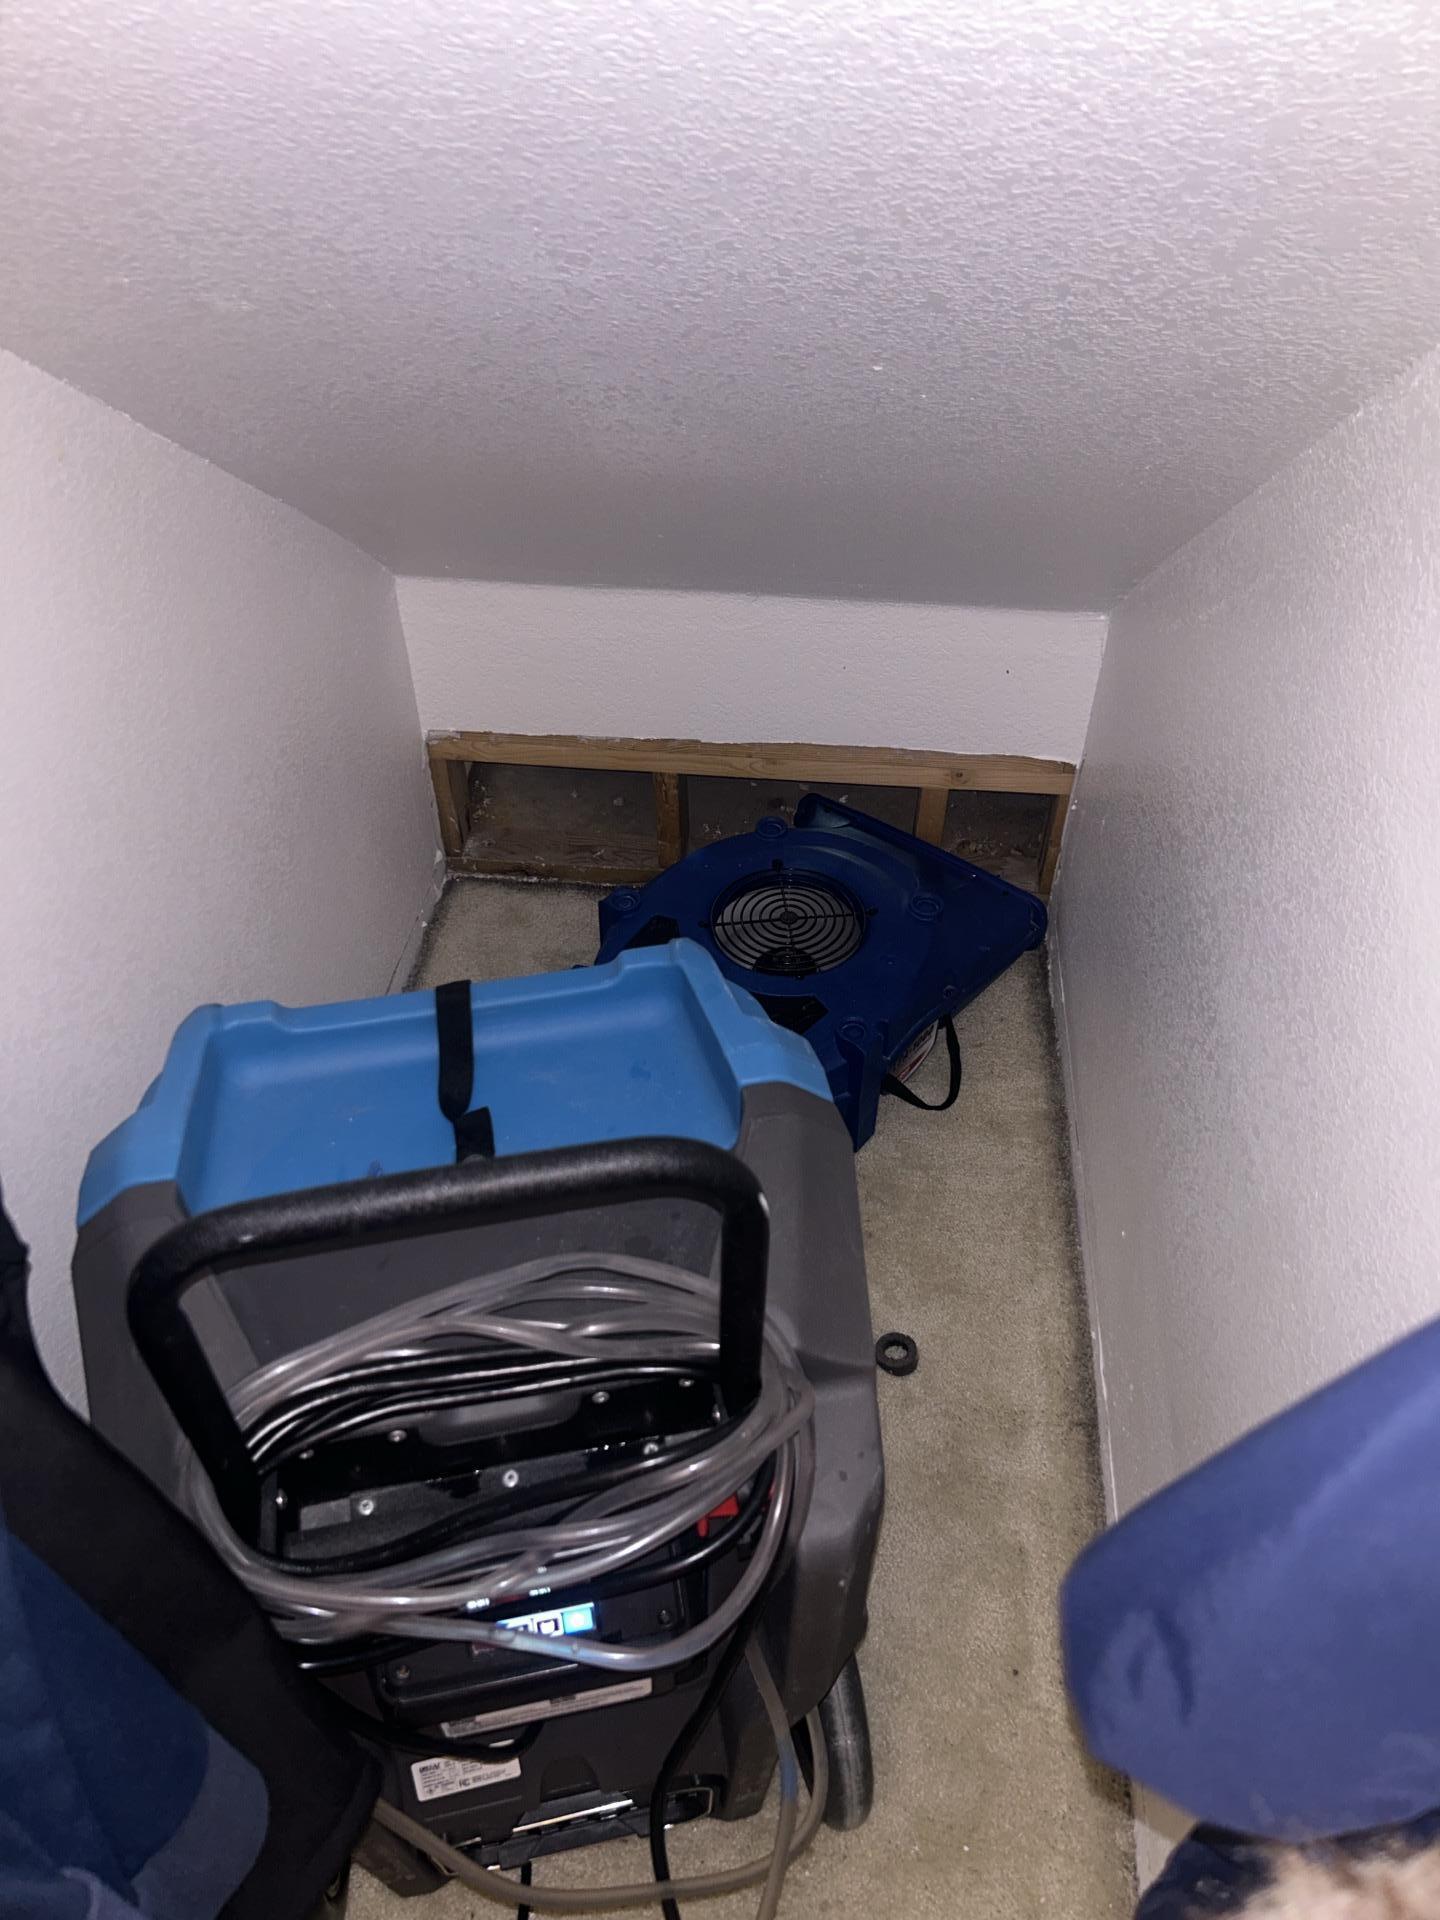
- Removed two feet of drywall around the affected area
- Extracted all standing water and surface moisture
- Set up focused drying equipment in the utility closet
- Applied antimicrobial treatments to exposed framing
This kind of targeted drying prevents hidden moisture pockets that can lead to mold growth months later.
Upstairs Surprises: The Master Closet
Water doesn’t always follow the rules. Sometimes it travels through wall cavities, following electrical conduits or plumbing lines. In this home, moisture showed up in the upstairs master closet, likely following the path of the water heater’s plumbing.
We used thermal imaging to confirm moisture in the walls, then carefully removed affected drywall sections to expose the framing. Once we could see the extent of the damage, we set up targeted drying equipment and monitored it closely over several days.
By day three, moisture levels had dropped back to normal. No mold, no lingering dampness, just dry, ready to rebuild framing.
Complete Restoration: Garage, Dining Room & Closet
Why Speed Matters in Water Damage Restoration
The first 24 to 48 hours after water damage are critical. That’s the window where you can prevent mold growth, minimize structural damage, and avoid costly secondary issues.
In this case, the homeowners called us within hours of discovering the leak. That quick action meant:
- Less demolition (we saved most of the flooring and drywall in less affected areas)
- Faster drying times (because water hadn’t penetrated too deeply)
- Lower restoration costs (because we caught it before mold became a factor)
If they had waited even a day longer, we likely would have been dealing with mold remediation on top of water extraction and drying.
The Final Result: Dry, Safe, and Ready to Rebuild
After five days of monitoring, drying, and adjusting equipment, the home was completely dry. Moisture readings in all affected materials had returned to normal levels. The air quality was stable, and there were no signs of mold or secondary damage.
We removed all drying equipment, cleaned up the work areas, and provided the homeowners with a detailed report for their insurance company. From there, they could move forward with repairs and reconstruction, knowing the home was safe and dry.
What Homeowners Can Learn from This
Water damage doesn’t always happen dramatically. Sometimes it’s a slow leak that goes unnoticed until the damage is already spreading. Here are a few takeaways from this job:
- Check your water heater regularly. Look for signs of corrosion, leaks, or moisture around the base.
- Know where your water shutoffs are. If something fails, you need to act fast.
- Don’t wait to call for help. The longer water sits, the more damage it causes.
- Don’t try to dry it yourself. Fans and dehumidifiers from the hardware store won’t cut it for anything beyond a small spill. You need professional grade equipment and expertise to prevent mold and structural issues.
According to the EPA, mold can begin growing within 24 to 48 hours of water exposure, which is why professional intervention is so important.
Need Help with Water Damage in the DFW Area?
If you’re dealing with a water heater leak, burst pipe, or any kind of flooding, don’t wait. The sooner you act, the more we can save.
📞 (972) 992-7331
Available 24/7 • Average Response Time: Under 40 Minutes
Serving Plano, Frisco, Allen, McKinney & All of DFW
We handle everything from extraction to drying to working with your insurance company. Because when water damage happens, every minute counts.