Jump To
Wall bubbles caused by water damage are one of those frustrating home maintenance issues that can quickly turn a beautiful paint job into an eyesore. If you’ve noticed paint bubbling on your wall or ceiling, you’re not alone. These bubbles often form due to trapped moisture, hidden leaks, or poor paint adhesion. Understanding the causes of wall bubbles from water damage and knowing how to fix them promptly can save you time, money, and headaches. This guide dives into everything you need to know, from drywall bubble repair tips to DIY wall bubble repair solutions, so your walls look smooth, clean, and damage-free once again. If the damage turns out to be more than a surface fix, our team offers professional water damage restoration across the Plano and DFW area.
Identifying the Causes of Wall Bubbles
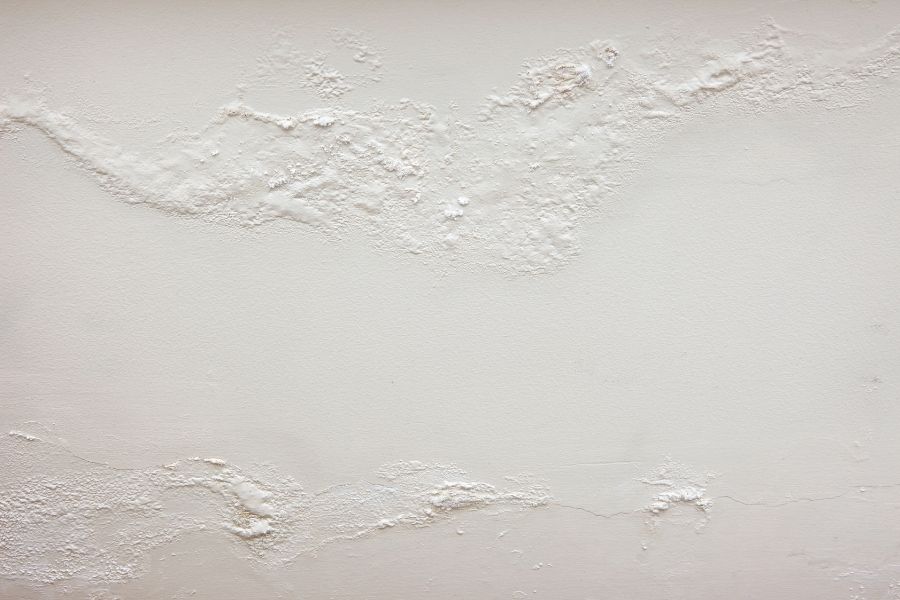
Moisture trapped behind paint causes bubbling that points to an underlying water intrusion problem.
When you see bubbling plaster or moisture bubbles on painted walls, the first step is figuring out why it’s happening. Interior wall bubble causes and fixes often stem from hidden plumbing leaks, roof damage, or even humidity trapped behind the paint layer. In bathrooms, a common culprit is steam, which leads to bathroom wall paint bubbling solutions being slightly different than those in other rooms.
Another frequent cause is poor paint preparation. If a wall wasn’t cleaned, primed, or dried properly before painting, paint can peel and bubble over time. By identifying whether the issue comes from water leaks, humidity, or poor painting practices, you’ll know how to fix water-damaged wall paint more effectively.
| Cause | Common Location | What to Check |
|---|---|---|
| Hidden pipe or plumbing leak | Near plumbing walls, under sinks | Active leak source; must be fixed first |
| Roof damage or window leaks | Ceilings, upper wall sections | Roofline, flashing, window caulk |
| Trapped humidity or steam | Bathrooms, kitchens | Ventilation, exhaust fans |
| Poor paint preparation | Any repainted wall | Was the surface clean, dry, and primed? |
Assessing the Extent of Damage
Before diving into home water damage wall repair, it’s essential to assess how severe the problem is. Small water bubbles under paint may only require a simple patch, while larger spots of peeling paint and water damage solutions might involve replacing sections of drywall. Ceiling water bubble repair guides often recommend pressing gently to test if the area feels soft or spongy, which indicates deeper water damage.
If moisture has spread beyond the surface, repairing drywall after a water leak becomes necessary. Ignoring the problem could lead to mold growth, structural weakness, and higher repair costs later. Understanding the extent of the damage ensures you choose the right repair method and avoid patching over an ongoing water problem. If you’re not sure how far moisture has traveled, take a look at these hidden signs of water damage in North Texas homes before starting any repairs.
Not sure how bad the damage actually is? Intensa Dry Mold & Water Restoration Restoration offers free inspections across Plano and the DFW area. We’ll assess what’s going on before it gets worse.
Preparing for Wall Bubble Repair
Preparation is key when tackling wall water bubble repair. Start by stopping the source of water damage. Whether it’s a leaking pipe, roof seepage, or bathroom steam, fixing the moisture issue prevents bubbles from reappearing. Once the area is dry, gather supplies like a utility knife, spackle, sandpaper, primer, and paint.
DIY wall bubble repair solutions often fail if the wall isn’t fully dry before painting again. A dehumidifier or fan can help speed up drying. Safety gear like gloves and masks also matters, especially if mold is suspected. Proper preparation ensures that the repair is long-lasting and not just a temporary fix.
Step-by-Step Wall Water Bubble Repair
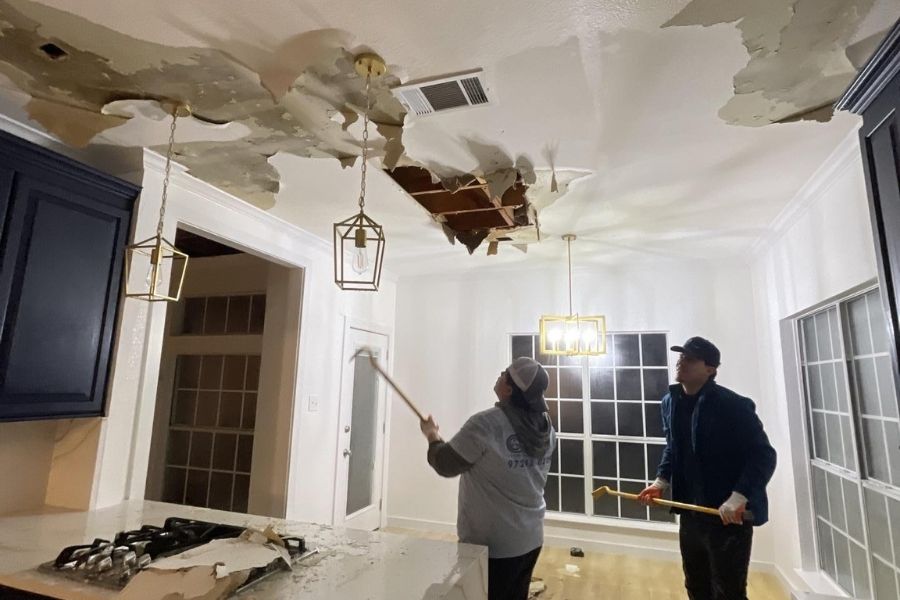
Wall bubbles and ceiling peeling often appear together when moisture travels down from above. Both areas need to be addressed.
Repairing bubbling paint from a water leak involves careful attention. Begin by cutting away the bubbled paint and any loose drywall material. Next, smooth the edges with sandpaper. For minor bubbling plaster wall repair, spackling paste or joint compound fills in gaps effectively. Once dry, sand it down until smooth.
Apply a stain-blocking primer to seal the area before repainting. This step is crucial in water-damaged wall restoration since it prevents moisture stains from bleeding through the paint. Finally, repaint with high-quality paint suited for your room conditions. With this step-by-step process, you’ll stop bubbles under wall paint and restore your walls to a smooth finish. For a deeper look at what professional restoration involves from start to finish, read through the 4 phases of professional water damage restoration.
Special Considerations for Bathrooms and Ceilings
Bathrooms and ceilings often need special attention. For bathroom wall paint bubbling solutions, ensure proper ventilation with fans or dehumidifiers to combat high humidity. Using moisture-resistant paints and primers can also help prevent future wall bubbles. Repairing drywall after a water leak in a bathroom should always include checking nearby tiles, grout, and caulking for gaps where water may seep in.
Ceiling water bubble repair guides emphasize safety because overhead work can be tricky. Addressing water bubbles on ceilings requires cutting out the damaged section, patching it, and repainting with ceiling-specific paint. Whether it’s your bathroom or ceiling, tailoring your approach to the environment makes your repairs more effective.
Mold Prevention During Repairs
Mold is one of the biggest risks with moisture bubbles on painted walls. Even if the paint looks fine after repairs, hidden mold can continue growing inside the wall. That’s why mold prevention after water damage is a critical part of home water damage wall repair. Use mold-resistant primers and ensure complete drying before sealing the wall again.
For larger infestations, professional water damage wall restoration services may be required. Mold not only damages property but also poses health risks. According to the EPA, mold covering more than 10 square feet should be handled by trained professionals. By combining drywall bubble repair tips with mold prevention strategies, you ensure a safe, lasting solution for your home. Our guide on mold prevention and remediation after water damage in Plano is worth reading before you seal anything back up.
Long-Term Prevention Strategies
After repairing bubbling paint from a water leak, the goal is to prevent it from happening again. Fixing moisture damage on walls involves improving ventilation, sealing leaks, and using high-quality primers and paints. For areas prone to humidity, regular inspections help catch small issues before they turn into big problems.
Preventing water bubbles in wall paint also includes controlling indoor humidity levels. Dehumidifiers, exhaust fans, and proper insulation all help reduce moisture buildup. With these strategies, you’ll not only repair existing damage but also avoid repeating the process in the future. The IICRC recommends staying proactive with moisture control as the most effective way to prevent recurring water damage in the home.
When to Call a Professional
While DIY wall bubble repair solutions work for minor issues, larger water damage wall restoration projects often require professional help. If you’re dealing with widespread peeling paint and water damage, persistent leaks, or visible mold growth, expert intervention ensures the job is done safely and thoroughly.
Professional restoration services bring specialized tools for detecting hidden leaks and drying out walls more effectively. They also have the expertise to handle bubbling plaster wall repair, ceiling water bubble repair, and full drywall replacements. Calling a professional when needed saves you from repeated repairs and ensures a healthier home environment.
Dealing with something bigger than a DIY fix? The team at Intensa Dry Mold & Water Restoration Restoration is available 24/7 across Dallas-Fort Worth. We handle everything from leak detection to full wall restoration.
FAQs
Why does paint bubble after water damage?
Paint bubbles when moisture gets trapped between the paint and the wall surface, often due to leaks, humidity, or poor surface prep.
Can I just paint over a water bubble?
No, painting over a water bubble will not fix the issue. The damaged paint must be removed, the wall dried, and properly repaired before repainting.
How long does it take to repair a wall bubble?
Minor DIY repairs can take a few hours to complete, but drying time may extend the process to a couple of days.
What if mold appears behind the wall bubble?
If mold is visible, it’s best to consult a professional for safe removal and water-damaged wall restoration to prevent health risks.